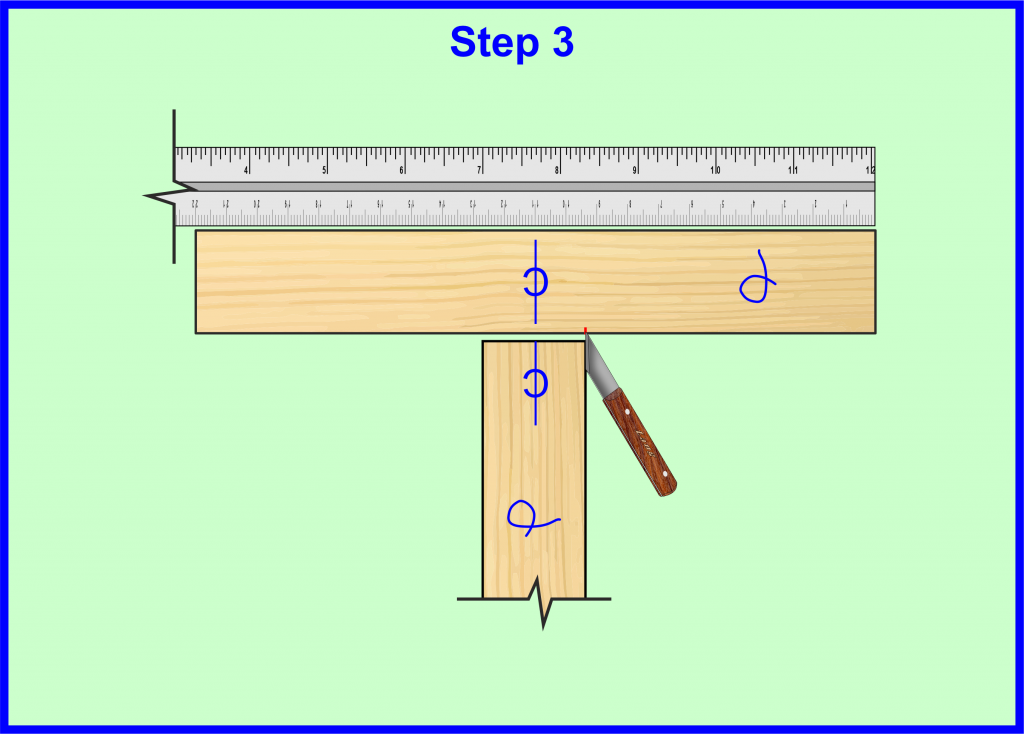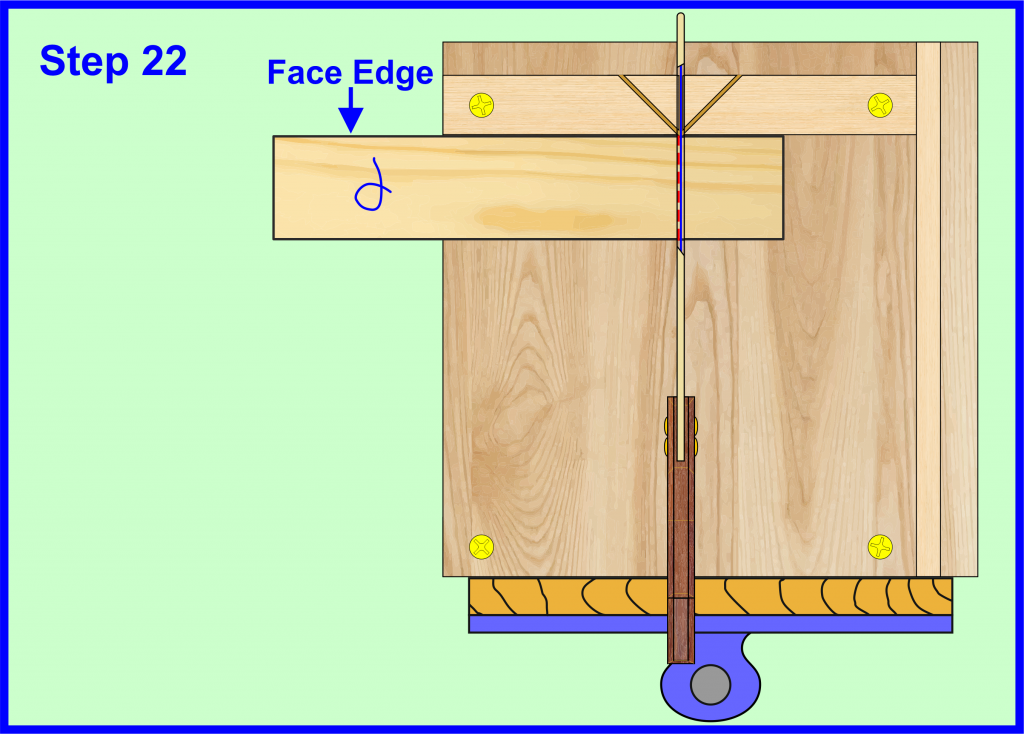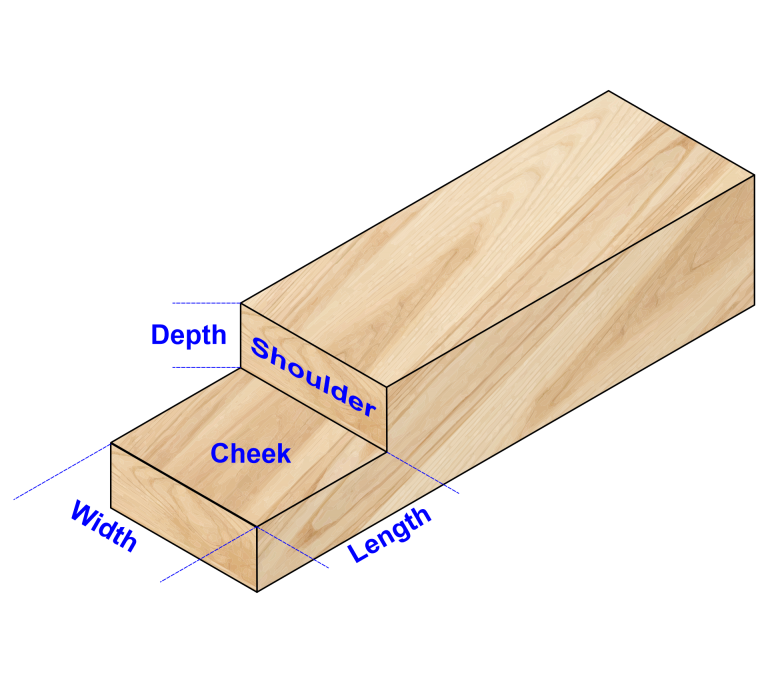
Marking out Halving Joints
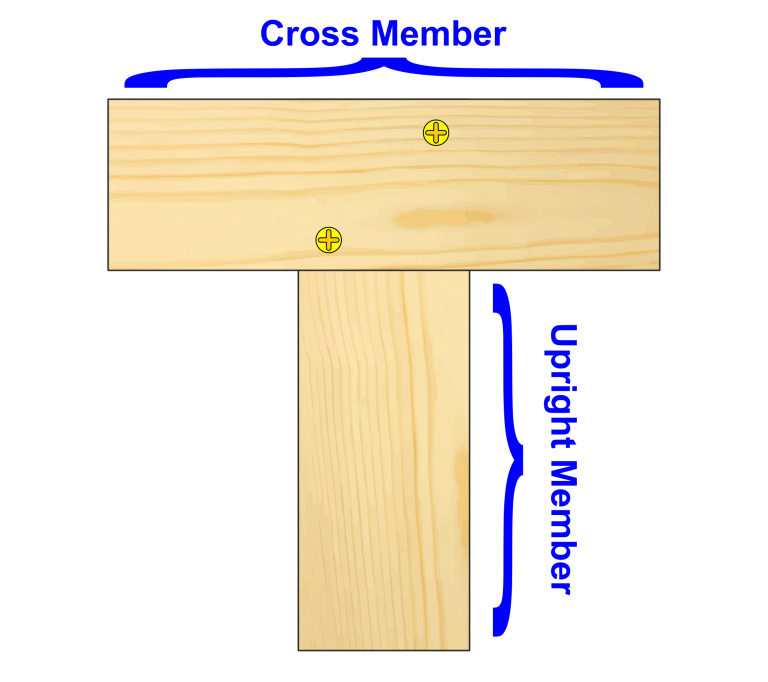
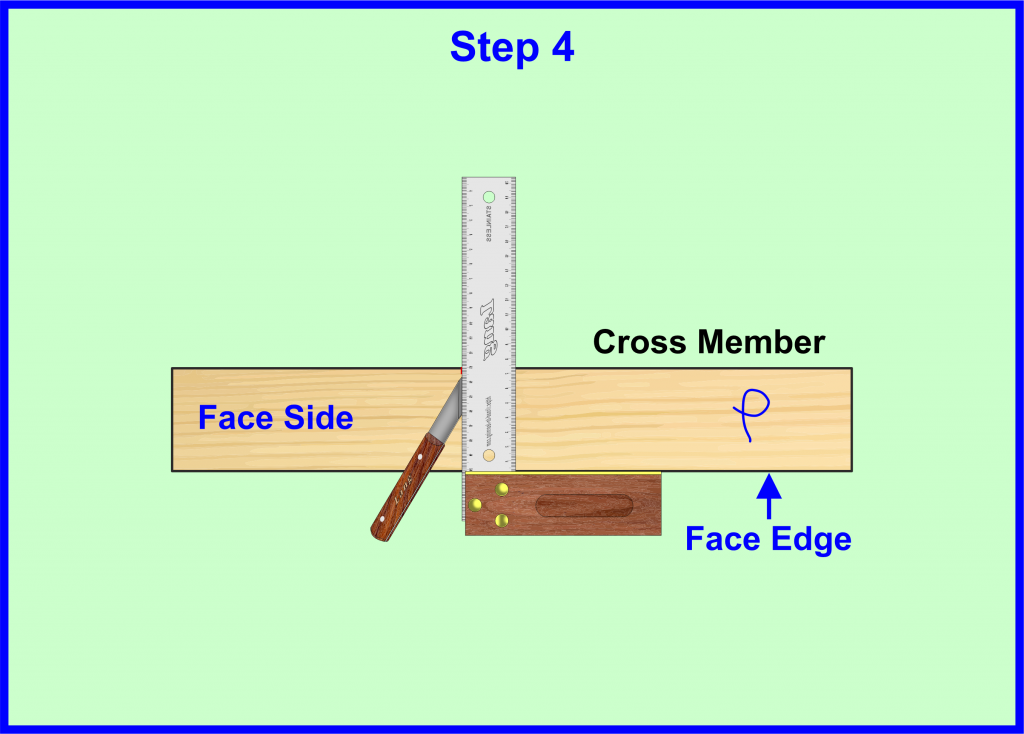
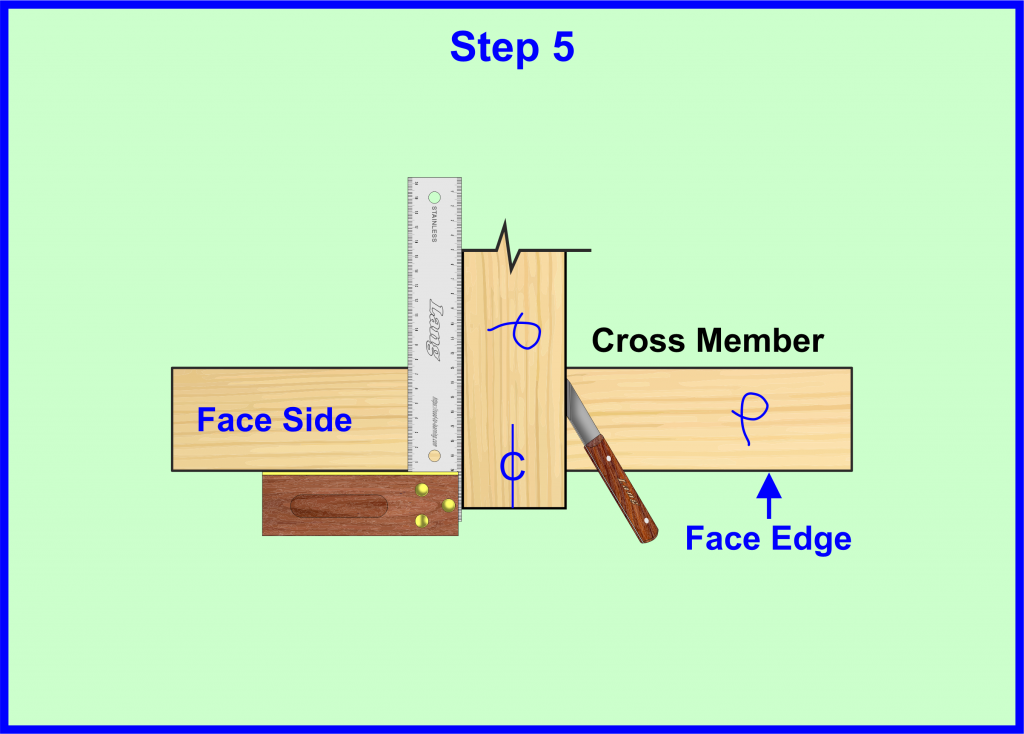
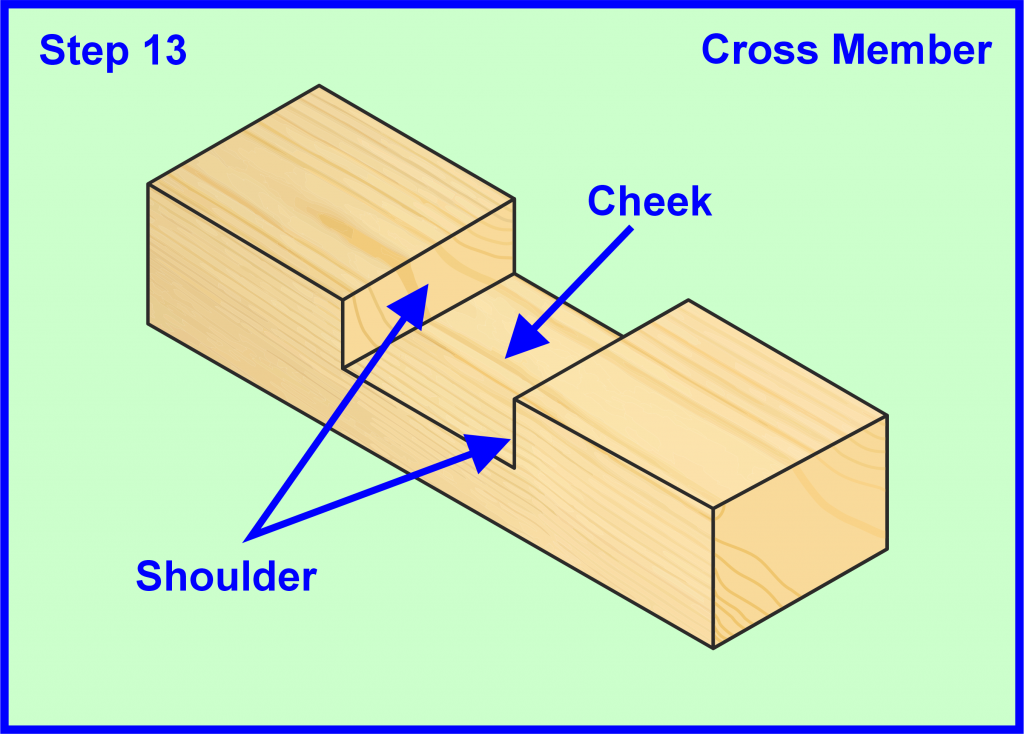
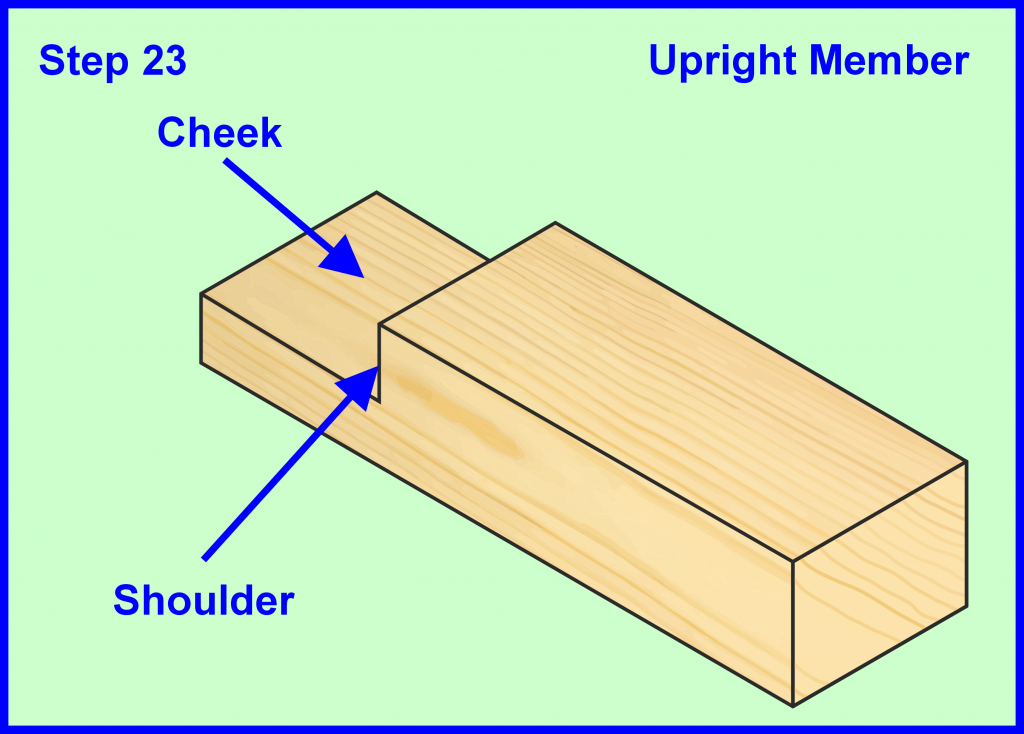
Cross Member and Upright Member
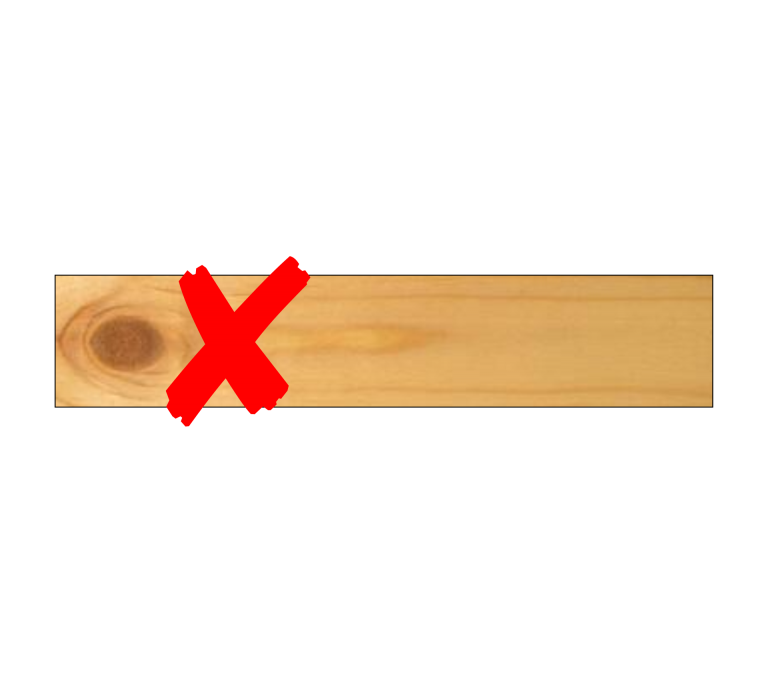
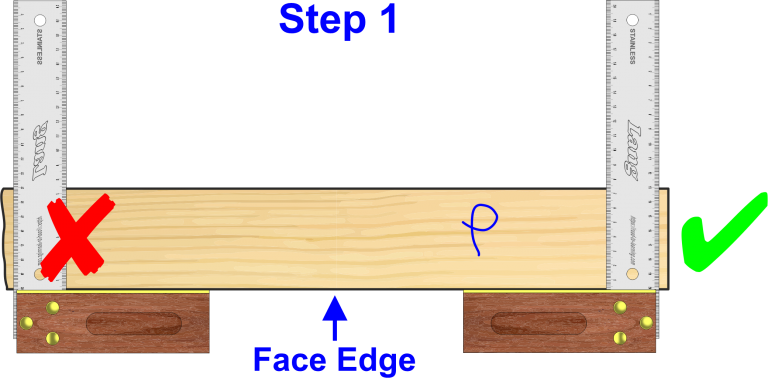
Selecting timber for halving joint
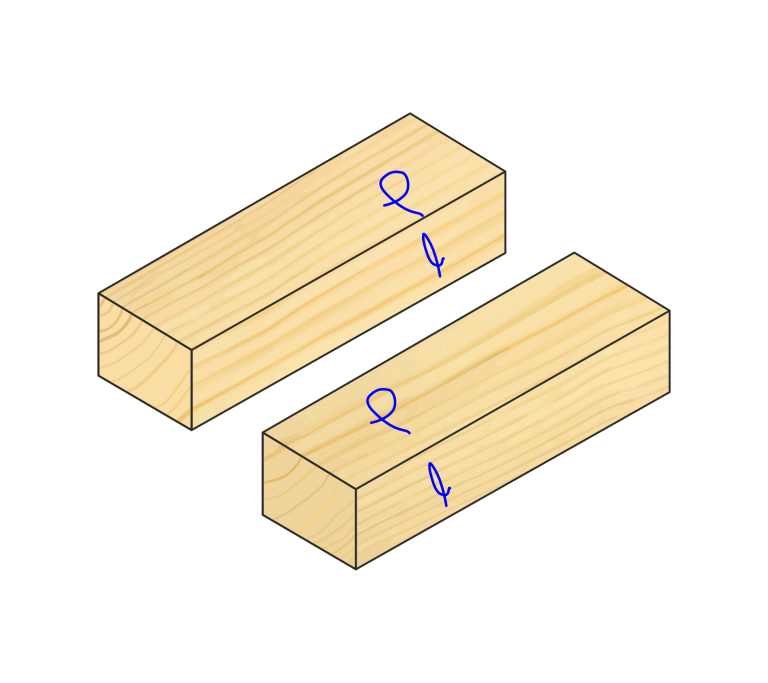
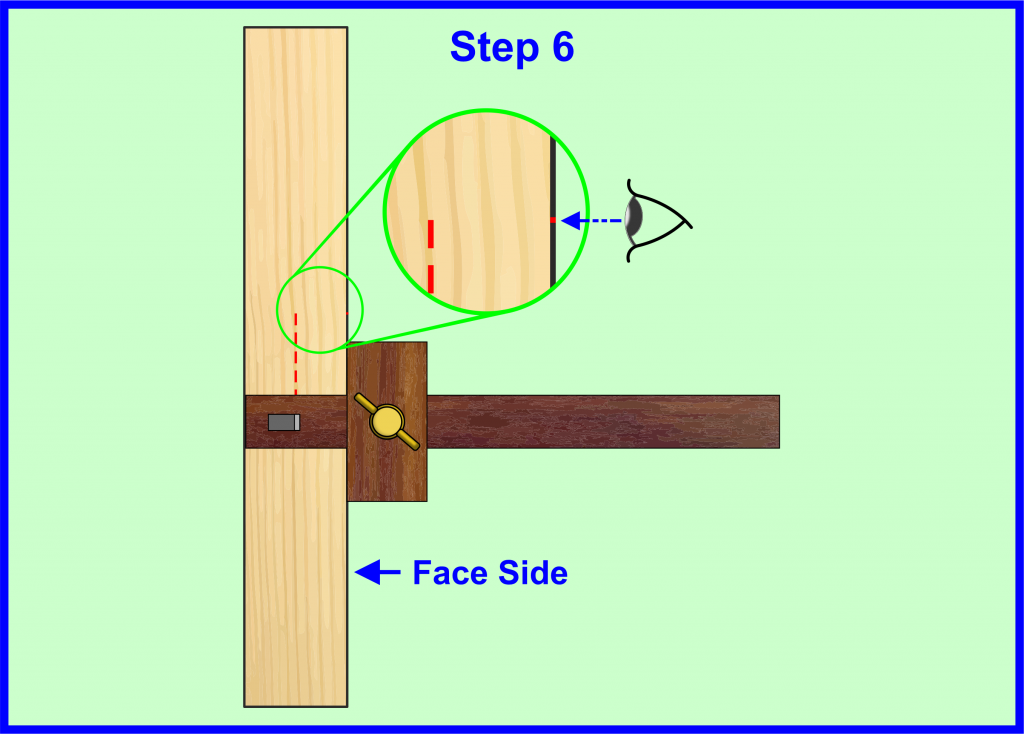
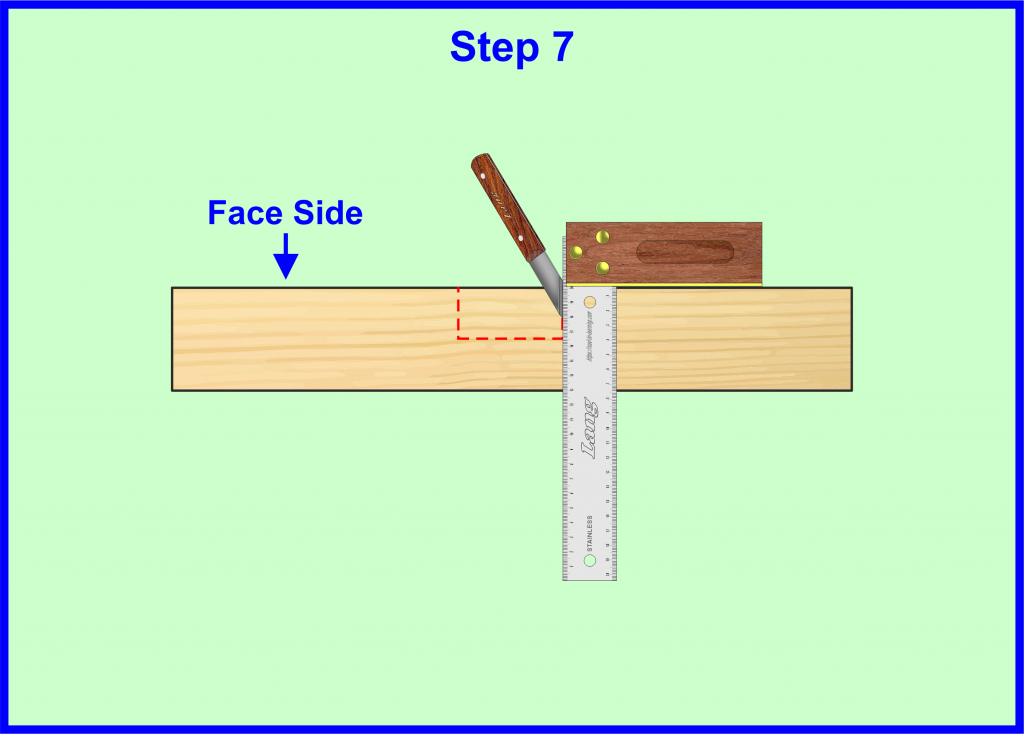
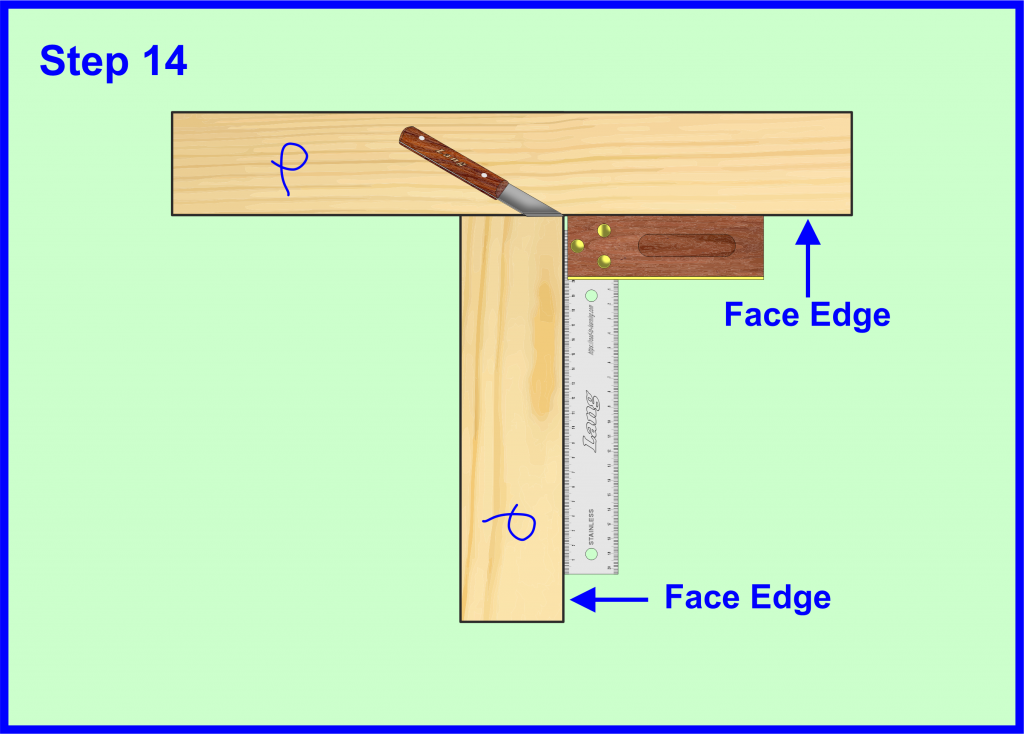
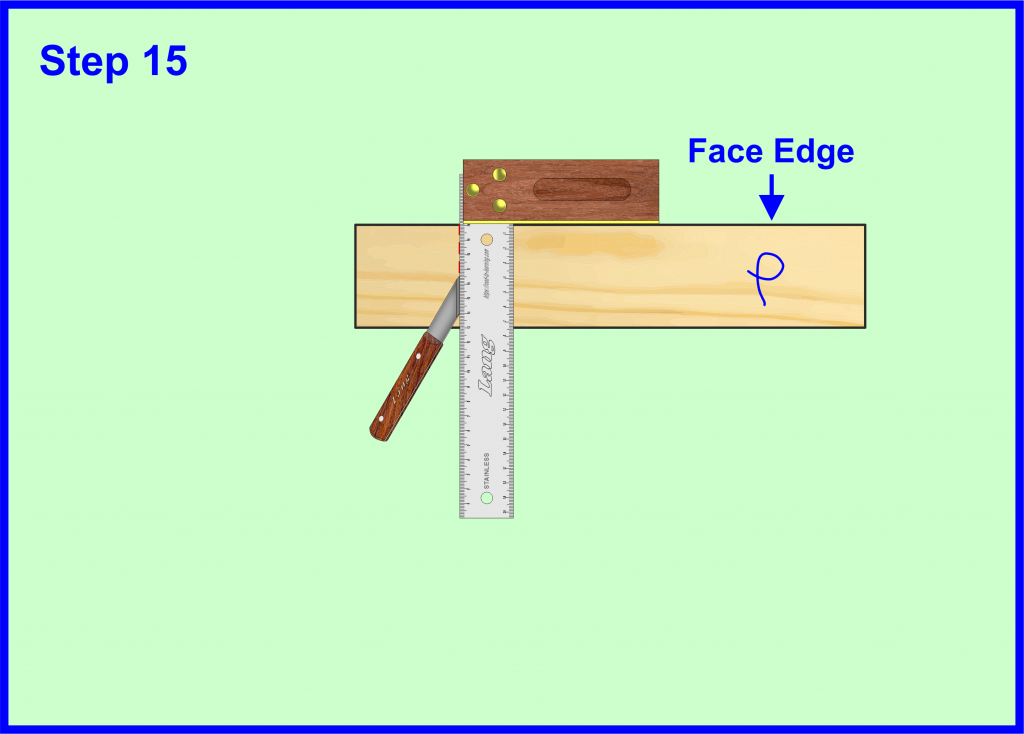
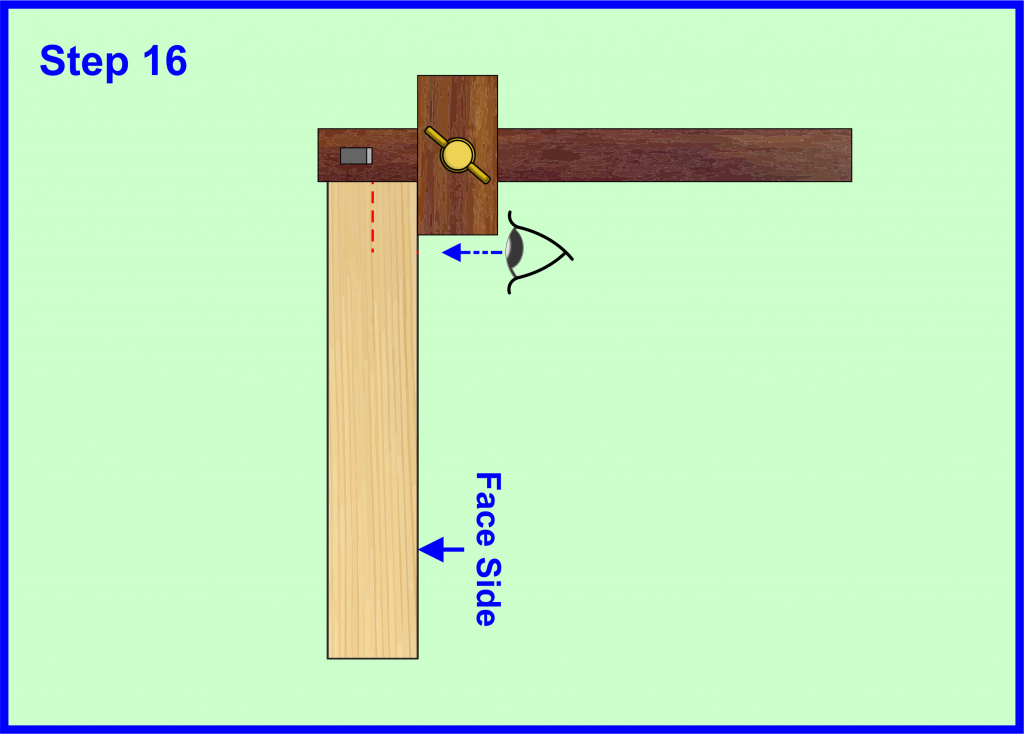
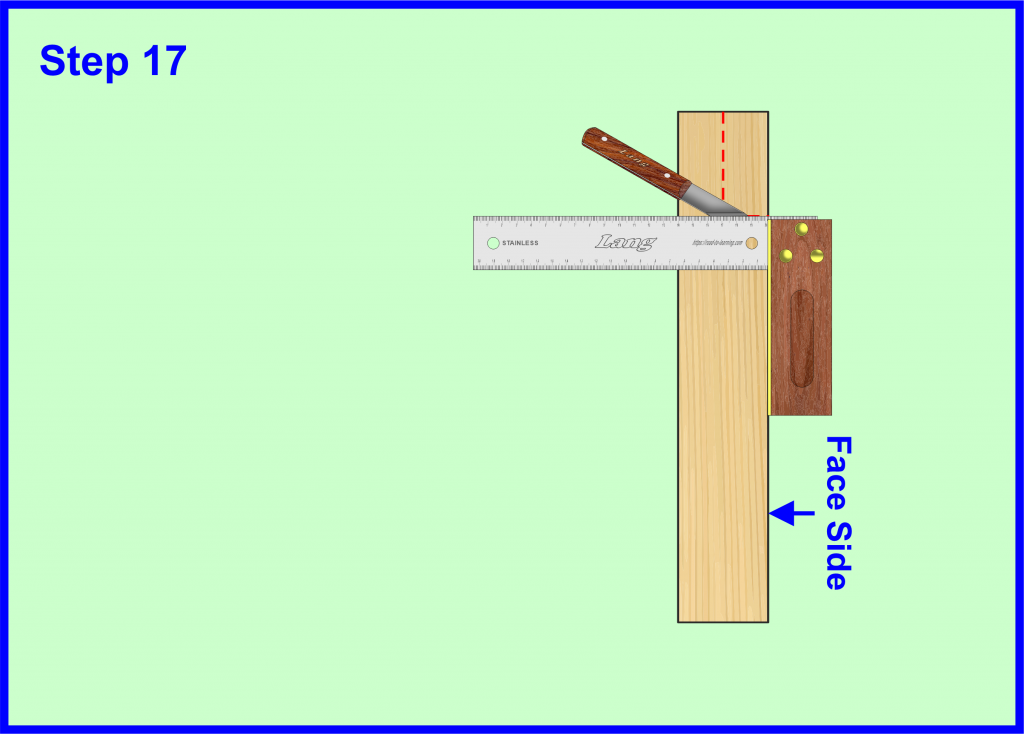
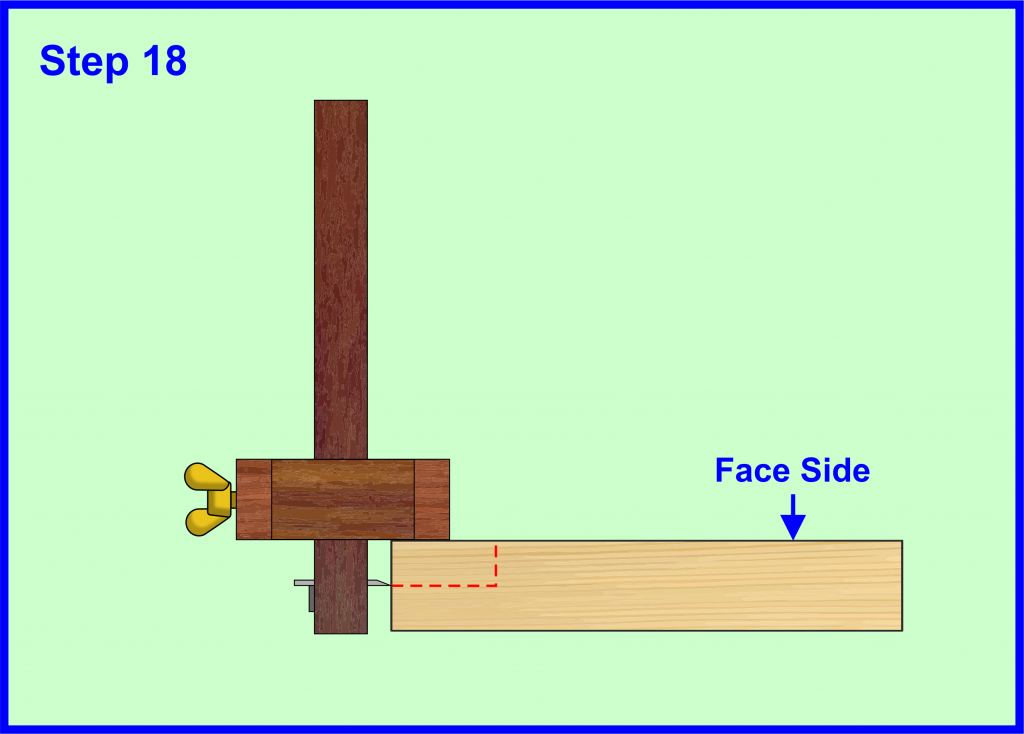
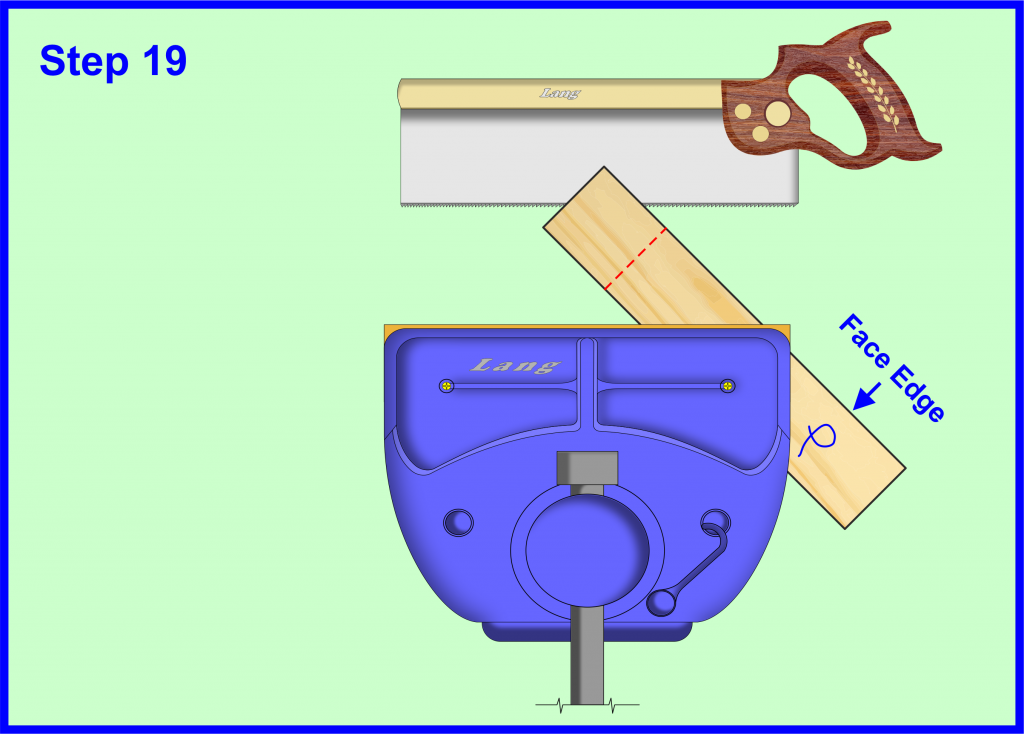
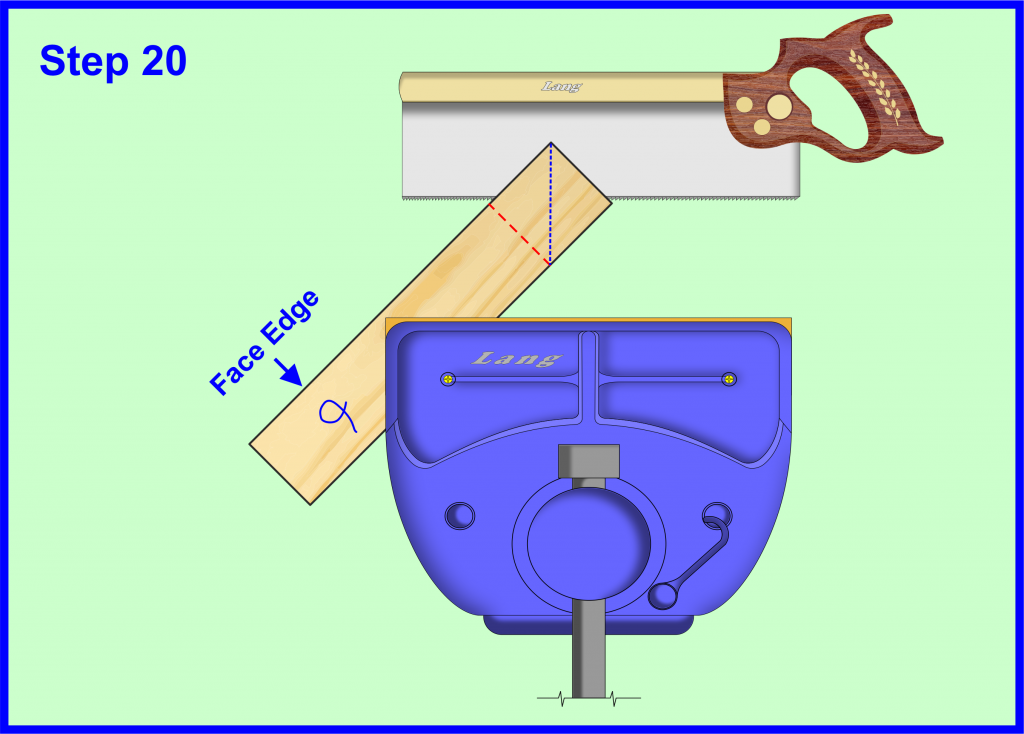
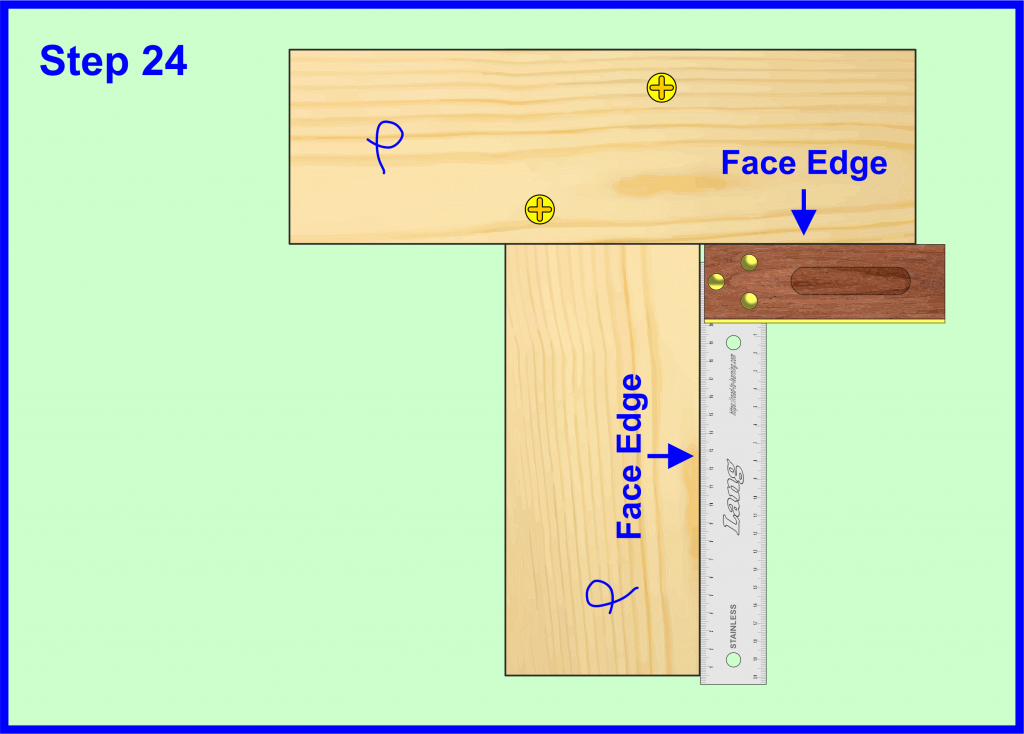
Face Side and Face Edge
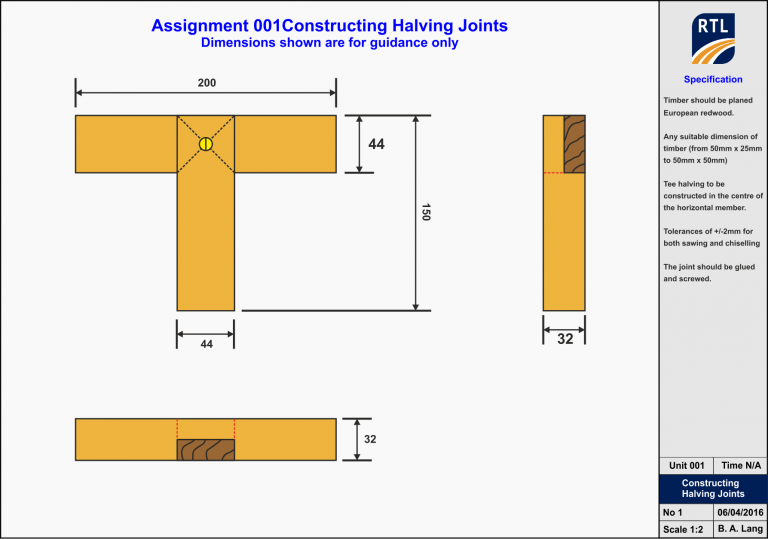
Working Drawing
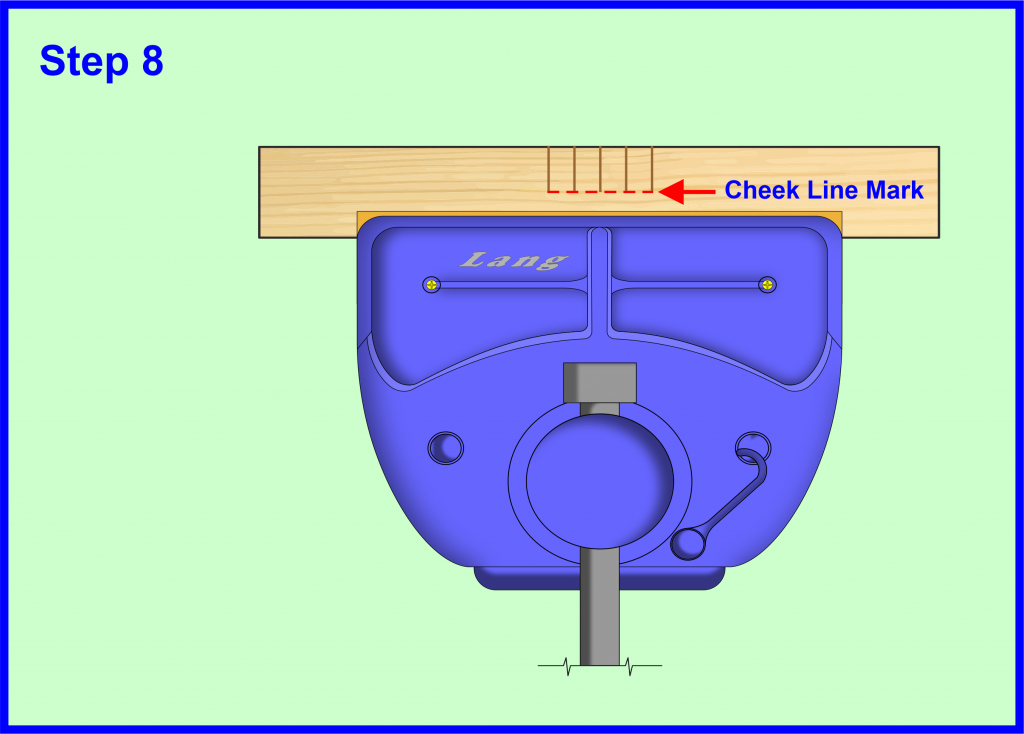
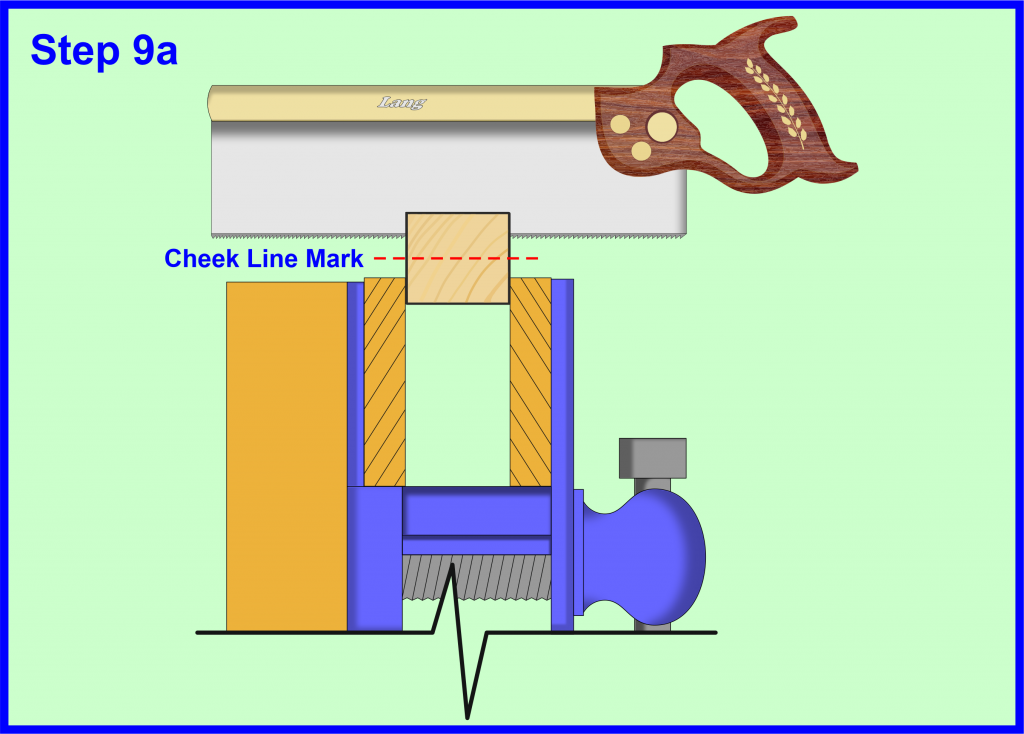
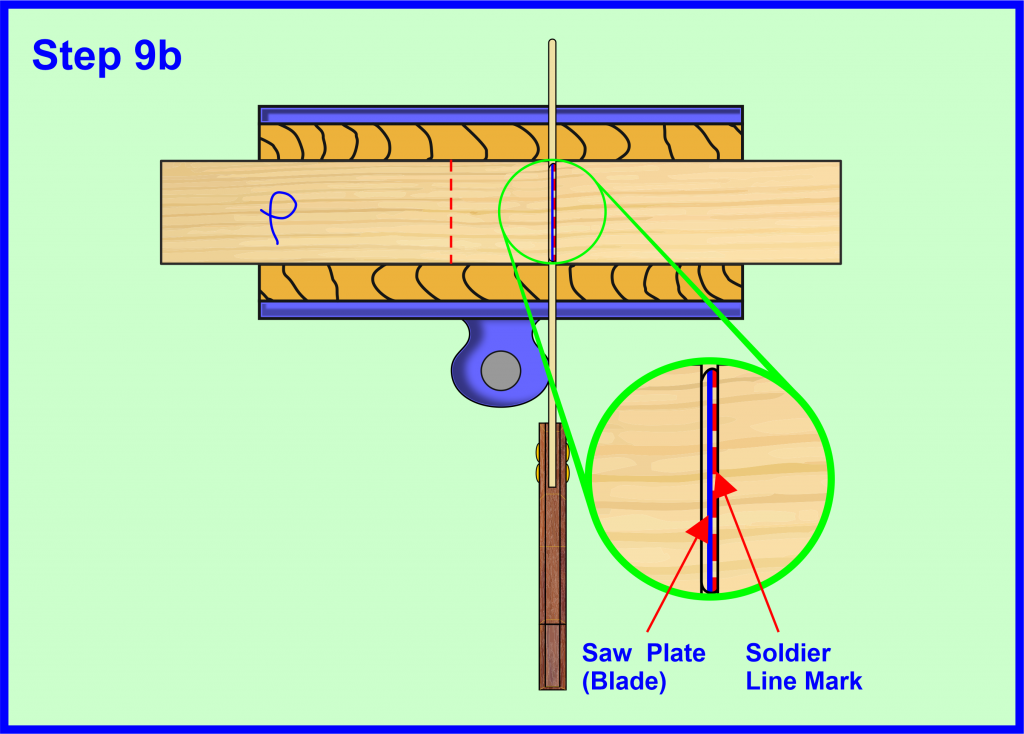
Marking out Halving Joints
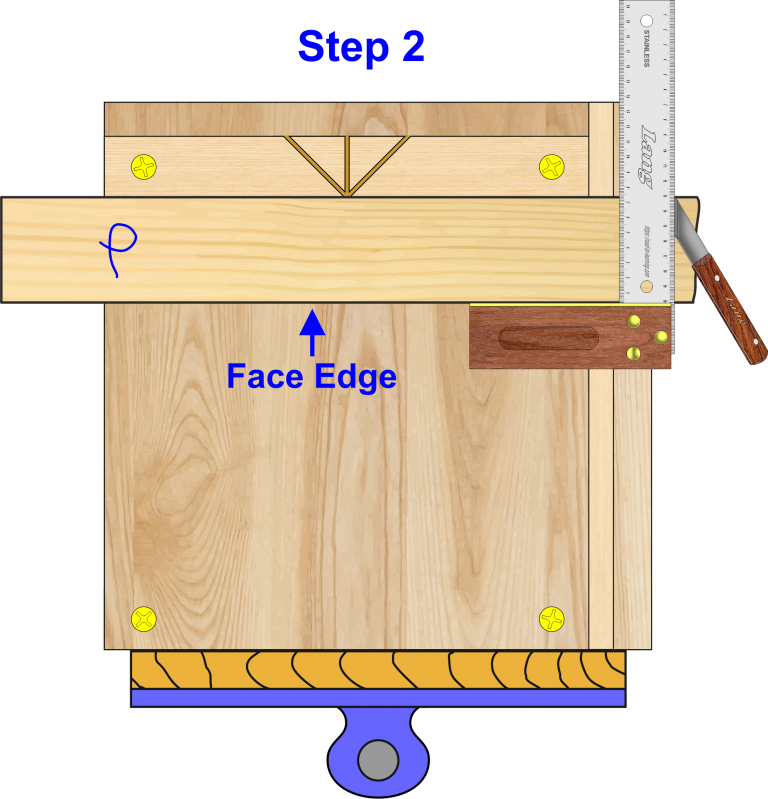
Marking out Halving Joints
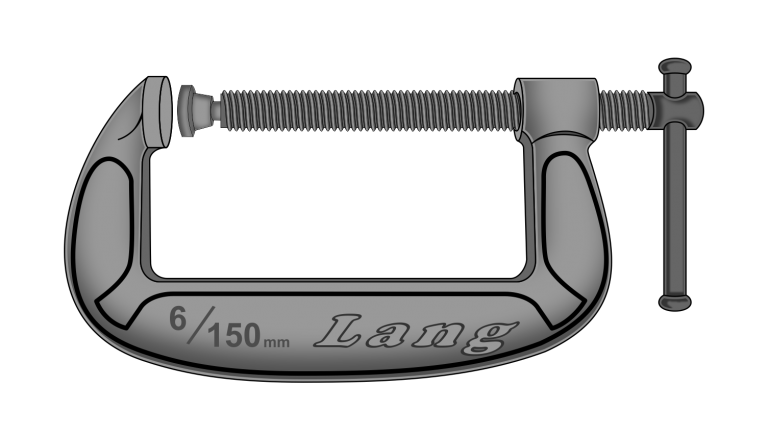
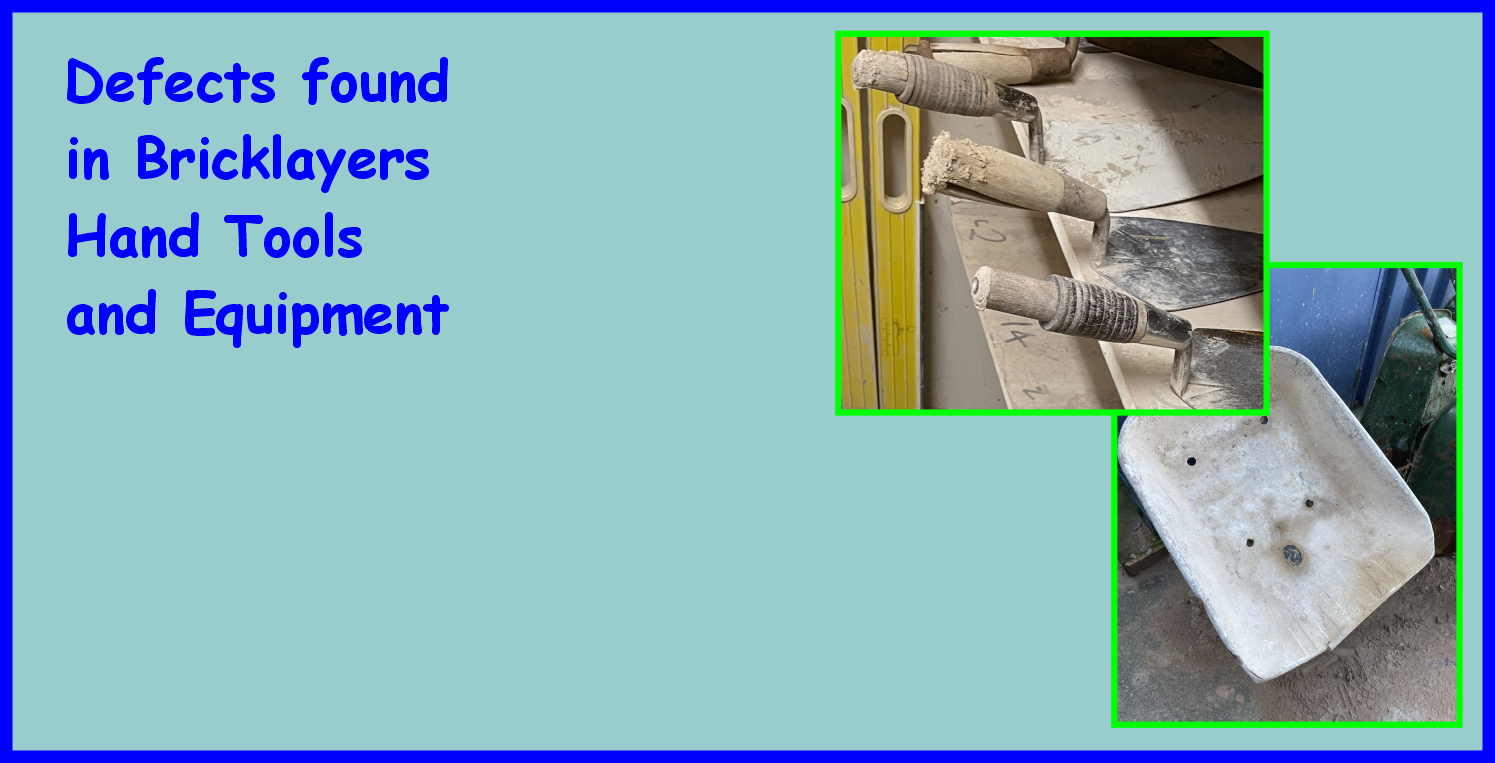
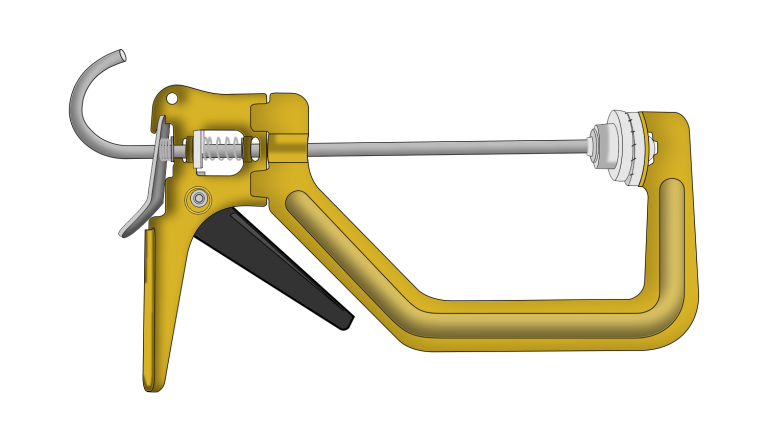
G-Cramp
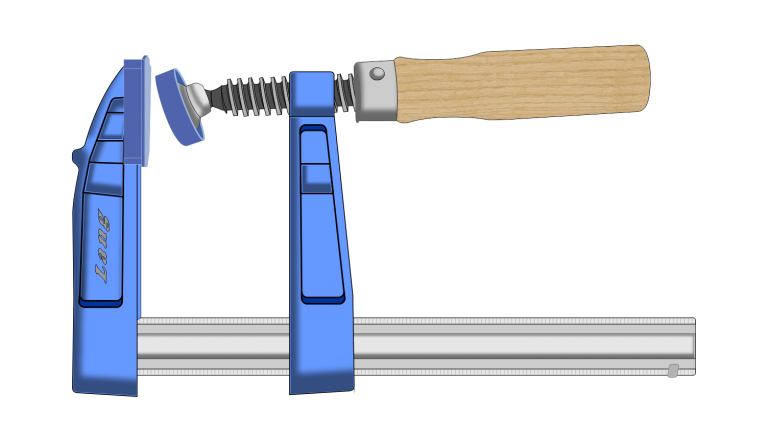
Screw Clamp
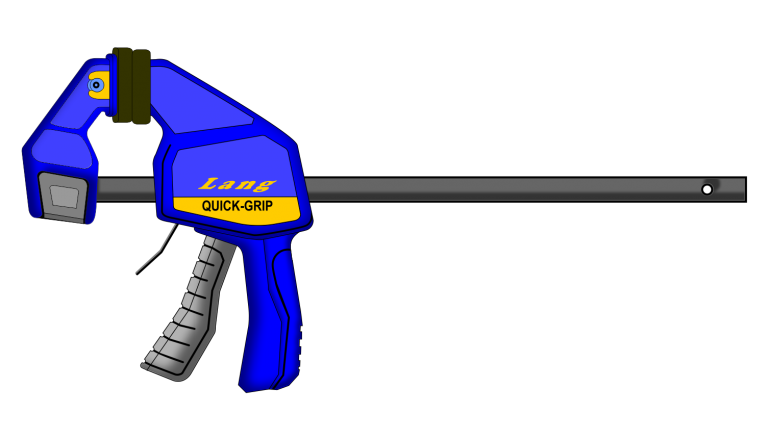
Quick-Grip Clamp
One Handed Speed Clamp