Are You In Control


Selected of P.P.E.


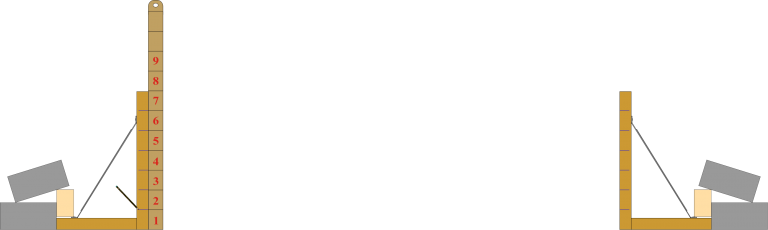
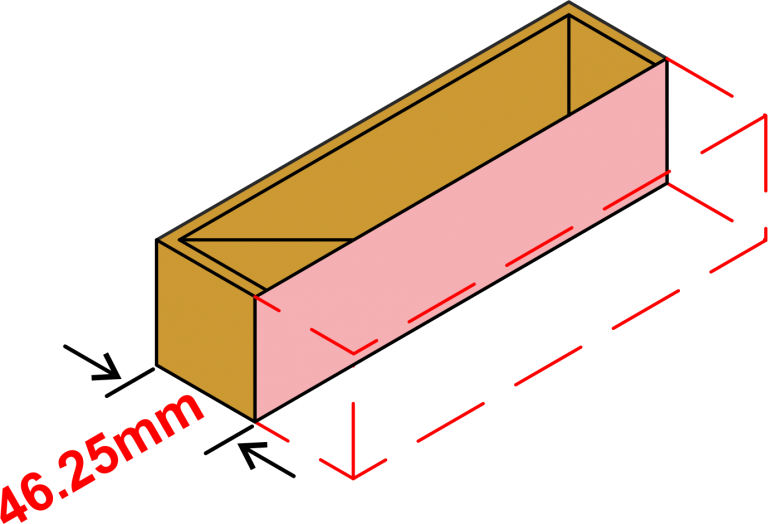
Marking out Perps Joints to Brick Gauge


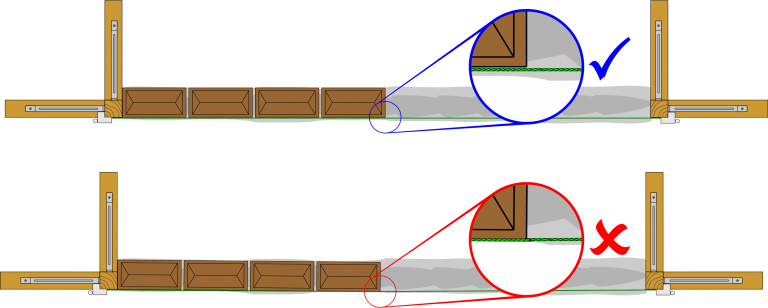
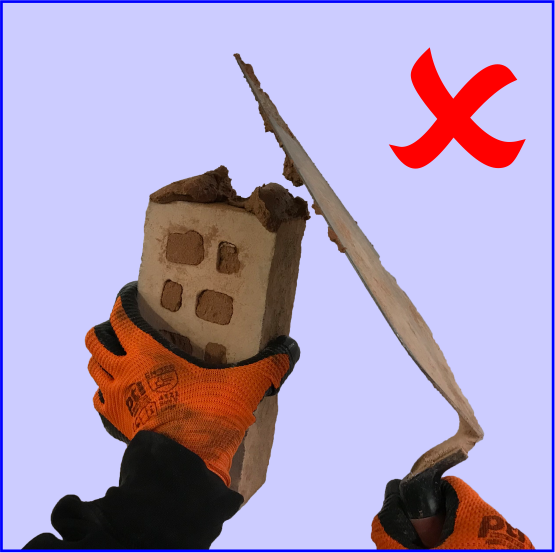
Buttered Up the Wrong Way
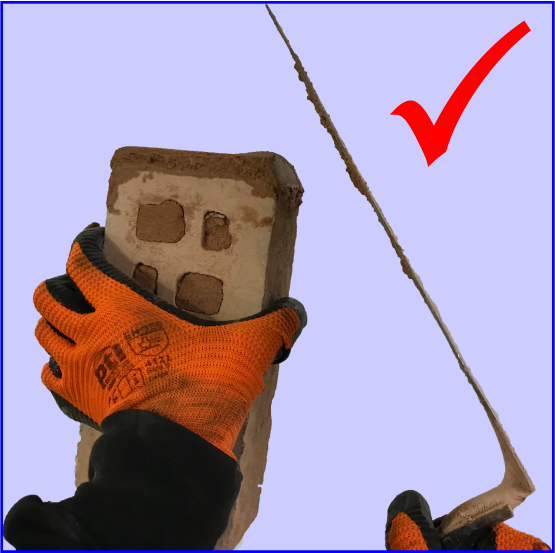
Buttered Up the Right Way


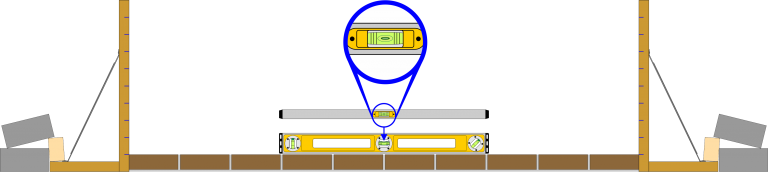


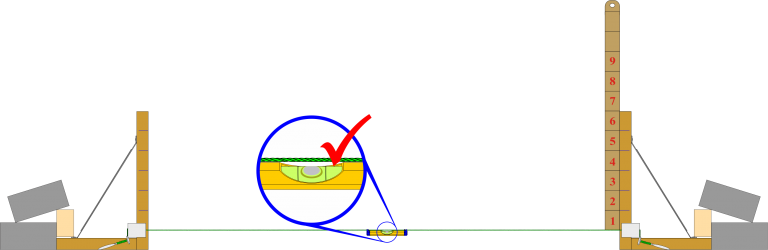
Assessor Checking Work