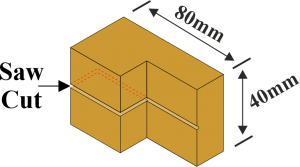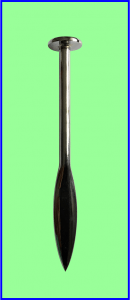
Traditional Line Pins
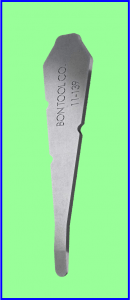
Tapered Line Pins
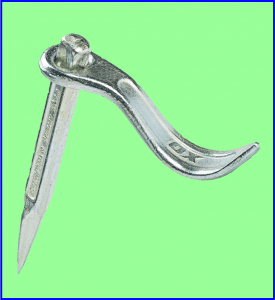
Dutch Pins
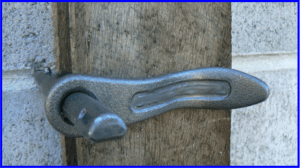
Dutch Pins
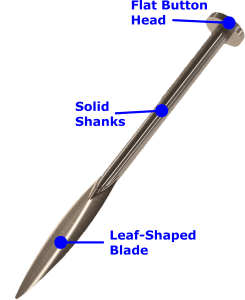
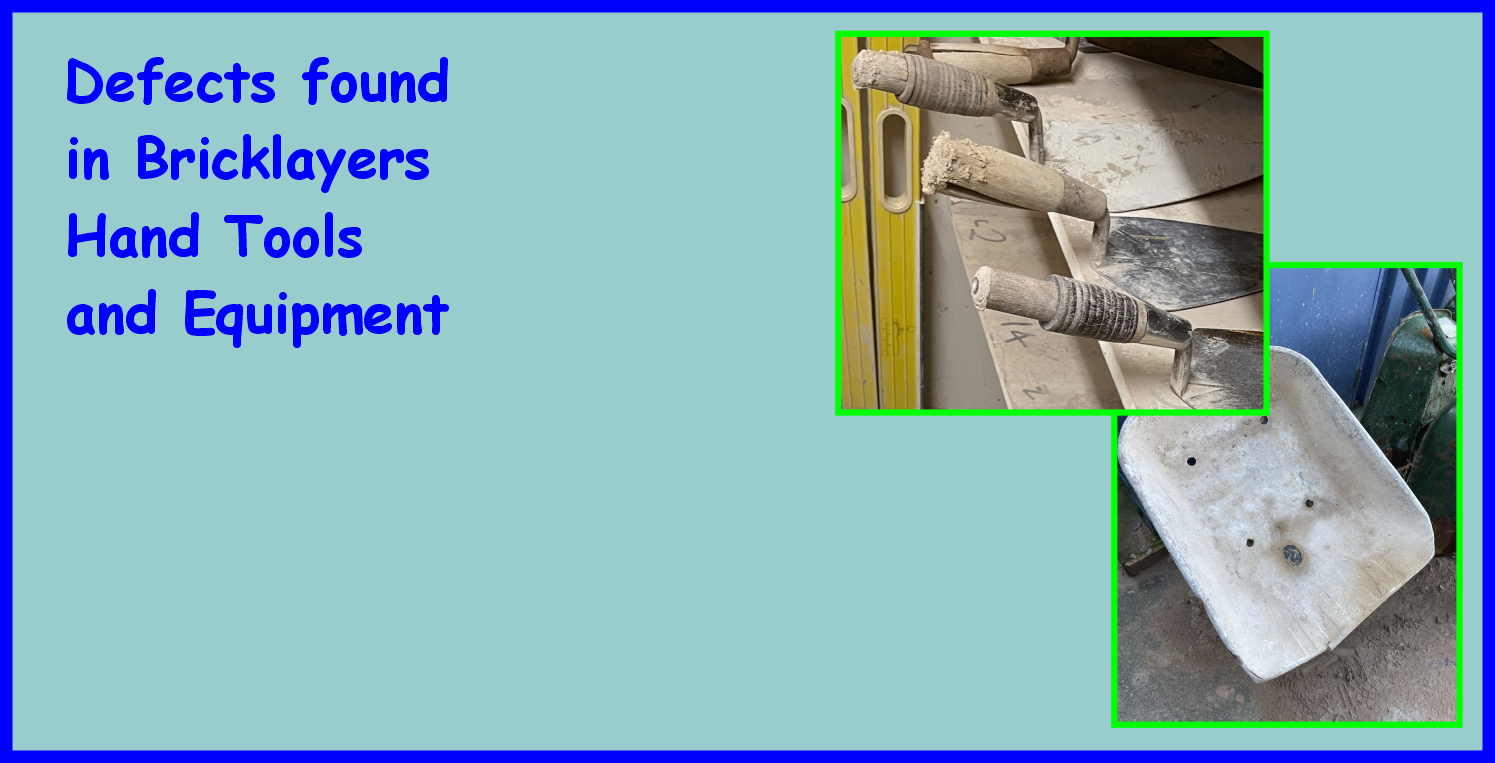
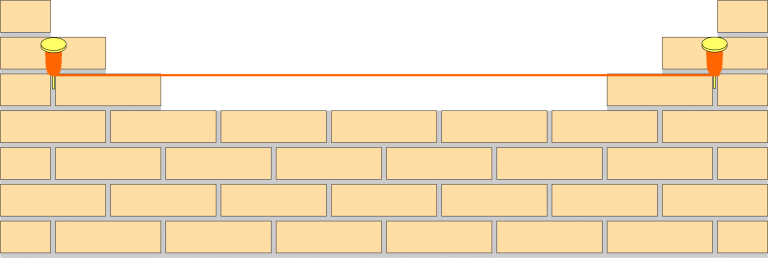
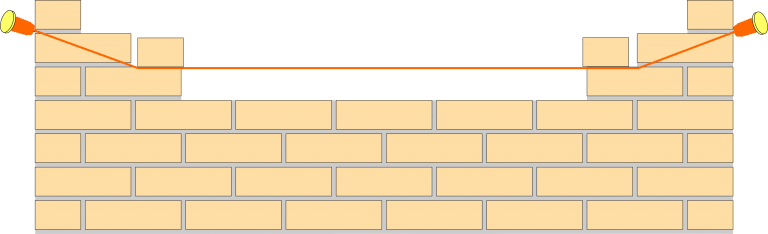
When buying a new set of brick line pins ensure that they are good quality, they need to be able to take a lot of punishment from a brick hammer or lump hammers.
![]()
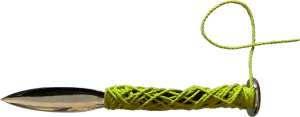
Line Pins Step 1
Now you got your new set of brick-lined pins, you need to protect the line by applying insulation tape around the shank this prevents lines been affected by rust which will affect the strength of the line and liable to break under tension.
![]()
Line Pins Step 2
Now you need a good strong brick line, a line which has interlocking braided pattern is the strongest line to have for more information go to Brick Lines.
You need to secure the line to the pin shank, then bring the line down to the top of the leaf-shaped blade which you are holding.
Line Pins Step 3
While holding the blade wrap the line around the shank two times, then moved the line to the underside of the flat button head.
Line Pins Step 4
Still holding the blade wrap the line around the shank and underneath of the flat button head, you repeat steps four and five until you have sufficient line on one pin.
Line Pins Step 5
During the process of winding the line around the pin shank, it is advisable to create a half hitch on the underside of the button head
Place a half hitch on the pins every 5m to prevent the line from unwinding should the pin be dropped while working on a scaffold.
Line Pins Step 6
Once you have sufficient line on the first pin repeat the process for the second pin, it is advisable to do step 6 before moving onto the next pin.
Line Pins Step 7
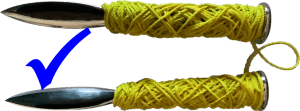
As you can see by moving the line up and down the shank, you have created pockets in between string which helps to dry out the line a lot quicker otherwise you will get what we call bag rot on the line which will seriously impair the strength of your line and it is more likely to break then you’d have to splice together.
To see how to splice a line go to Brick Lines
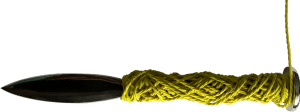
Line Pins Step 8
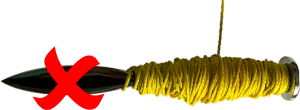
This method of loading the line onto the pin shank is incorrect, it will take a lot longer for the line to dry and you are more likely to get bag rot on the line.
Line Pins Step 9
Option A
Option B
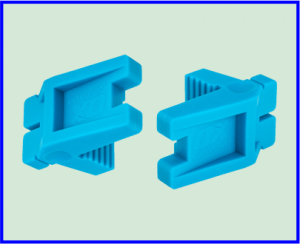
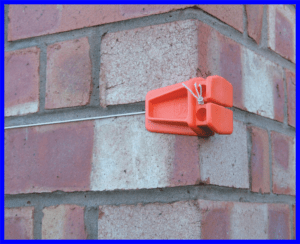
Rubber Corner Blocks
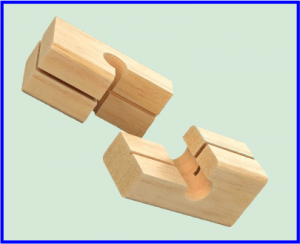
Wooden Corner Blocks
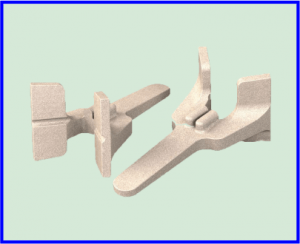
Aluminum Corner Blocks

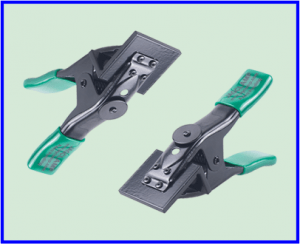
Line Clamps