Are You In Control

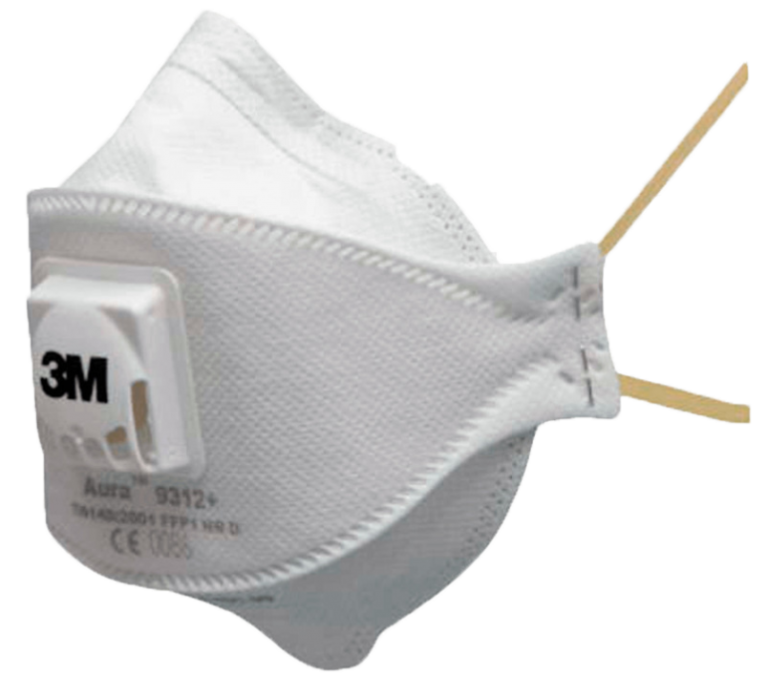
Selected of P.P.E.
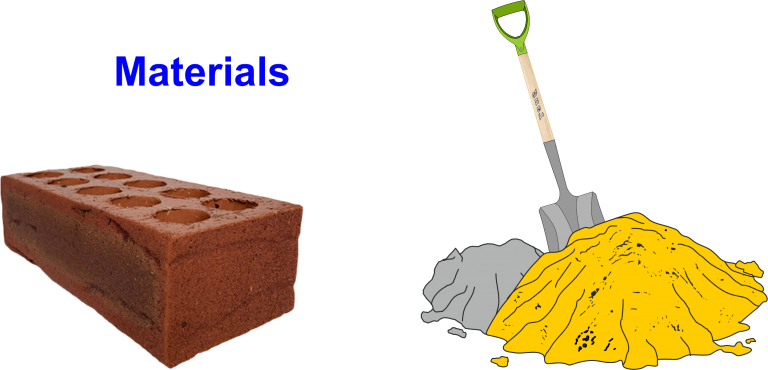
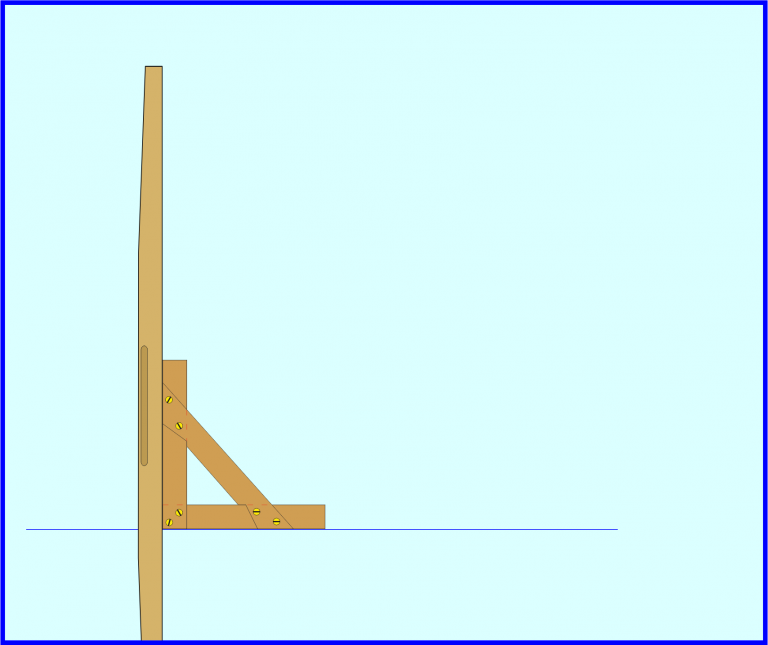
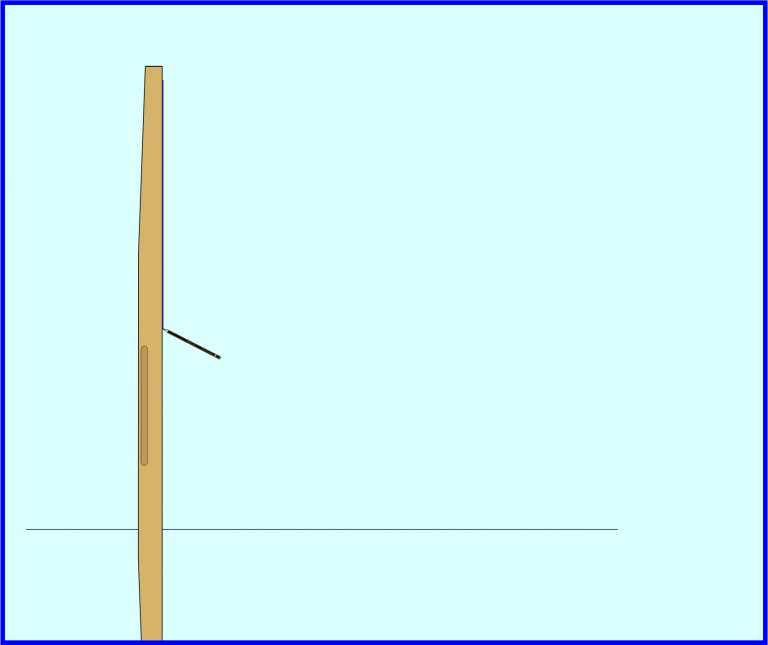
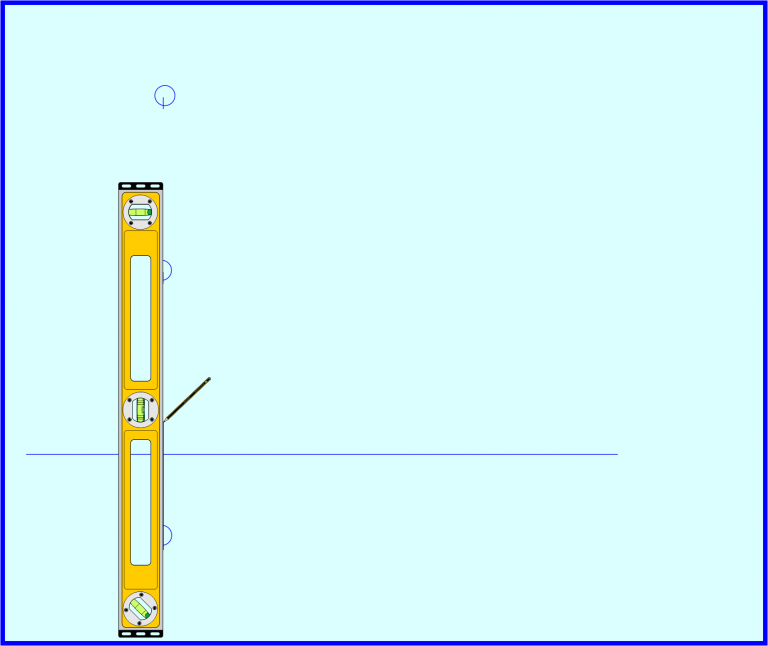
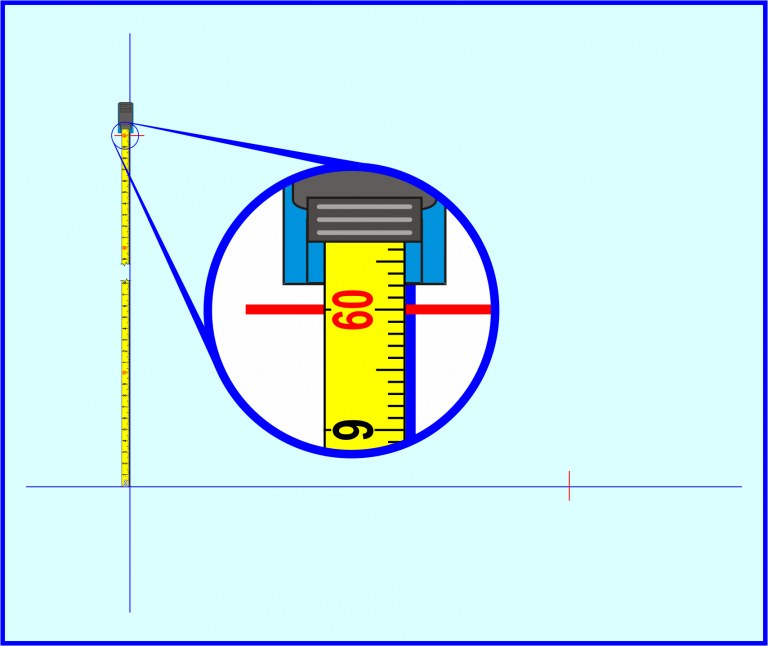
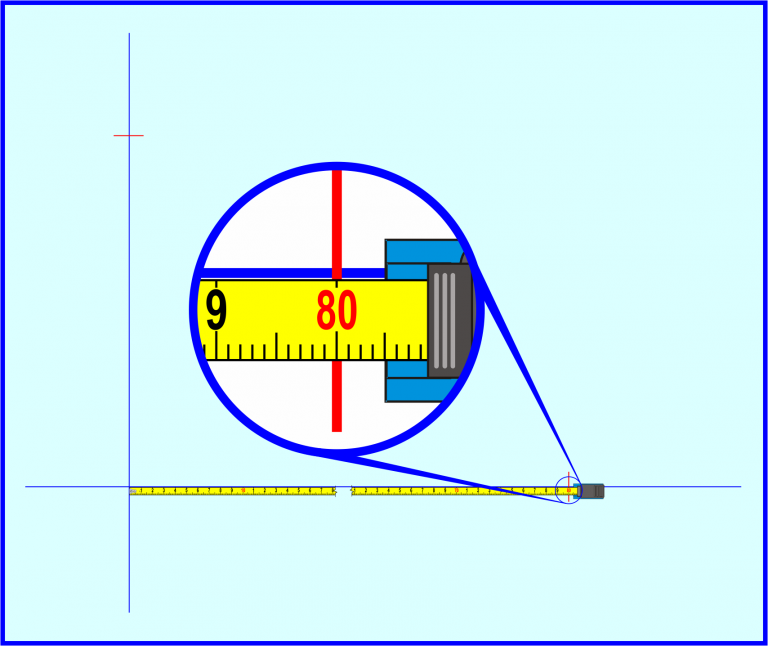
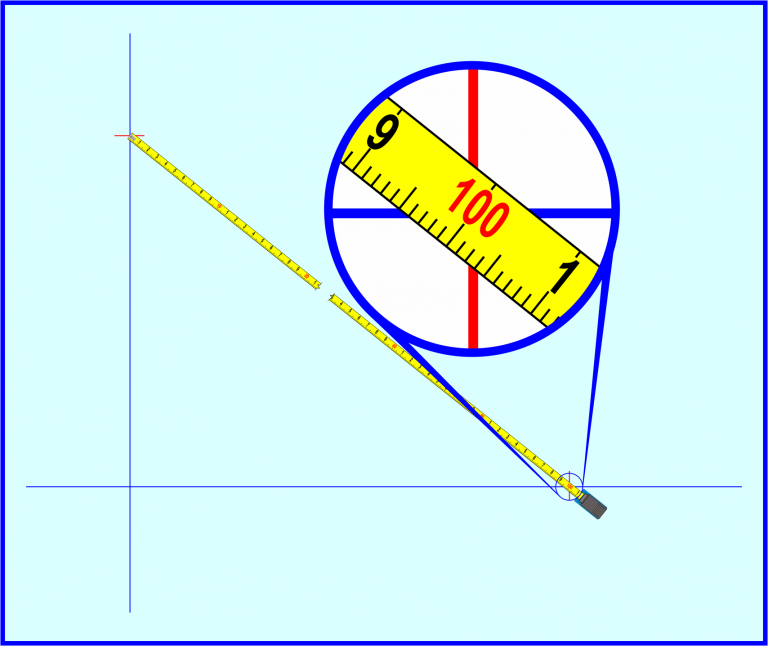
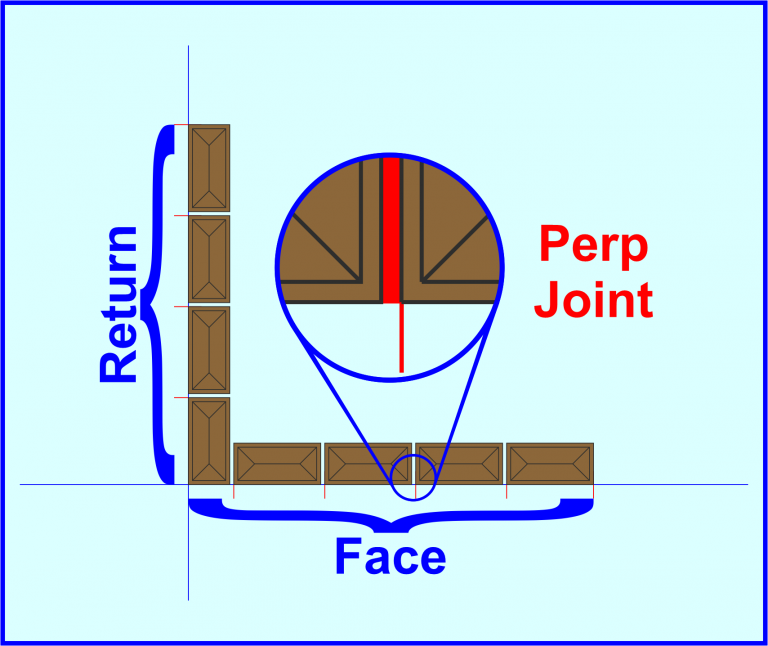
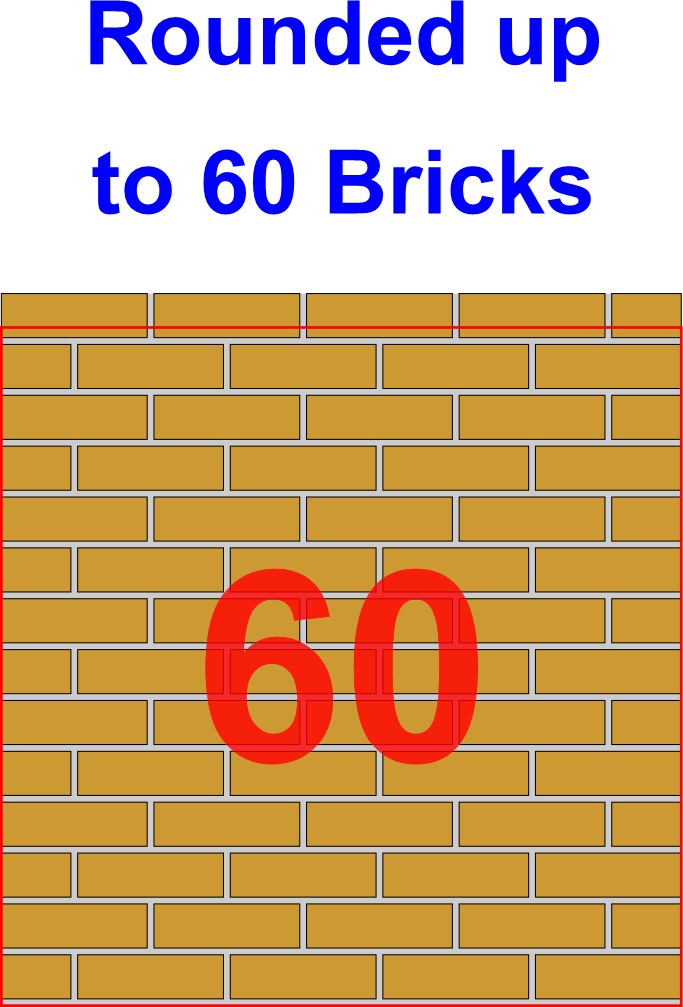
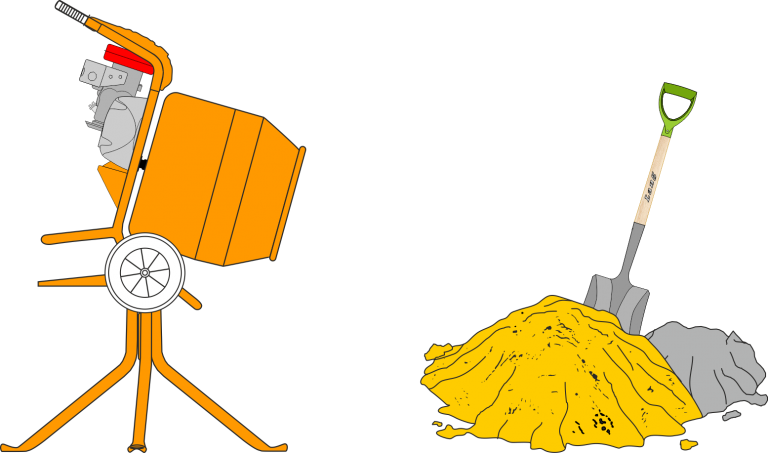
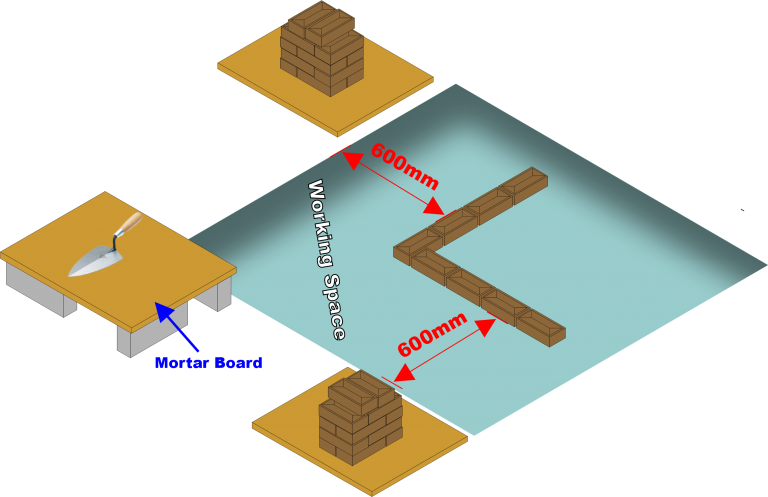
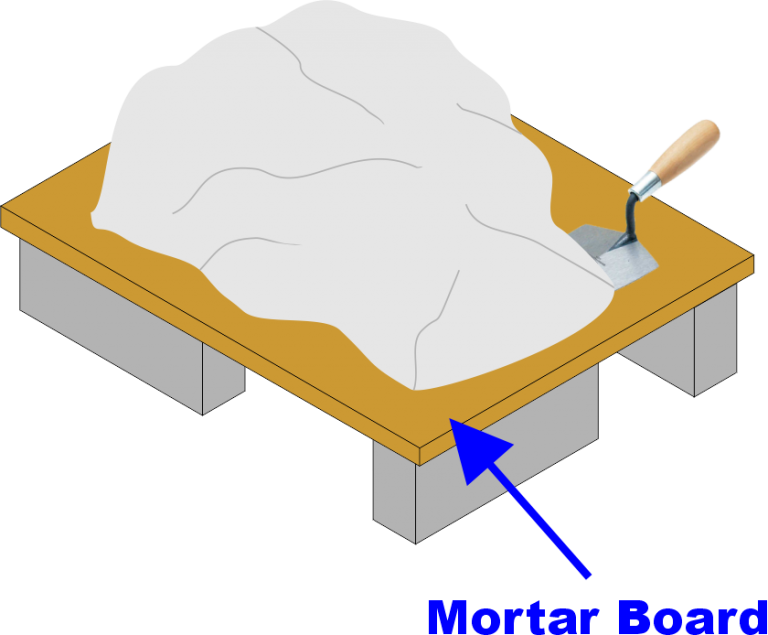
Materials & Tools
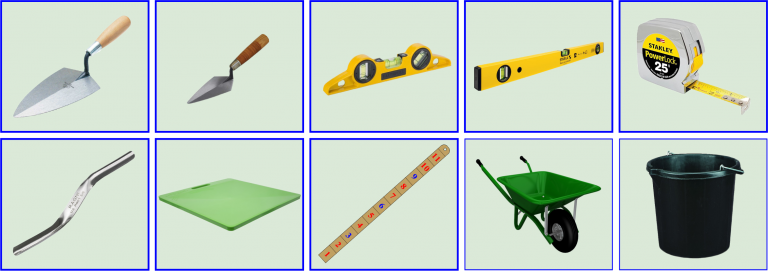
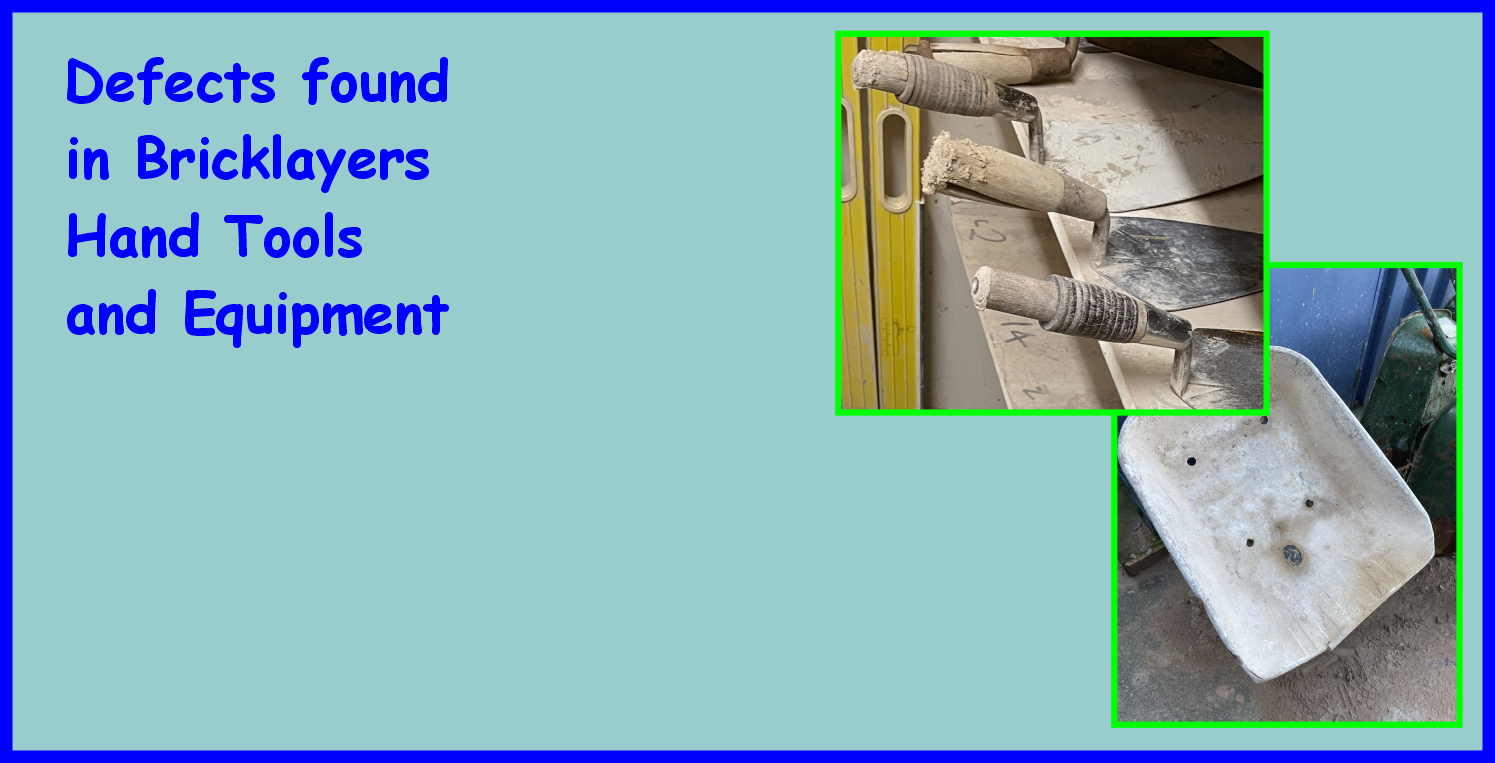
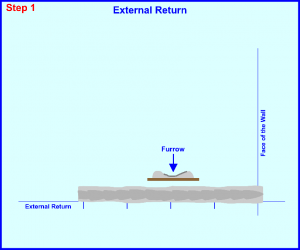
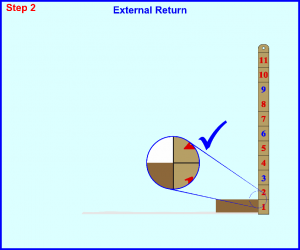
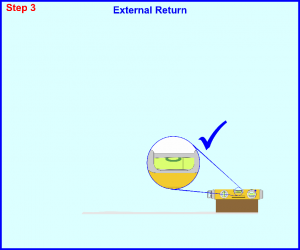
Tools and Equipment

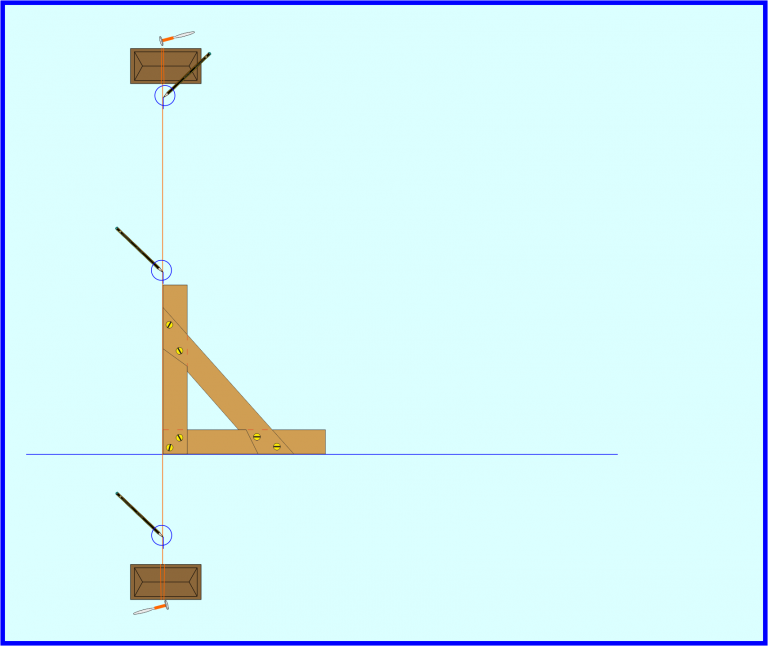
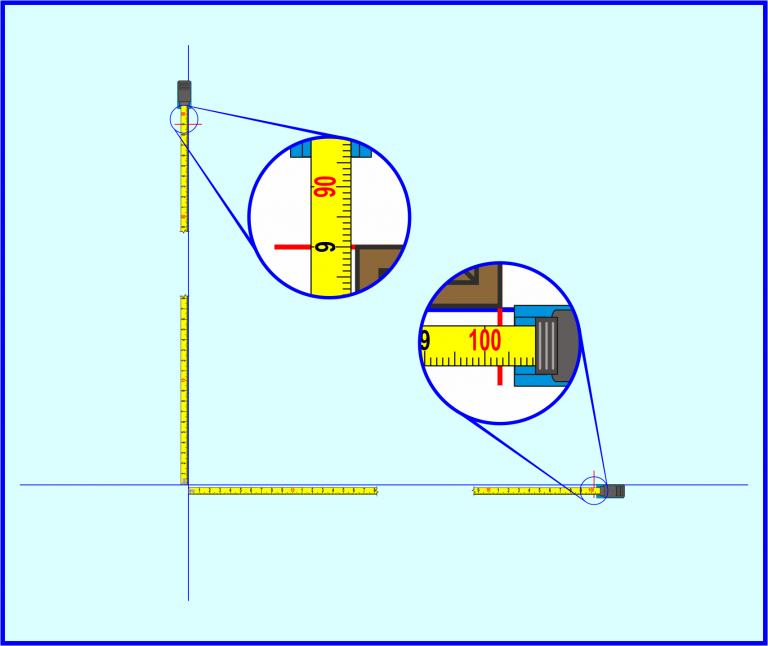


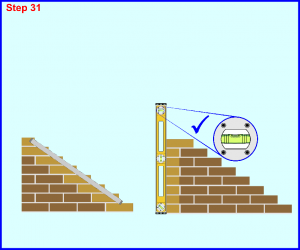


Assessor Checking Work
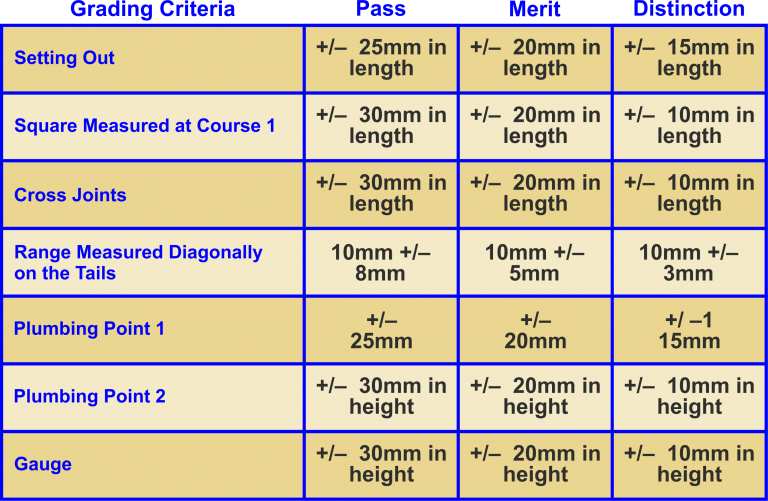
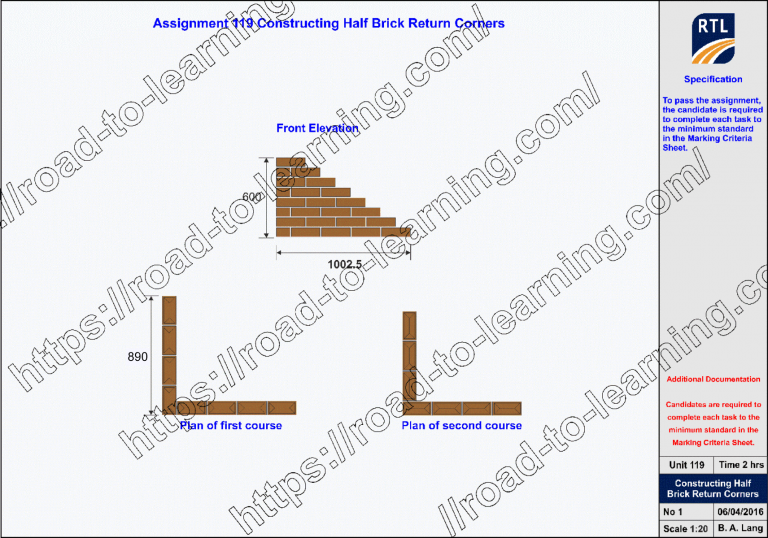
Grading Criteria Unit_119