P240
P100
P60
P40

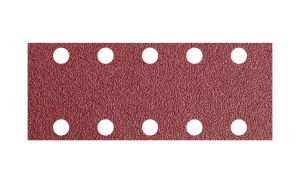
Sheet Glasspaper

Palm Glasspaper
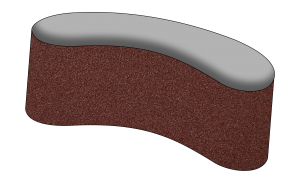
Belt Glasspaper


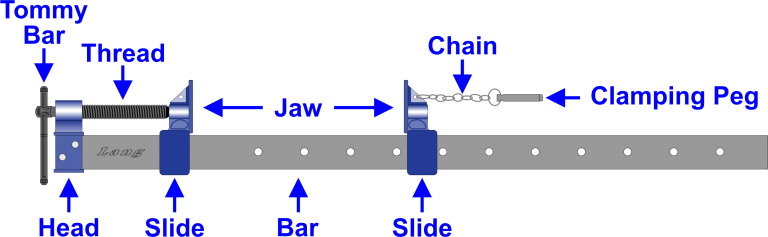


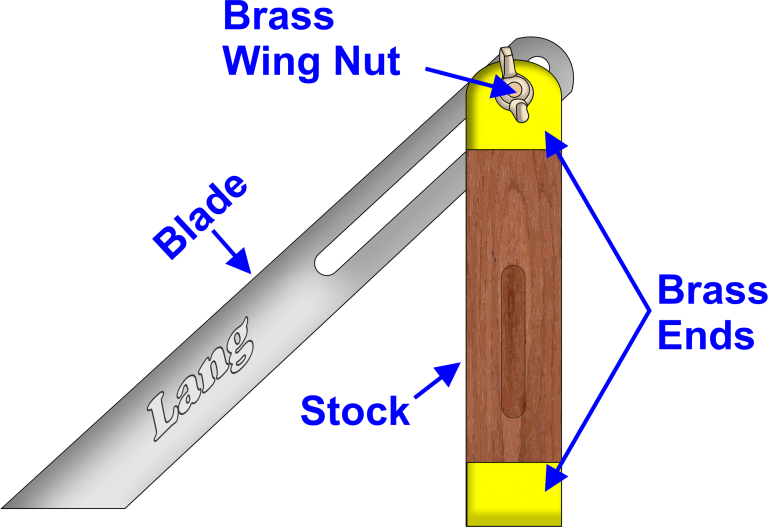
Parts of a Sliding Bevel
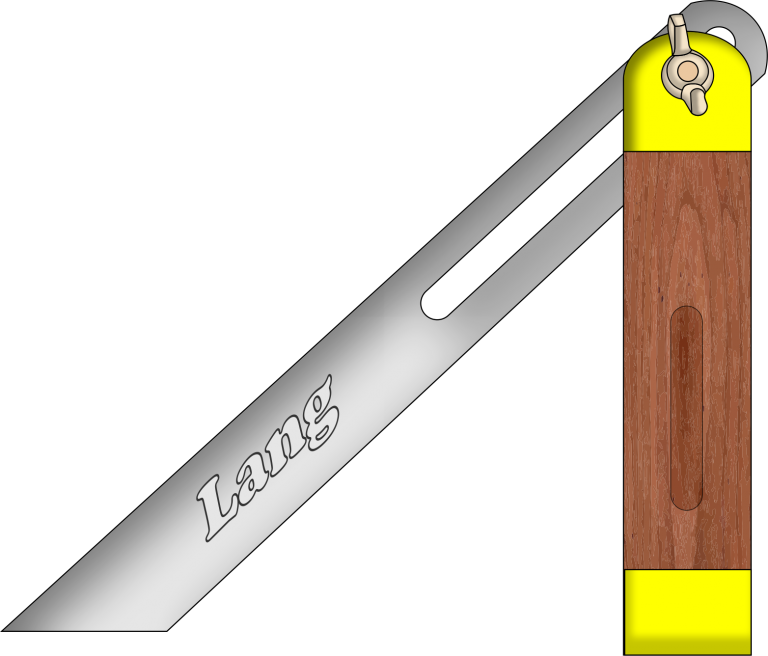
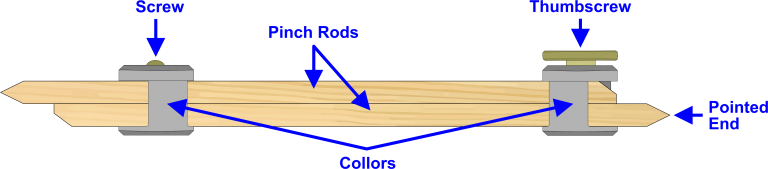
Sliding Bevel