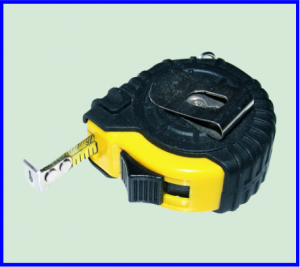
Tape Measure

Straight Edge
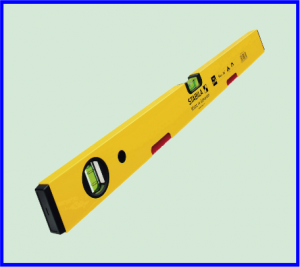
Spirit Level
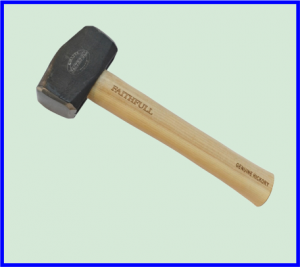
Lump Hammer
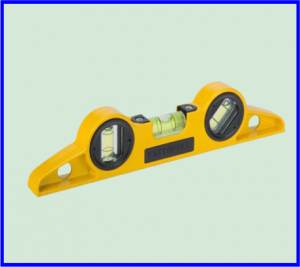
Boat Level

Fig 1

Fig 2

Fig 3


Teaching and learning resources for the construction industry with NVQ and Diploma Assessment Criteria
On a construction site, you will need to use a straight edge and spirit level on small setting out projects, for example setting pegs in a trench for a level of foundations or could be a concrete level path or gradient.
There are many applications a straight edge and spirit level can be used in the construction industry, by using the correct methods and procedures will save you costly mistakes.
Tape Measure
Straight Edge
Spirit Level
Lump Hammer
Boat Level
Straight edges can be made out of timber or can be bought commercially usually aluminium boxed straight edge.
If you using a commercial or timber straight edge it needs to be checked first for accuracy, one way is to look down the edge of the straight edge to see if it straight generally is sufficient.
An alternative method is to find a clean level surface so that you can put a thing mortar screed to the length and wider of straight. (See Fig 1)
Fig 1
Fig 2
Fig 3
Step 1
Place the bottom straight page onto the mortar screed then strike a line along the bottom part of the straight edge using a Brick Trowel. (See Fig 2)
Step 2
Flip the straight edge over so that the top of the straight edge becomes the bottom edge, then offered the straight edge to the line you have just completed. (See Fig 3)
Spirit levels can also be used as a straight edge if they are long enough, you can purchase spirit levels up to 1.8m which may not be practical to carry all the time.
You’ve checked the straight edge previously but you need to also check the spirit level for accuracy, further information please go to Checking Spirit Level For Accuracy
If you paint a letter “A” on one end of the straight edge and “B” on the opposite side this will help you to reverse the straight edge and level.
Wooden pegs are needed to help you transfer levels across the working area whether it would be a concrete path or foundations or the height of the brick wall.
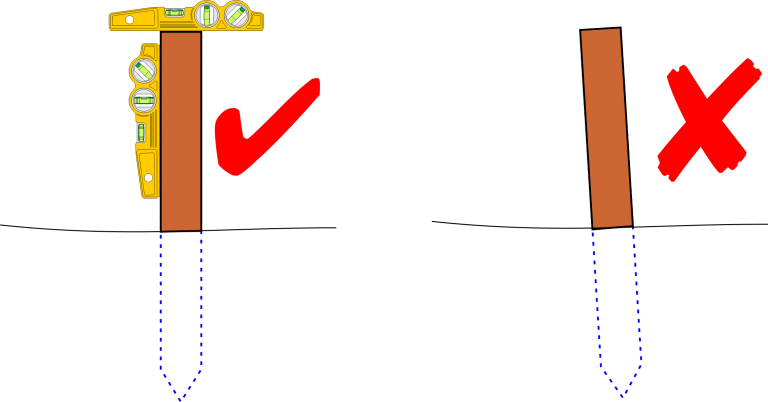
Using a lump hammer knocked down the wooden peg until spirit level reads level, it’s important that the peg is plumb and level otherwise you will get incorrect readings when placing the straight edge and level.
Your first peg is the Datum peg this is the set level which or other pegs must be level with.
Datum peg has been set into the ground to the correct height, simply place your straight edge by the Datum peg so that you can gauge where to put the second peg so that the straight edge can sit on top.
A second person makes it easier to complete the following process of transferring the level.
Place the straight edge on top of the Datum peg (A) and second peg (B) squarely with the spirit level on the top edge of the straight edge.
Remove the straight edge and level and place it down alongside the second peg making sure that the straight edge and level are in the same direction.
As before you need to place the straight edge and level by the second peg so you’re able to gauge where to place the peg 3
once the peg 3 is in the ground, this is the important part of transferring levels with a straight edge and level.
You must pick up straight edge and level and reverse both sold out the “B” is on the second peg and “A” is on peg 3, then simply knock down the peg to the required level.
Reasons why reverse a straight edge and level, if there are any inadequacies in the straight edge or level any inadequacies by reversing the straight edge and level they will correct the inadequacies.
Your wooden pegs may go up and down slightly but overall they will be level as long as you reverse a straight edge and level to an even number.