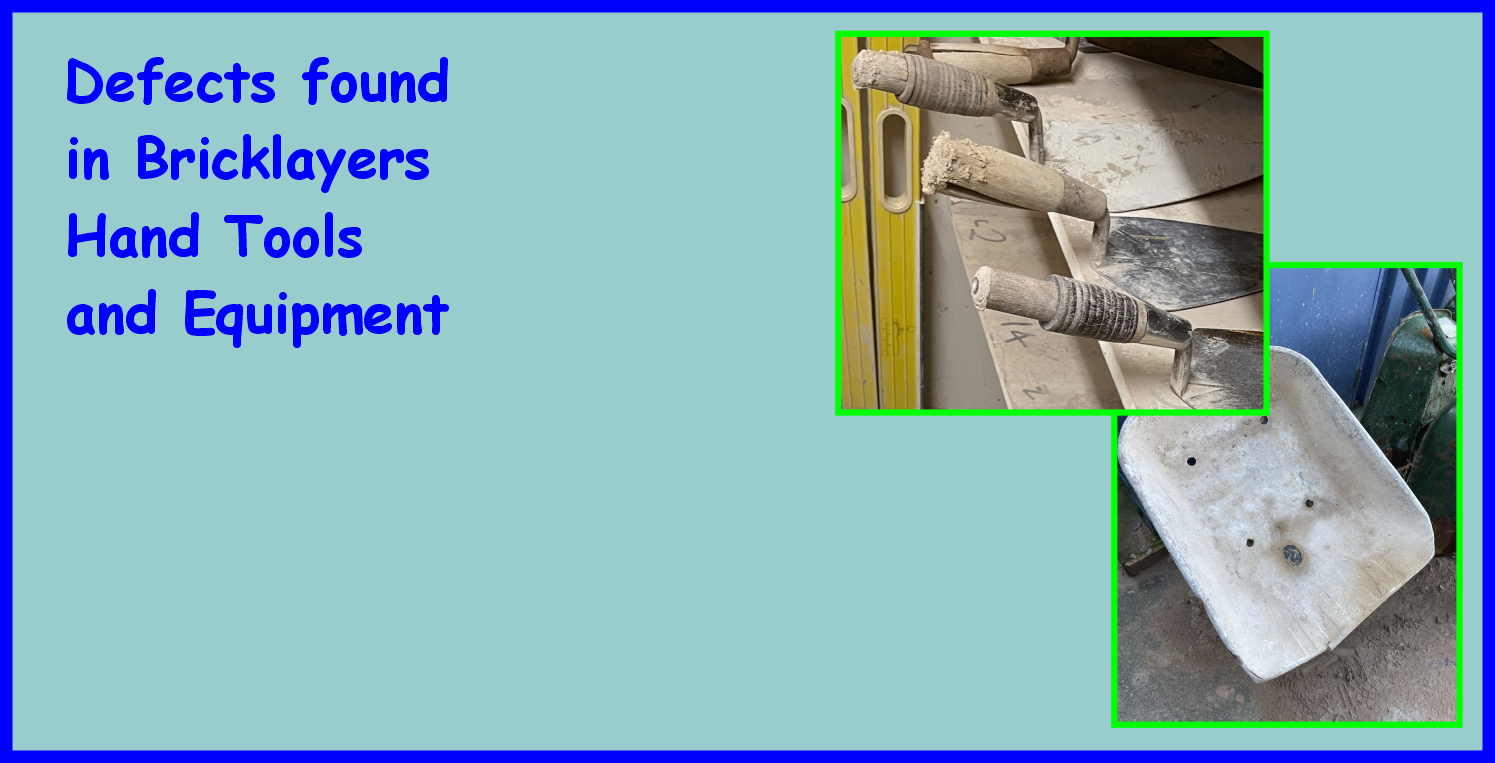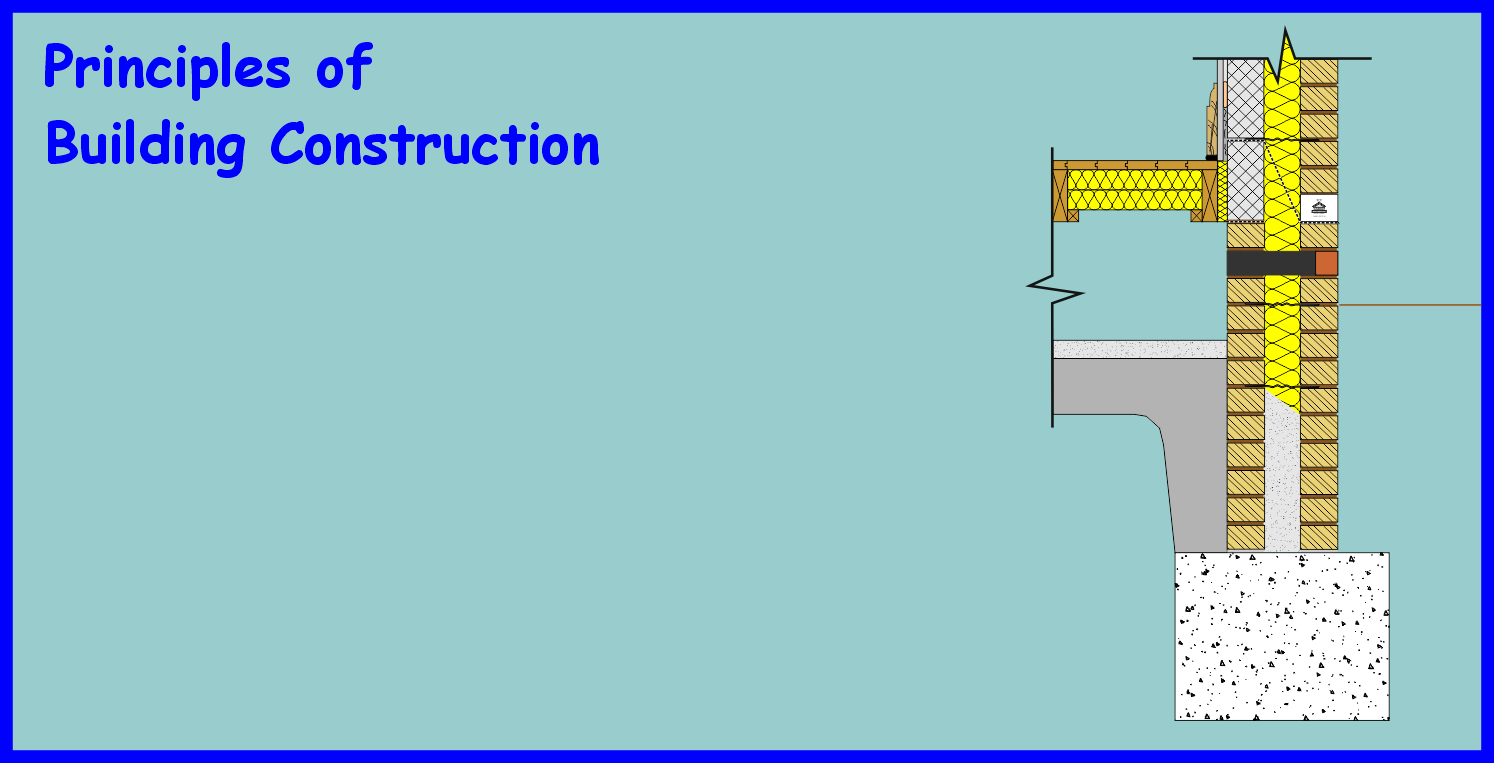
Ordnance Bench Mark
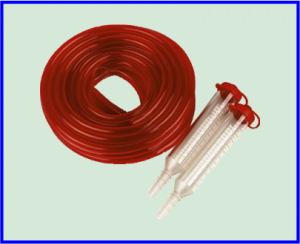
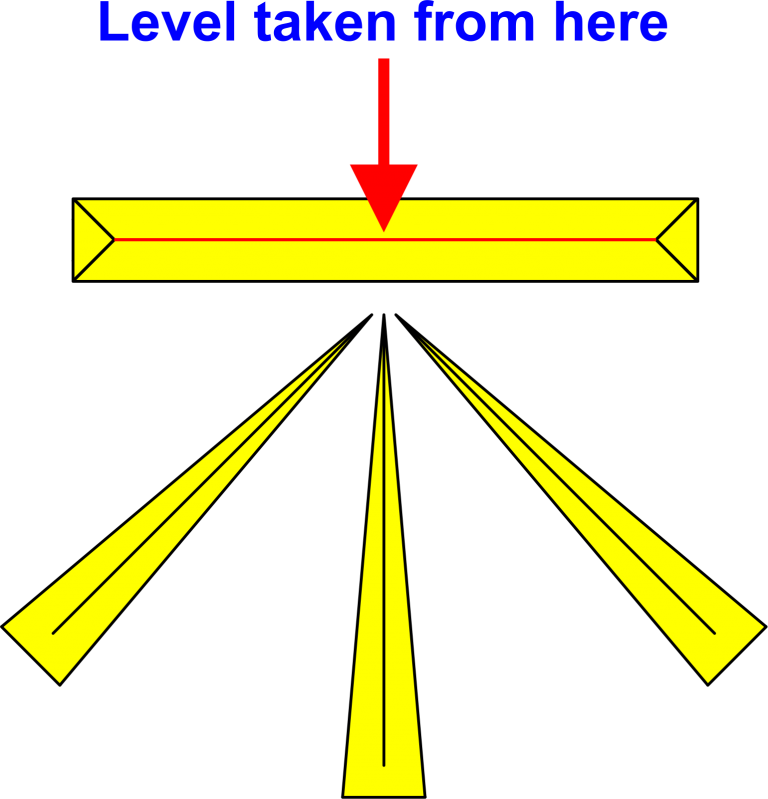
Water Level
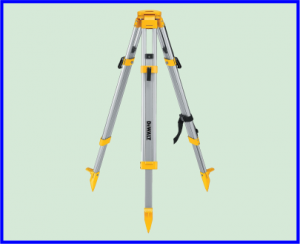
Tripod
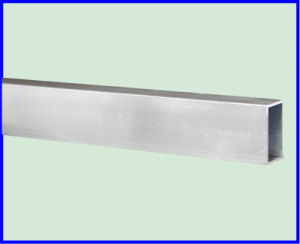
Straight Edge
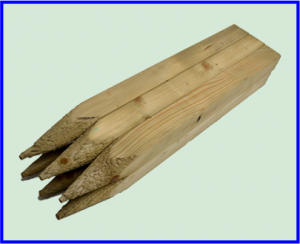
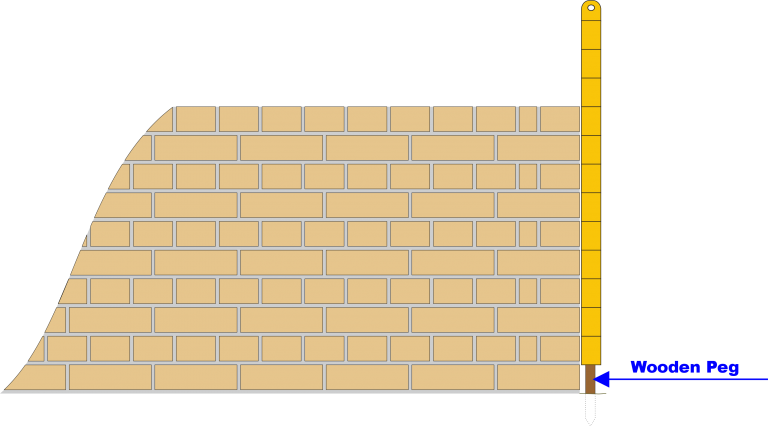
Wooden Pegs
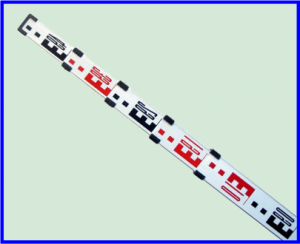
Graduated Staff Rod
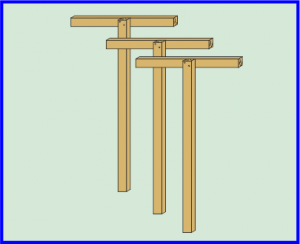
Boning Rods
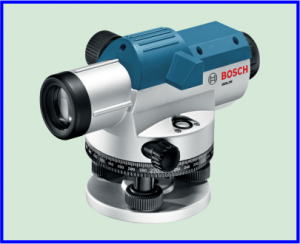
Automatic Level
Transferred from the Datum Peg
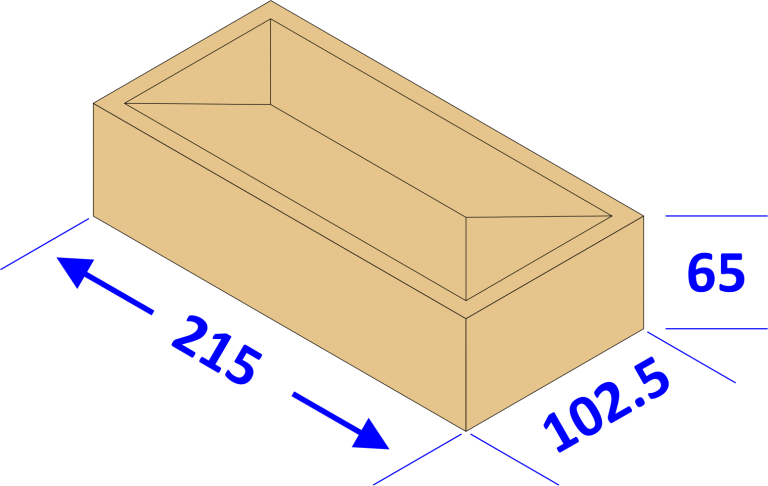
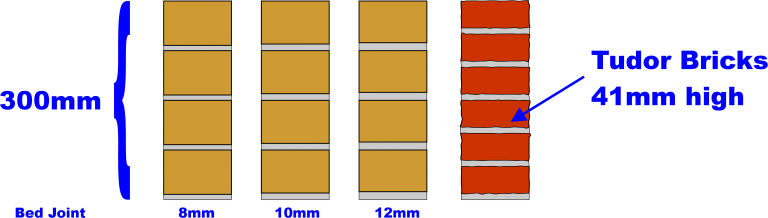
Working size of Brick
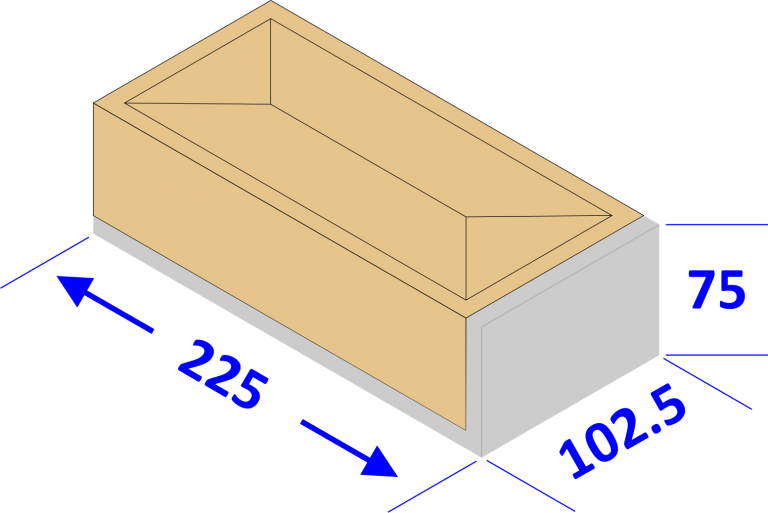
Co-ordinating Size of Brick
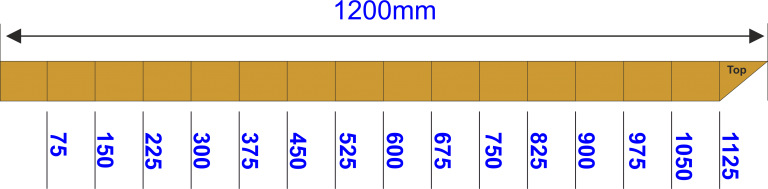
Gauge rod

Marking out Gauge Rod

Gauge rod
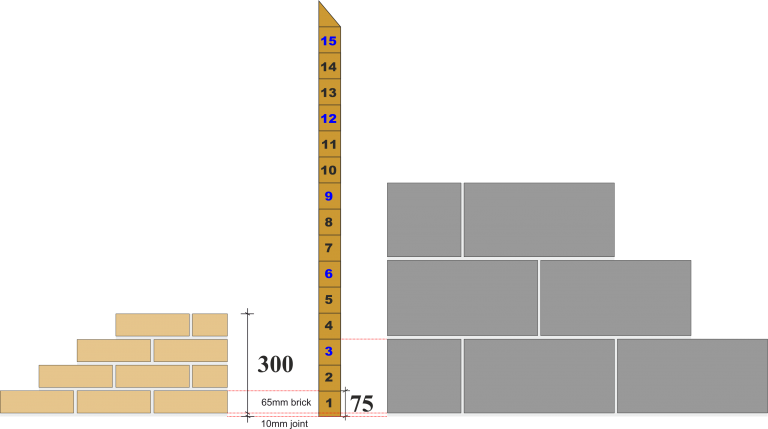
Using a Gauge Rod

Specialist Tape Measure
Using a Gauge Rod
Bedding Bricks to Gauge
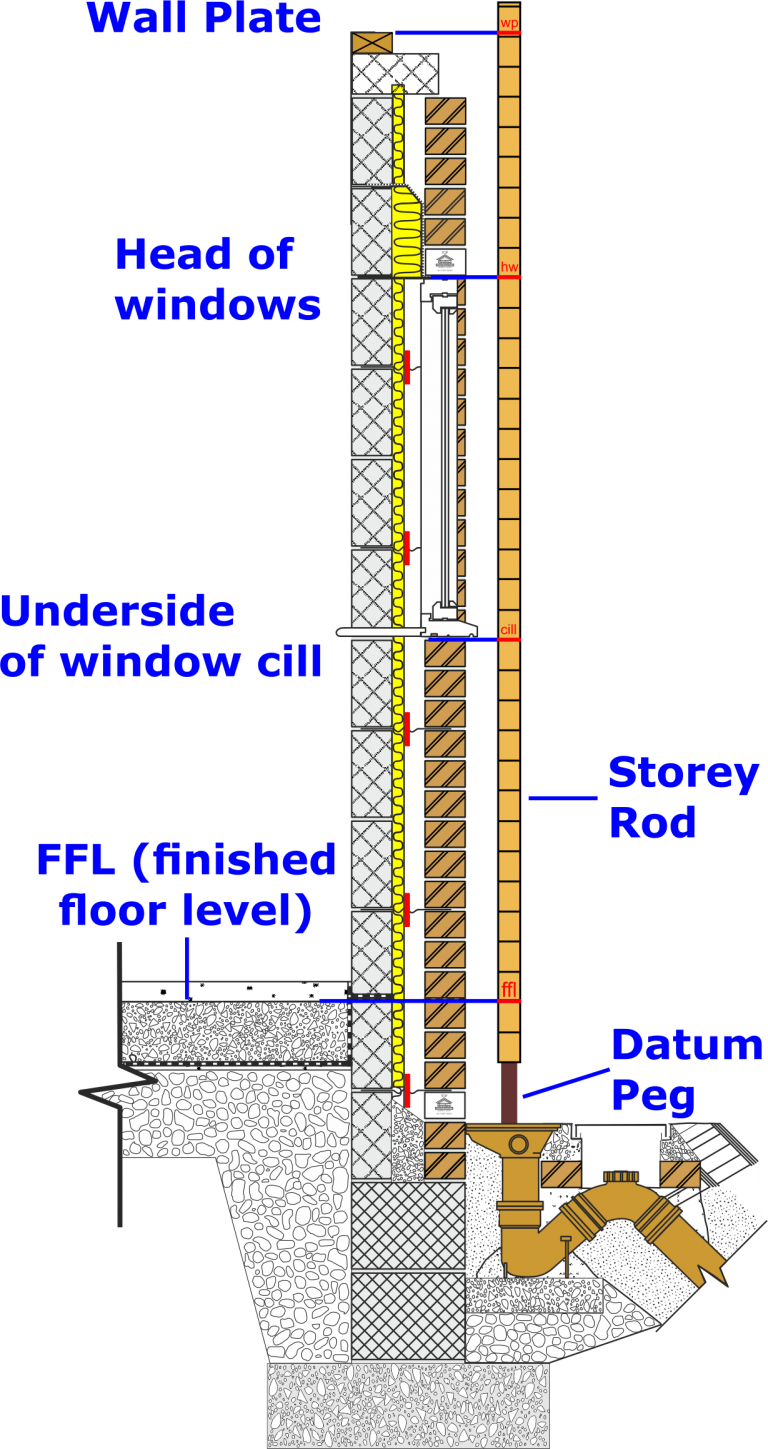
Using a Storey Rod