Dual Cartridge Skeleton Gun
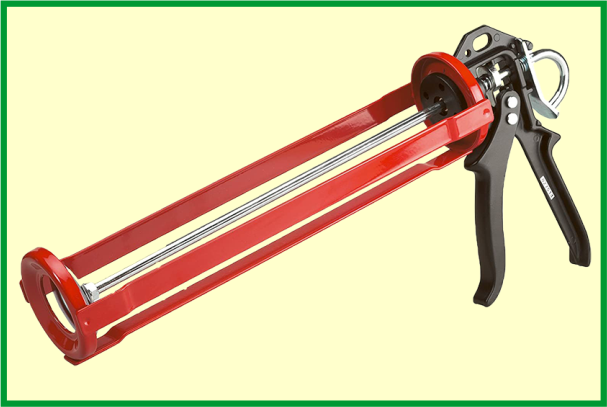
Dripless Skeleton Gun
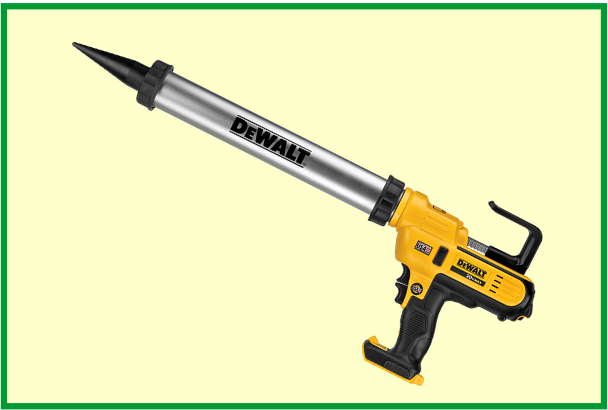
DEWALT Cordless Skeleton Gun
Foil Pack Skeleton Gun
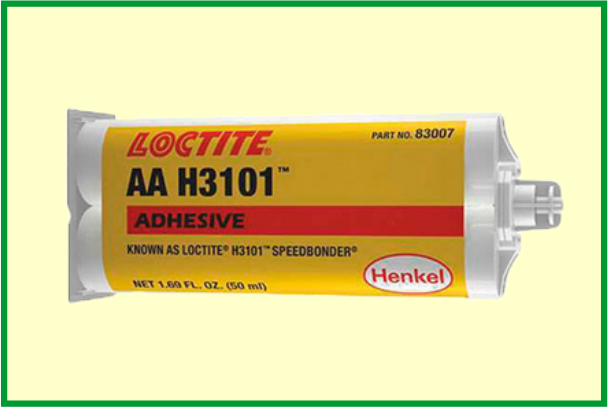
Dual Cartridge
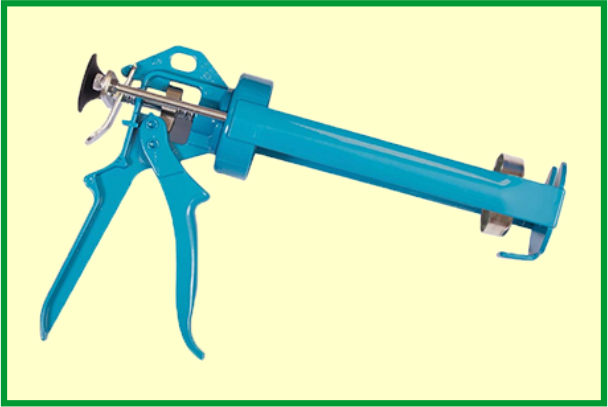
High Quality Skeleton Gun
Foil Packs
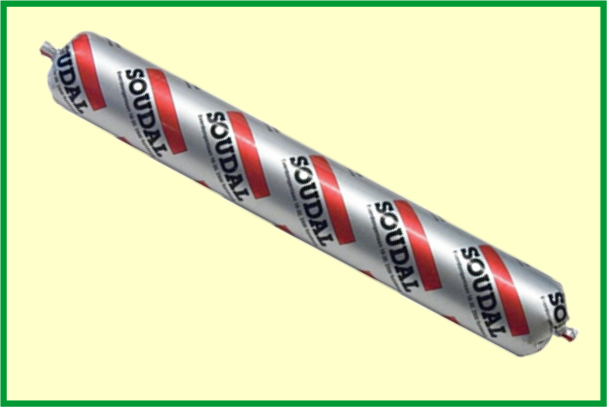
Jumbo Skeleton Gun 900ml
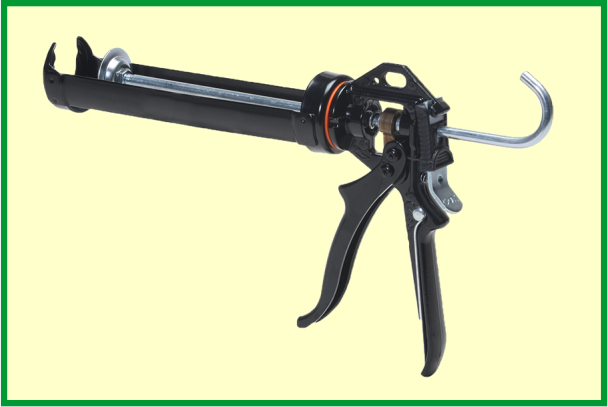
High-Pressure Skeleton Gun
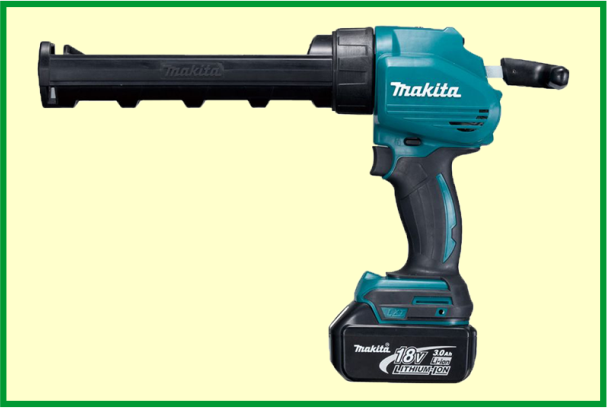
Makita Cordless Skeleton Gun
10" Skeleton Gun
Thrust Ratio on Skeleton Gun
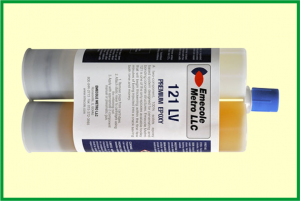
Dual Cartridge
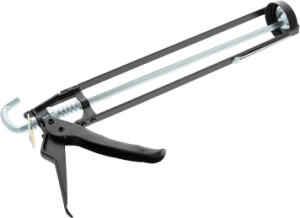
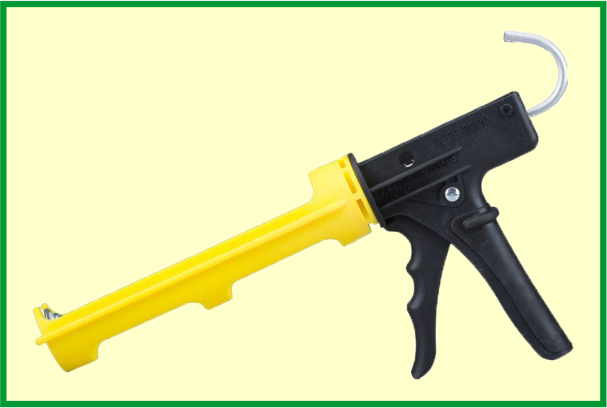
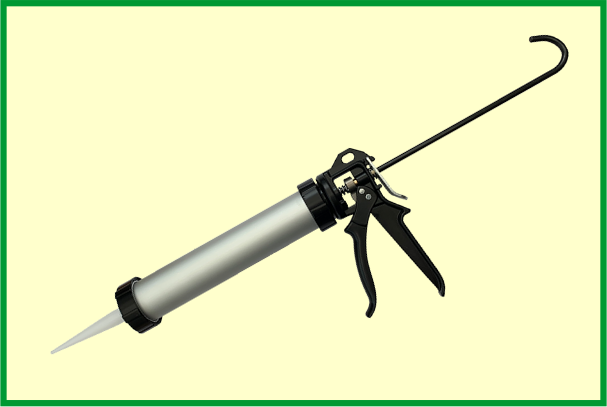
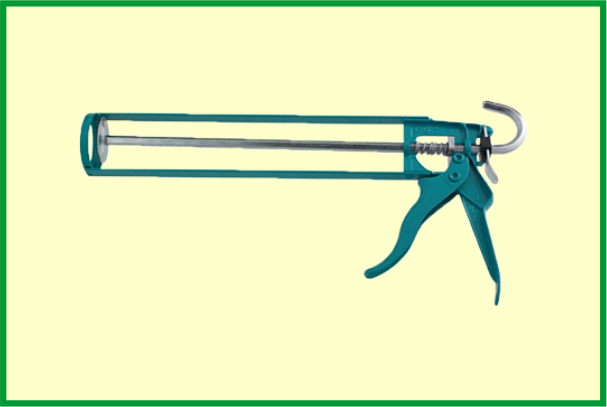
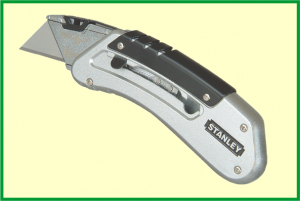
Skeleton Gun
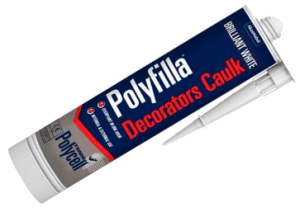
Caulk
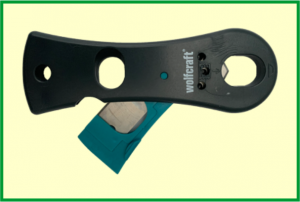
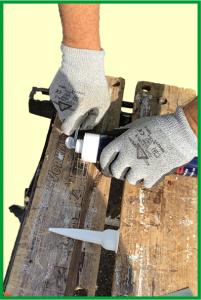
Cartridge Knife
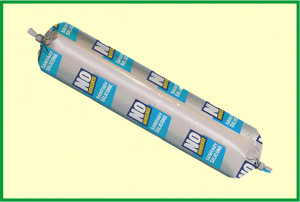
Foil Packs
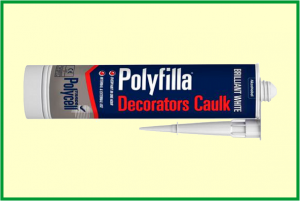
Decorators Caulk
Trimming Knife
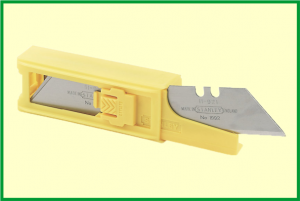
Trimming Knife Blades
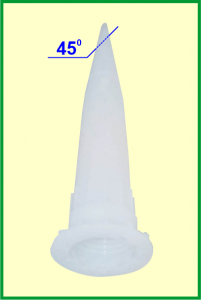
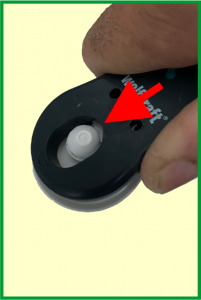
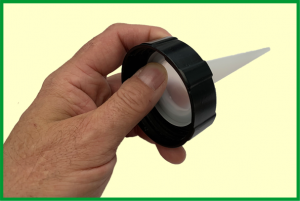
Cut the Nozzle at 45°
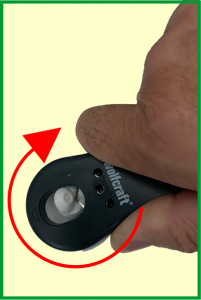
Cutting the Nozzle
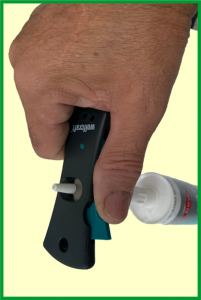
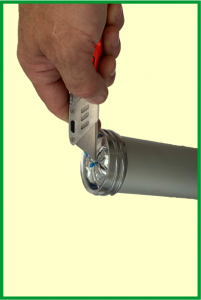
Cutting the Cartridge
Cutting the Nozzle
Cutting the Cartridge Step 1
Cutting the Cartridge Step 2
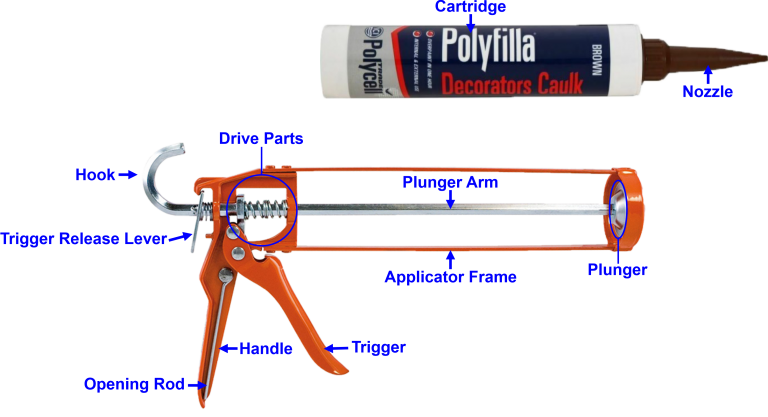
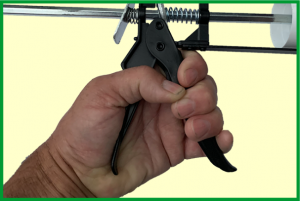
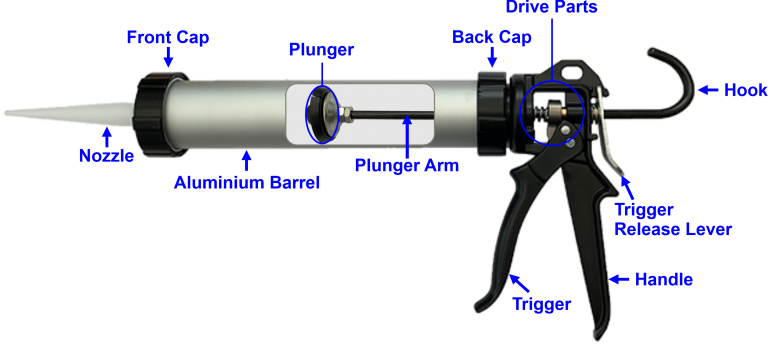
Trigger Release Lever

Plunger Arm Hook

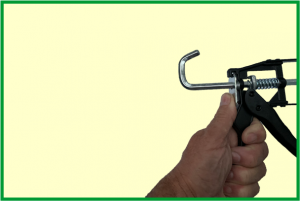
Cartridge inside the Applicator Frame
Plunger Fits inside the Cartridge
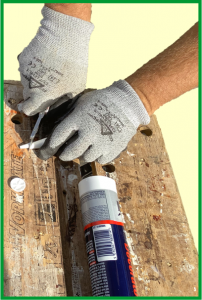
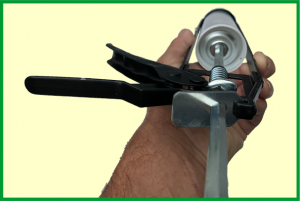
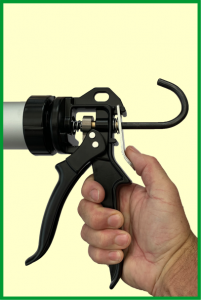
Pressing the Trigger

Cut the Nozzle at 45°
Front Cap
Trigger Release Lever
Plunger Arm Hook
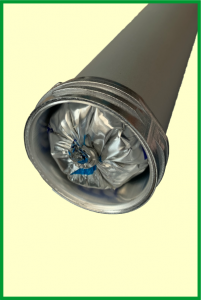
Loaded Foil Pack
Cutting the Foil Pack
Nozzle Inside the Front Cap

Pressing the Trigger
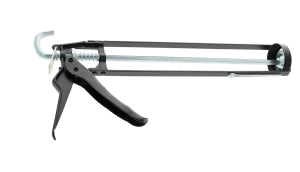
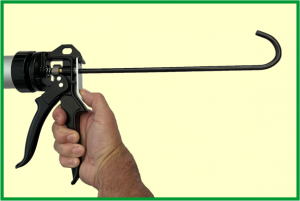
Skeleton Gun

Components of a Foil Pack Skeleton Gun