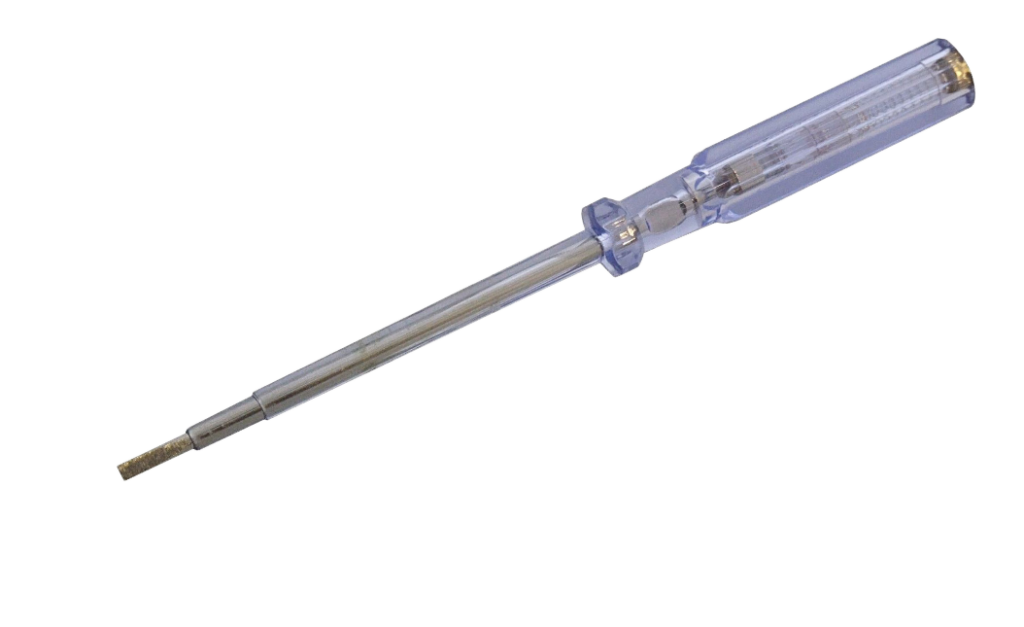
Small Screwdriver
Slips and Trips
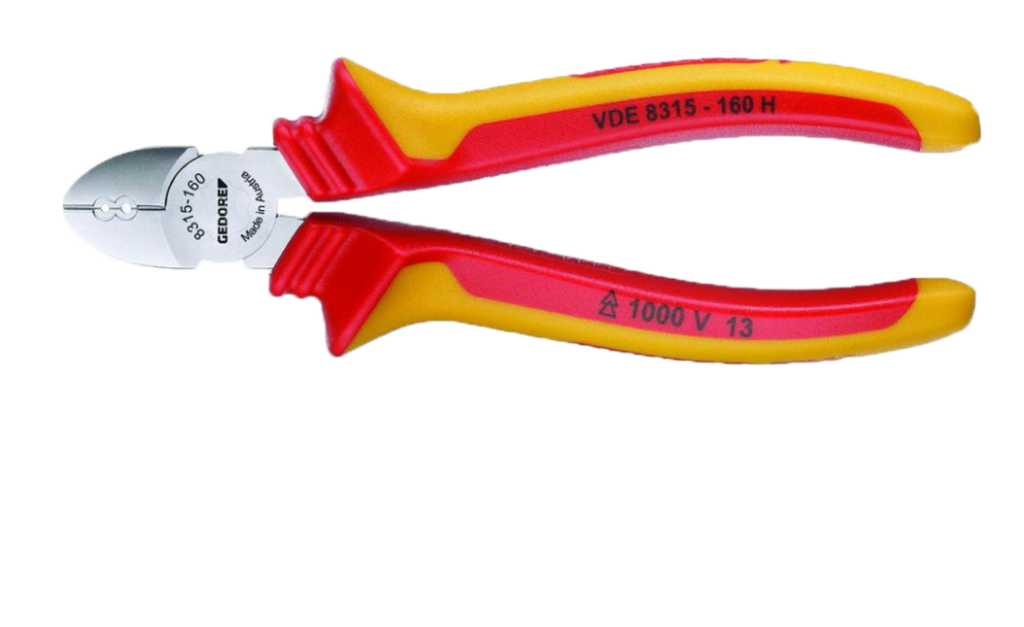
Side Cutters
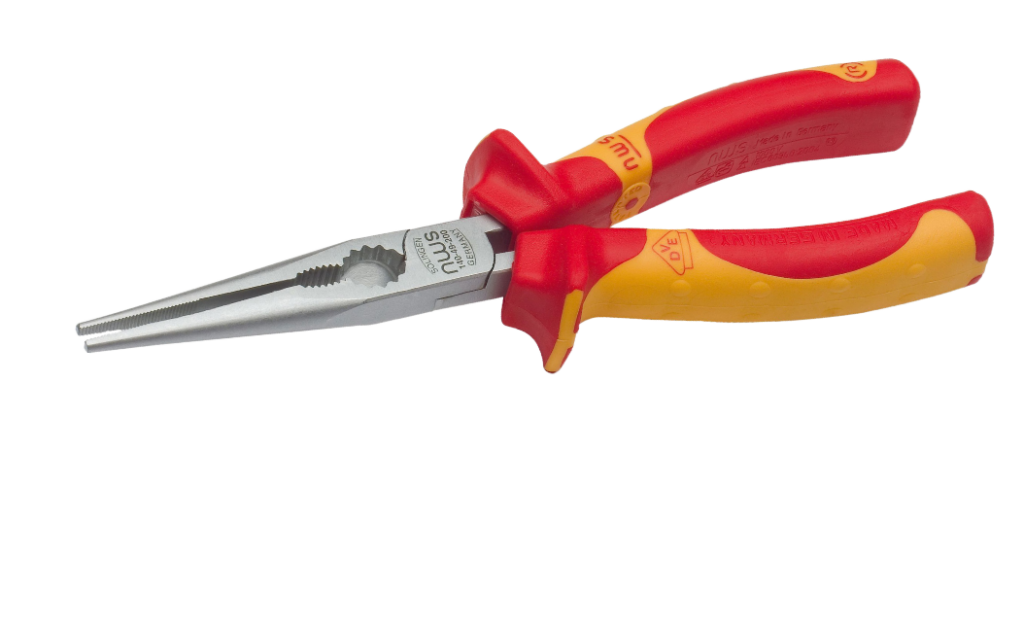
Long Nose Pliers
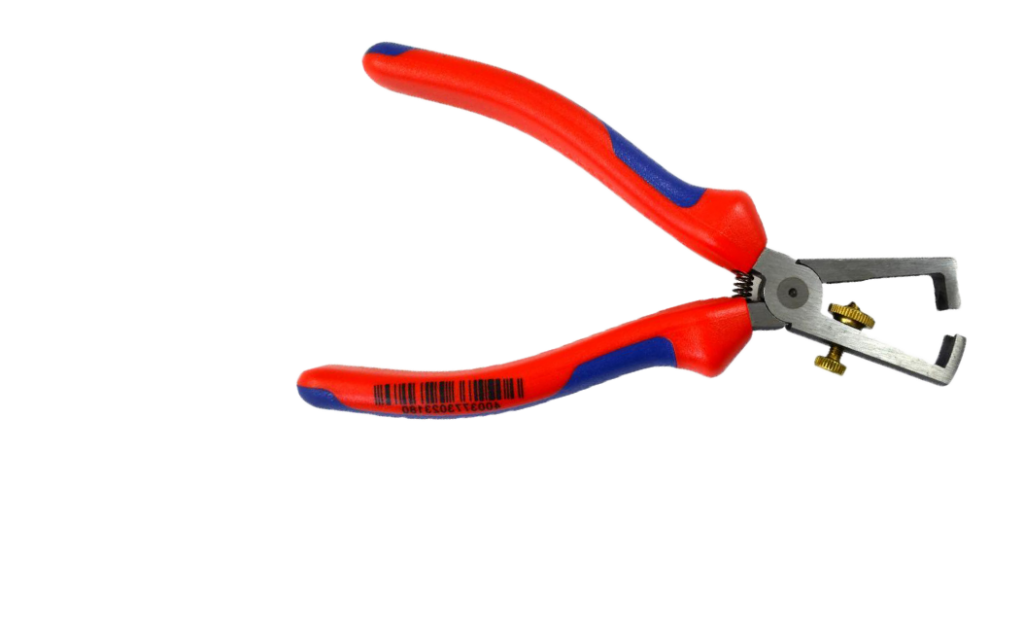
Insulation Strip


Teaching and learning resources for the construction industry with NVQ and Diploma Assessment Criteria
Before doing any electrical work you must ensure you have
turned off electric supply or unplug the appliance before starting.
Common causes of electrical faults is an incorrectly wired 13 amp plug, the correct way is not difficult just follow the guidance in this how-to.
There are some basic tools that you need to carry out this activity
Small Screwdriver
Slips and Trips
Side Cutters
Long Nose Pliers
Insulation Strip
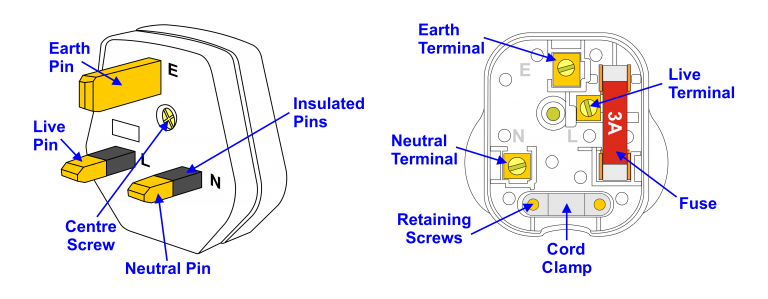
Components of a 13 amp plug
An electrical appliance which is double insulated does not have an earth wire fitted
Replacing a Faulty Plug
Don’t fit a new plug onto flex that has burnt conductors or broken wire filaments.
Crop the damaged end off the flex, cutting it back to a section of sound sheathing and insulation.
Make sure that the new plug is to British standards BS 1363 (Type G Plug)
The plug is designed to incorporate several safety features like
Insulated Pins
a layer of plastic is placed around the pins to protect you from touching the pins with your fingers when removing or replacing a plug into the socket
Polarised Pins
The pins are designed in such a way that you cannot insert them upside down reversing alive to the neutral as a safeguarding feature
Long Earth Pin
Earthed pin ensures that appliances are earthed during plug insertion before the two power pins make contact with the socket.
Cord Clamp
The clamp ensures that you cannot pull on the cord and removing the wires from the terminals cause a short circuit.
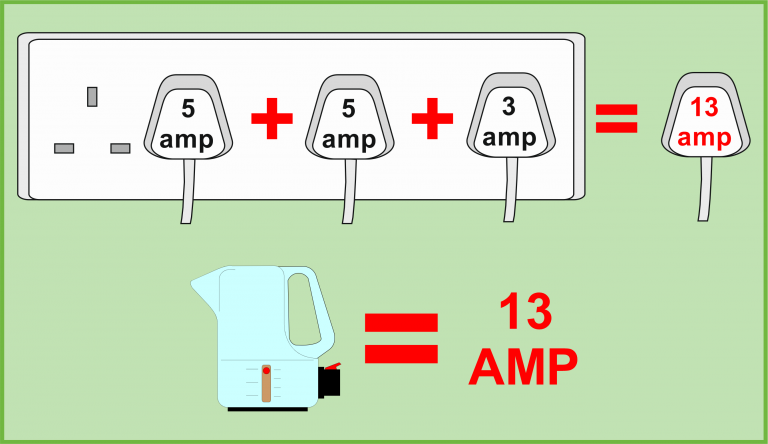
Using Extension Bar and Fuses
If you need more plug is done there are sockets use an extension bar, making sure you do not overloads the extension bar with appliances which go over 13 amp.
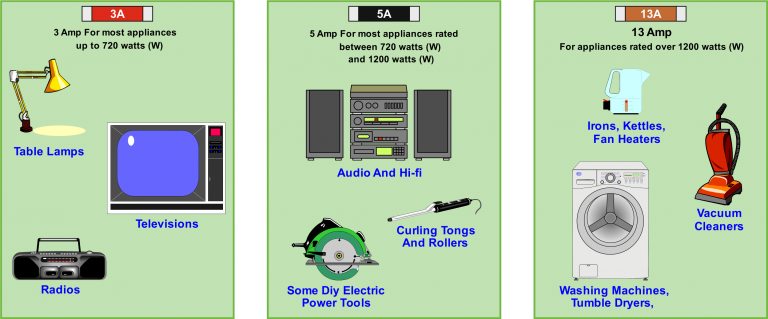
Types of Fuses
The BS 1362 fuse is generally found in domestic plugs and the function of the fuse Is designed to destroy itself (or ‘blows’) and breaks the circuit should the current exceed the rating of the fuse which safeguard yourself and the appliance.
Once a fuse has blown you need to choose the correct fuse for the right appliance, as a rule, don’t insert a 13 amp fuse even temporary into a plug connected to the appliance rated at less than 720 watts.
The appliance will work perfectly okay but, any faults will be undetected and can lead to damage to appliance all yourself.
Don’t Fiddle with Electrics
Use the following steps to
replace a Electric 13 amp Plug
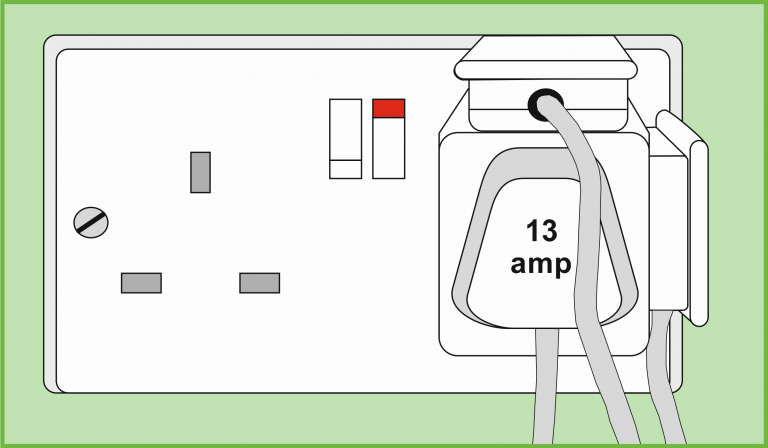
Remove the top of the plug by unscrewing the centre screw on the underside of the plug and loosen the retaining screws enough room to insert the cord.
Place the cord in the centre of the plug and in line with the top of the plug.
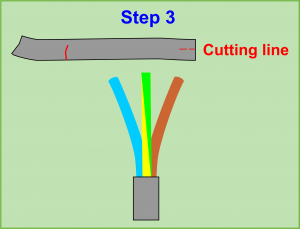
Mark the cord in line with the cord clamp.
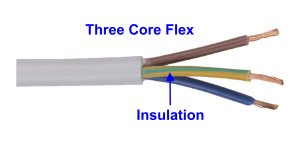
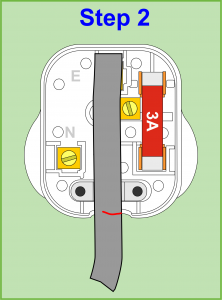
Remove the outer sheath of the three-core by using Side Cutters to make a small cut on the end of the sheath.
Using the Long Nose Pliers pull out earth Conductor and drawdown to the mark on the sheath.
Fold back the outer sheath and pulled down to the line once again using your Side Cutters cut the outer sheath around the mark.
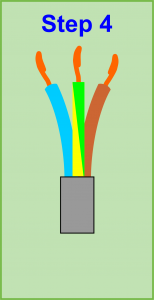
Using Insulation Strip, remove about 10mm of insulation from the end of each conductor, then twist the wire filaments together or fold-over.
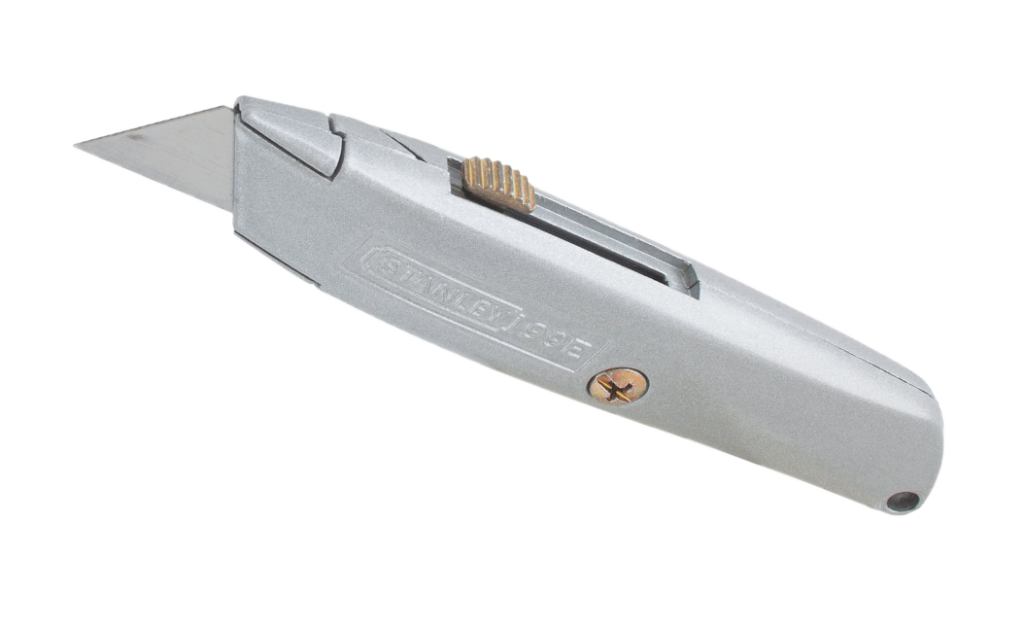
If you haven’t got insulation strippers then use a Craft Knife, you need to be extra careful when using this handle, always cut away from yourself.
Whichever way you bare the insulation, it’s important to avoid breaking any strands of the copper conductor.
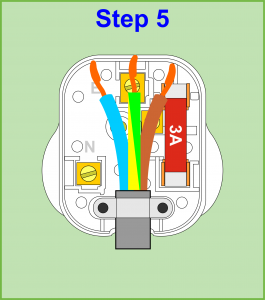
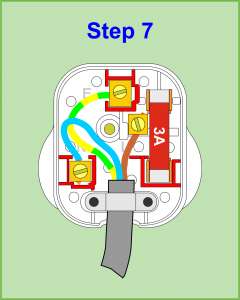
Now loosen the cable clamp on the plug (by undoing the two Retaining Screws on the bottom of the plug) then feed in the core flex.
Twist the flex so that the neutral wire (Blue) is to the left, the live (Brown) is to the right.
Tighten the Cord Clamp so the flex is held firmly in place as shown (Make sure the cable clamp is gripping the outer sleeve of the cable, not the coloured wires).
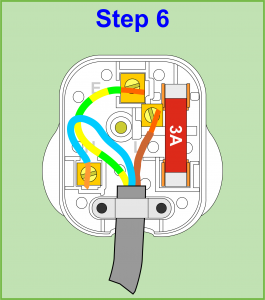
Using your Small Screwdriver unscrew the pin screws making sure that you don’t completely remove them, I was very fiddly to get back in.
Offer each conductor wire to the correct pin and trim off as required.
Making sure you have twisted or bent over the conductor wire into the pinhole then tighten up the screw to ensure securely secured.
Before place in the top cover of the plug doublecheck all connections and make sure that the wires are not over the Plastic Uprights inside the plug.
Otherwise you’ll find it difficult to close and you could also damage the wires.