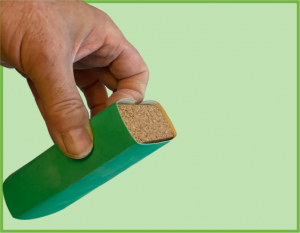
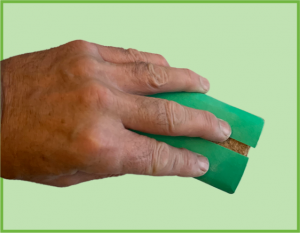
Rubber Sanding Block
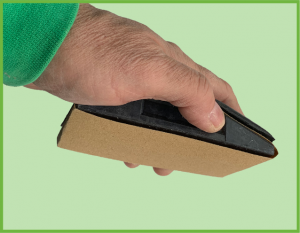
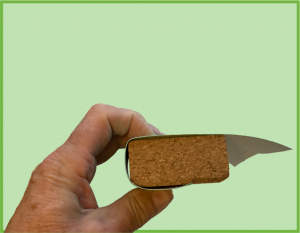
Cork Sanding Block
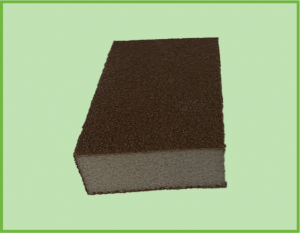
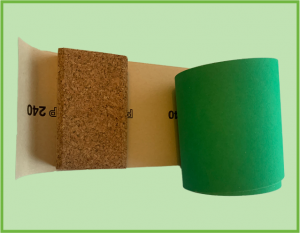
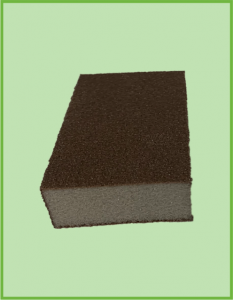
Sandpaper Sponge
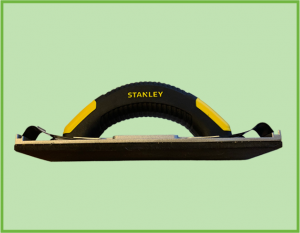
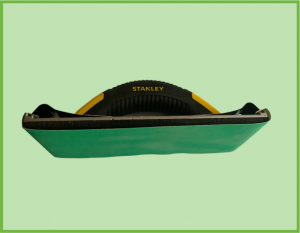
Hand Sanders

Hand Sanders
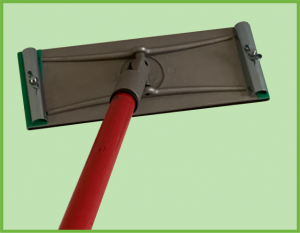
Head Sanders
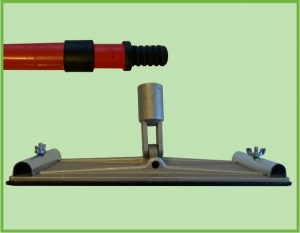
Head Sanders with Pole
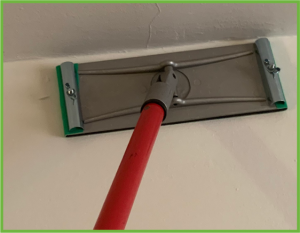
Head Sanders with Pole

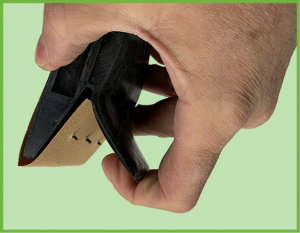
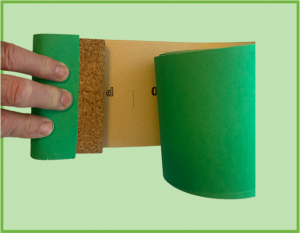
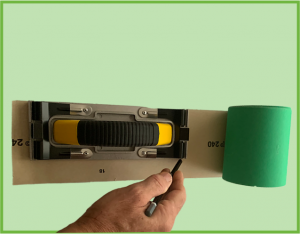
Hand Sanders Step 1
Hand Sanders Step 2

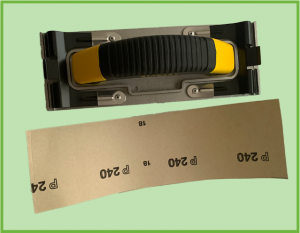
Hand Sanders Step 3
Hand Sanders Step 4

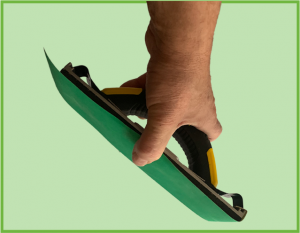
Hand Sanders Step 5
Hand Sanders Side View
Head Sanders
Head Sanders with Pole
Head Sanders with Pole
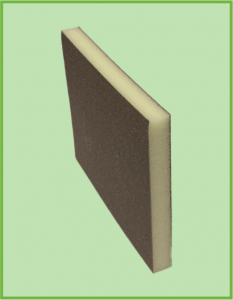
Sandpaper Sponge
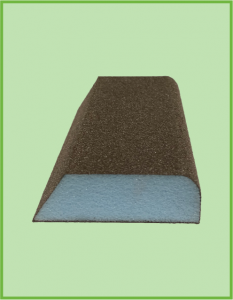
Sandpaper Sponge Pad
Sandpaper Sponge