Safety Gloves

Safety Goggles

Safety Face Mask


Chisel Knife
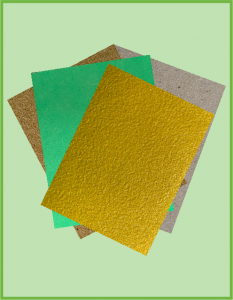
Select a Suitable Grit
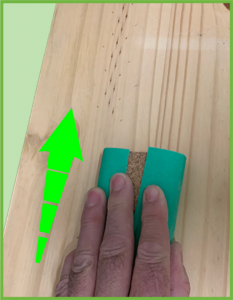
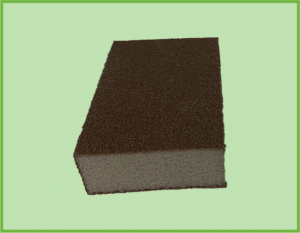
Using Block Sanders
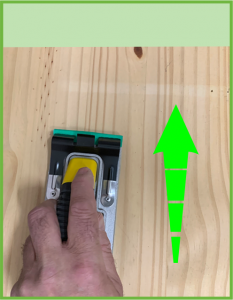
Using Hand Sanders
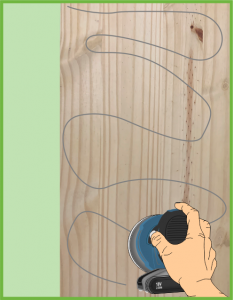
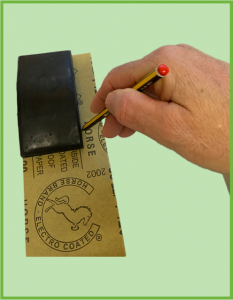
Sanding Pencil Visual Aid
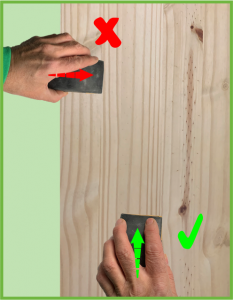
direction of the wood grain
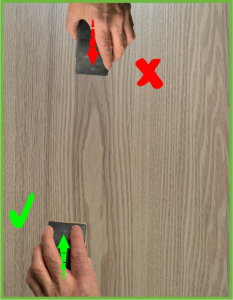
direction of the wood grain

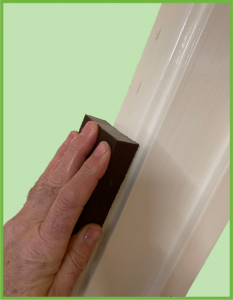
Sanding Edges and Corners
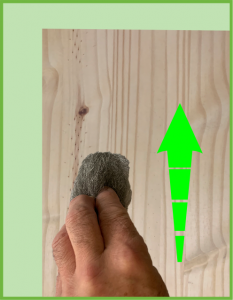
Using Wire Wool
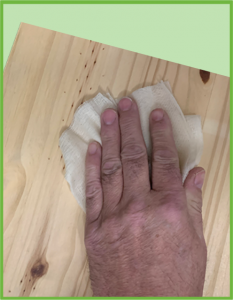
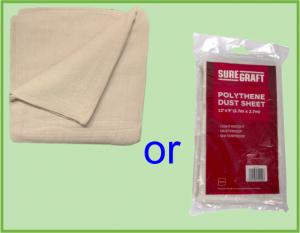
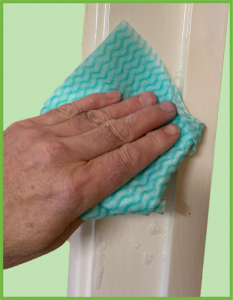
Cleaning Wood Surface
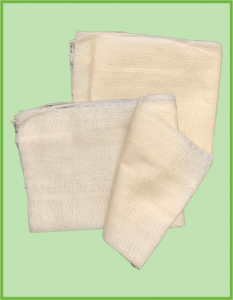
Tack Cloth

Wet and Dry Glasspaper
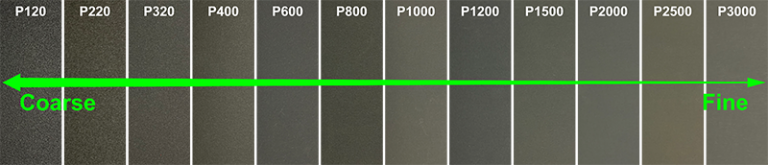
Wet Sanding Grit Size
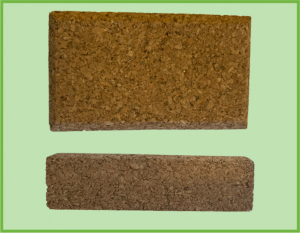
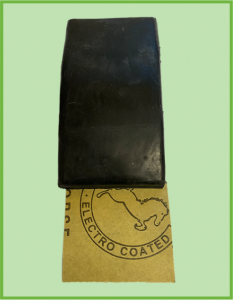
Rubber Sanding Block Step 1

Rubber Sanding Block Step 2
Rubber Sanding Block Step 3

Rubber Sanding Block Step 4

Rubber Sanding Block Complete


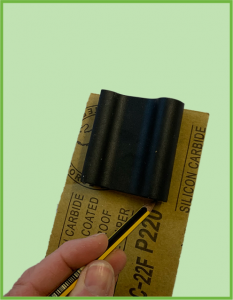
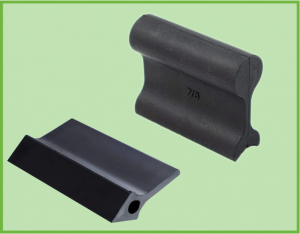
Contour Sanding Grips Step 1

Contour Sanding Grips Step 2

Contour Sanding Grips Step 3

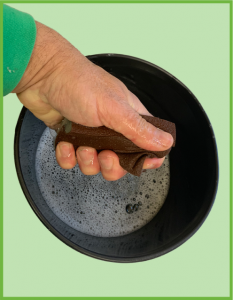
Preparation Step 1

Wet Process Sanding Step 2
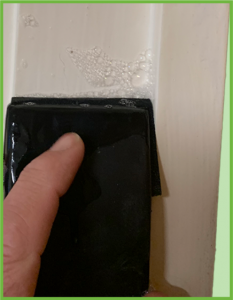
Wet Process Sanding Step 3
Wet Process Sanding Step 4
Wet Process Sanding Step 5
Wet Process Sanding Step 6
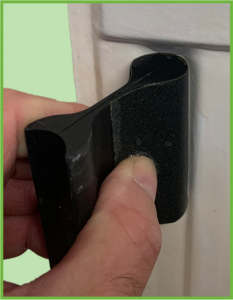
Contour Sanding Grip