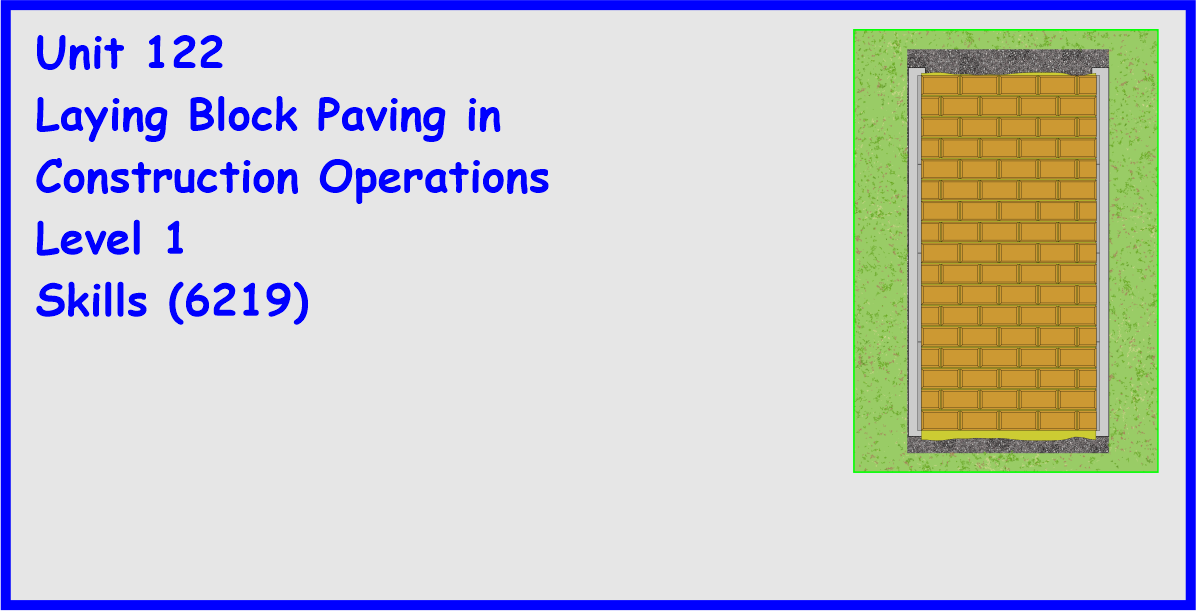
Trimming Knife or Scissors

Wire Wool
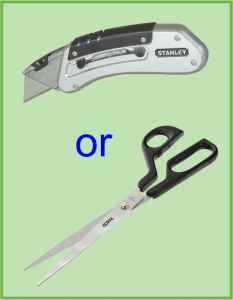
Tack Cloth or Lint Free Cloth
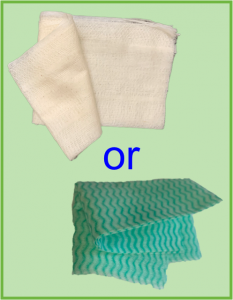
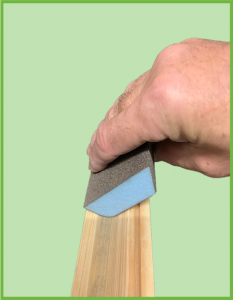
Sanding Sponge

Sanding Sponge
Pencil

Portable Hoover

Natural Jute Twine
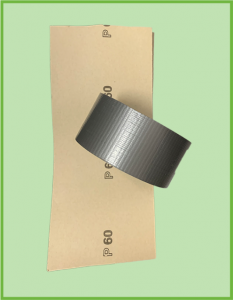
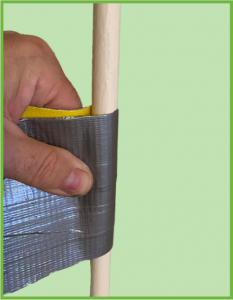
Glasspaper and Duct Tape

Dusting Brush
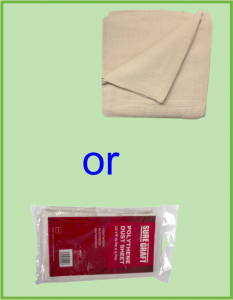
Dust Sheets
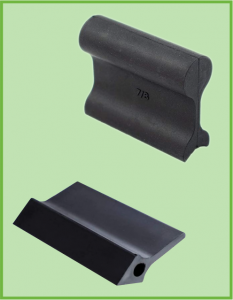
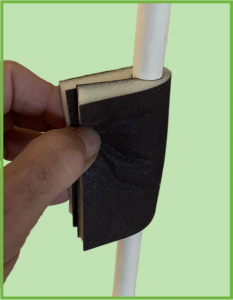
Contour Sanding Grips
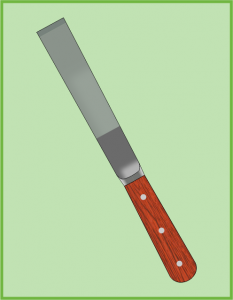
Chisel Knife
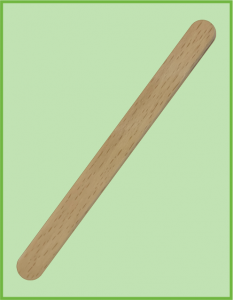
Lollipop Stick or Scrap Timber
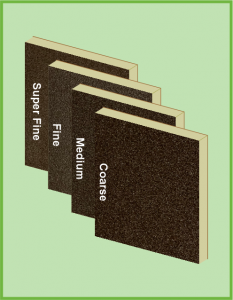
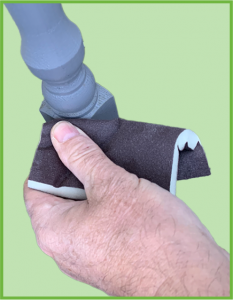
Selection of Sanding Pads
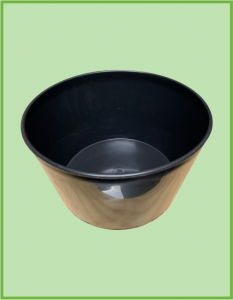
Plastic Container
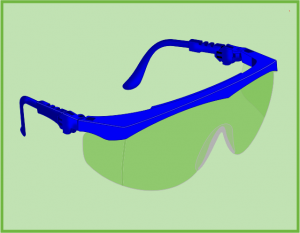
Safety Goggles

Safety Gloves
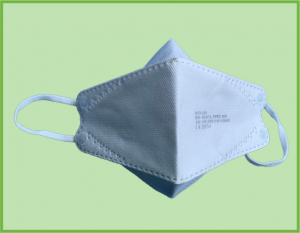
Safety Face Mask
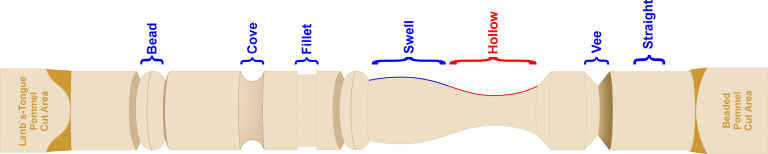
Dado Rail

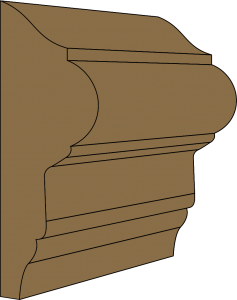
Architrave
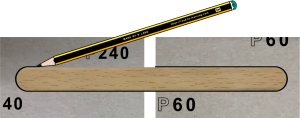
fig 1

fig 2

fig 3
Sanding Sponge
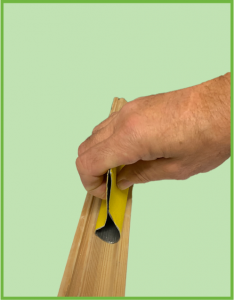
Sanding Pad

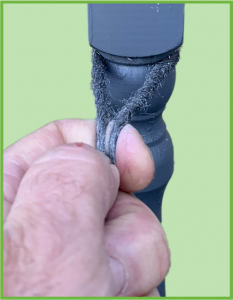
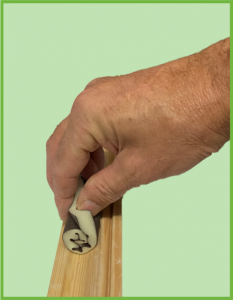
Sanding with Wire Wool
Sanding with Wire Wool
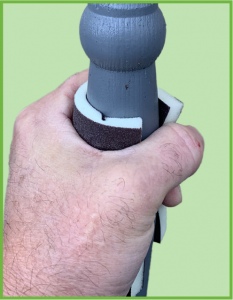
Sanding with Pad
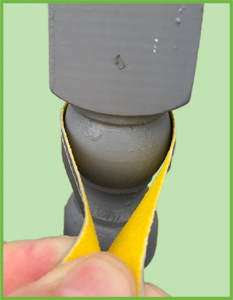
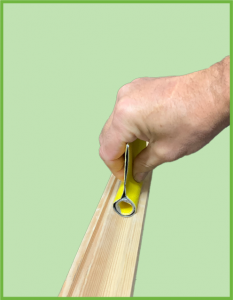
Sanding Bead Area
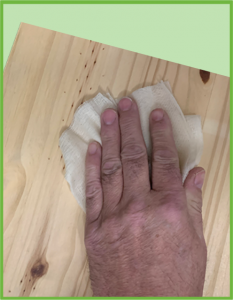
Cleaning Wood Surface