Step 1
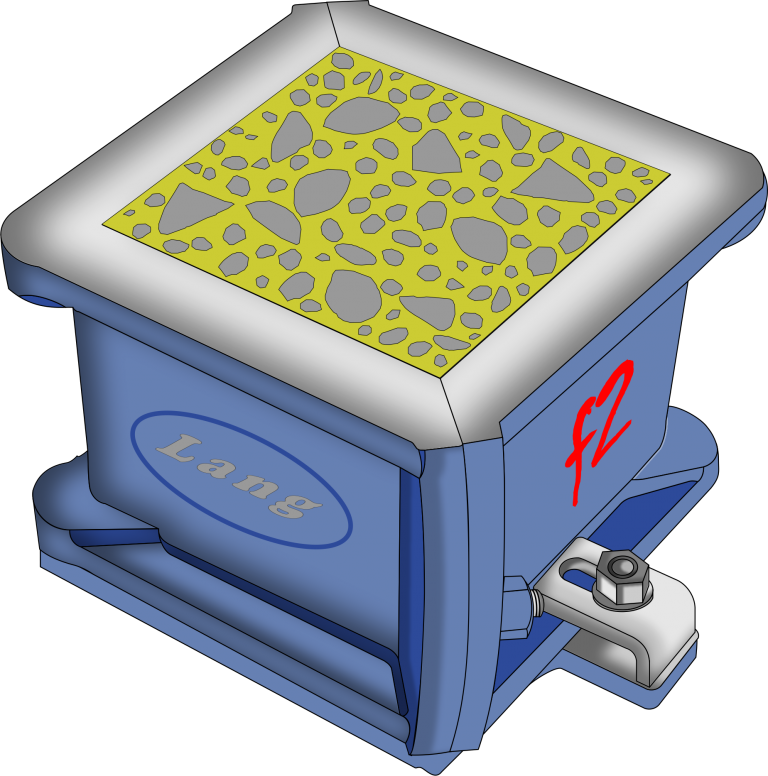
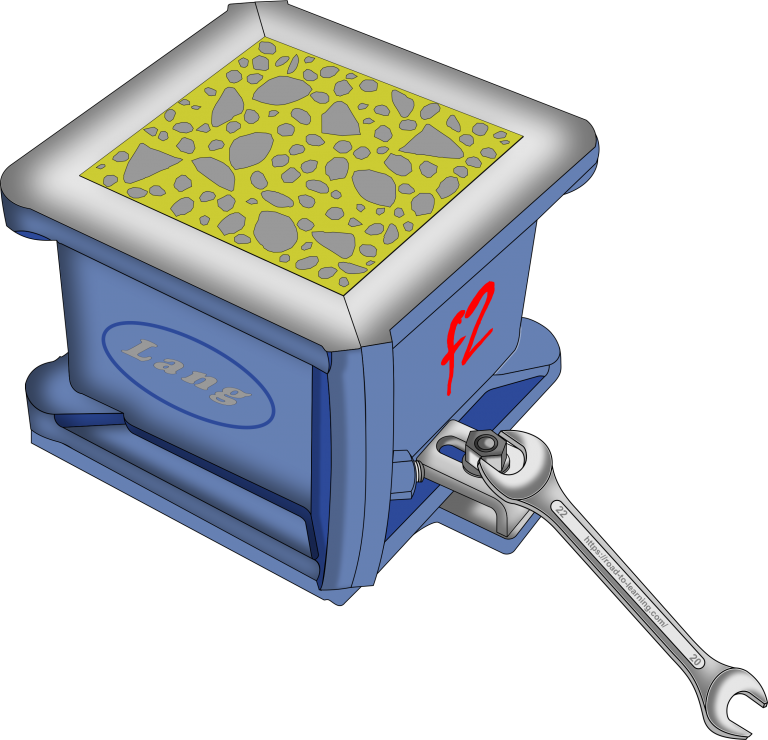
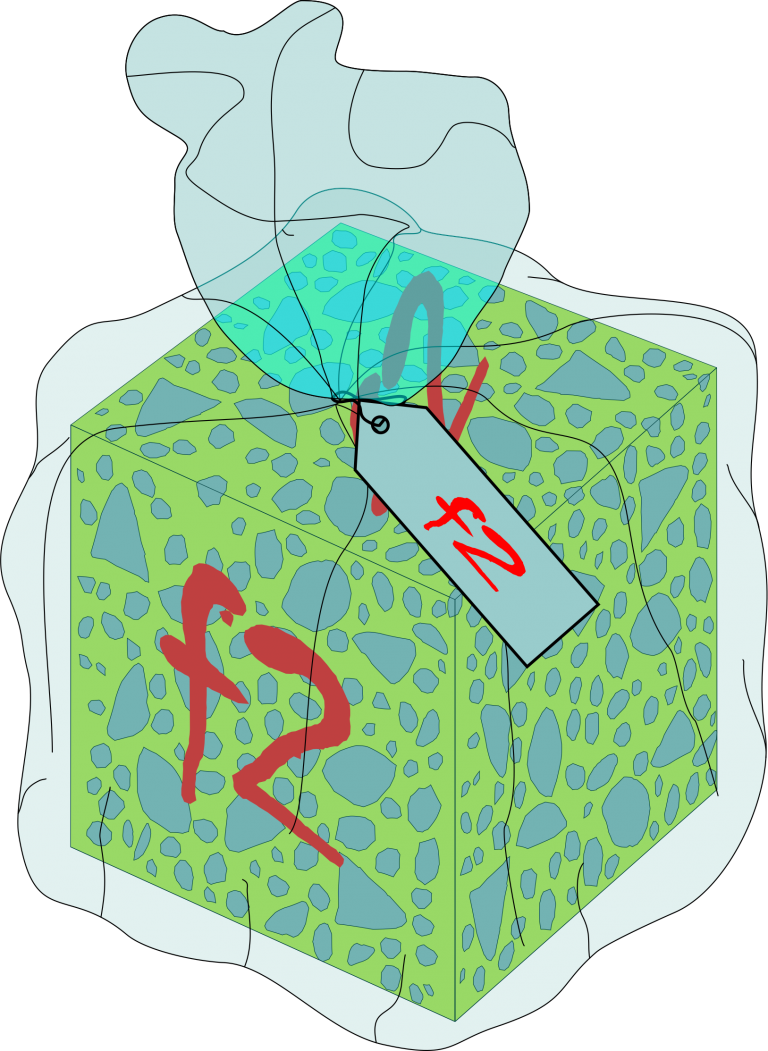
Concrete Cube Mould
Step 1
Step 2
Step 3
Step 4

Step 5
Step 6
Step 7

Step 8
Step 9
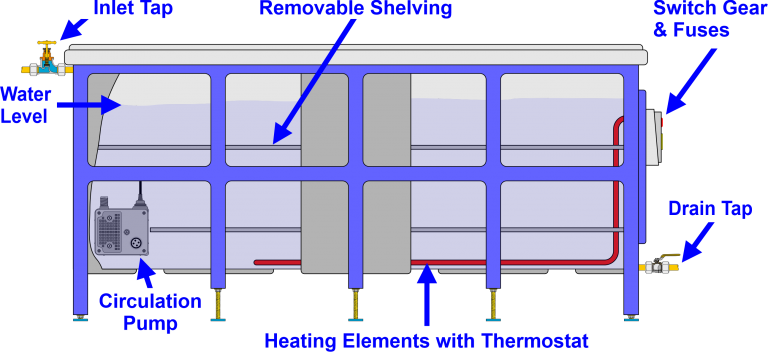
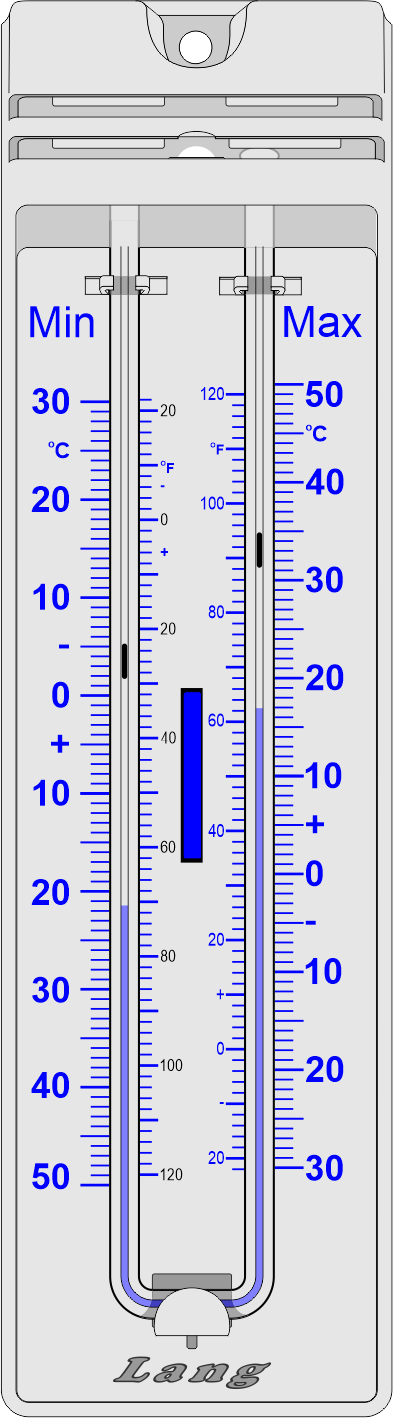
Concrete Cube Curing Tank
Step 10
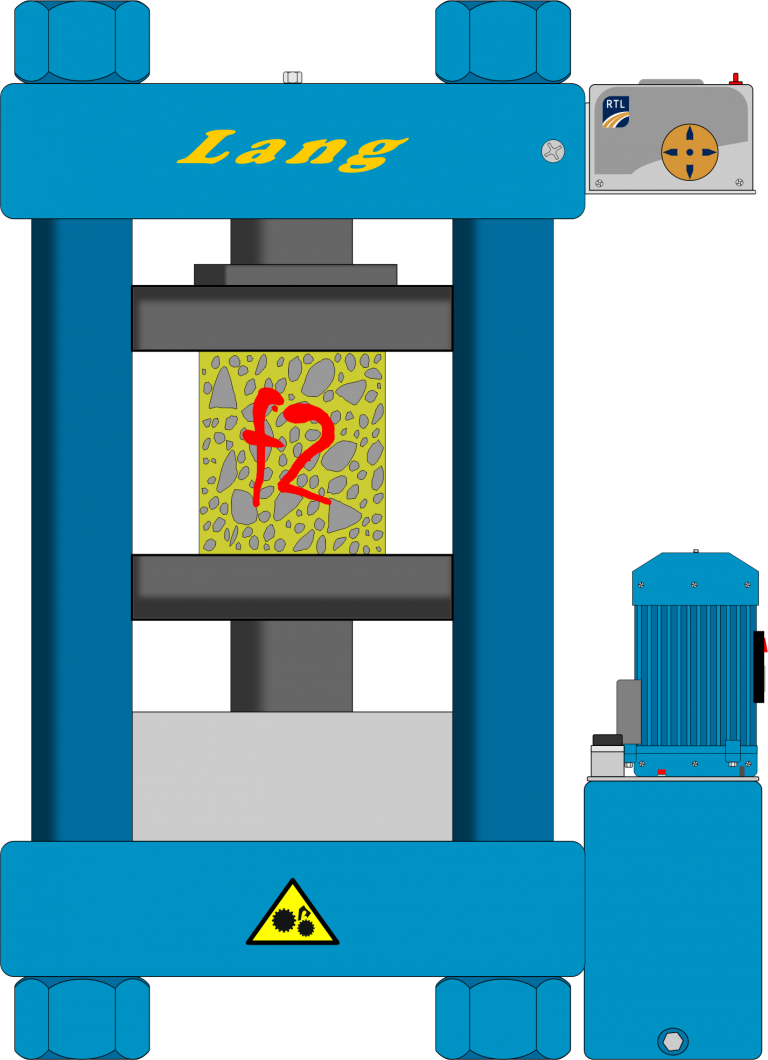
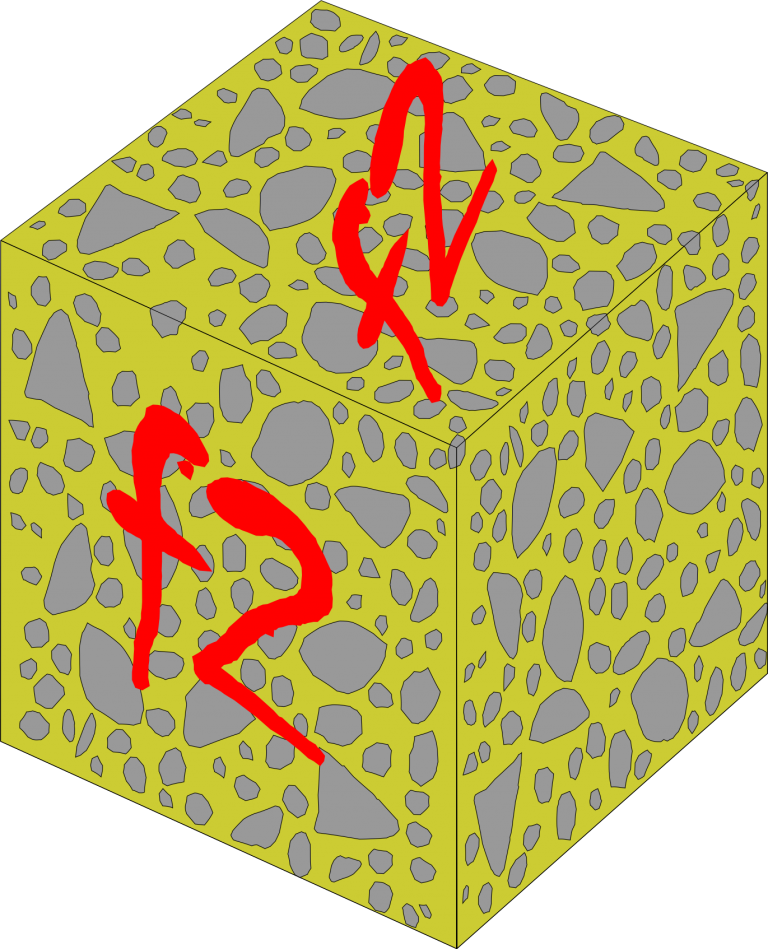
Concrete Compression Strength Test