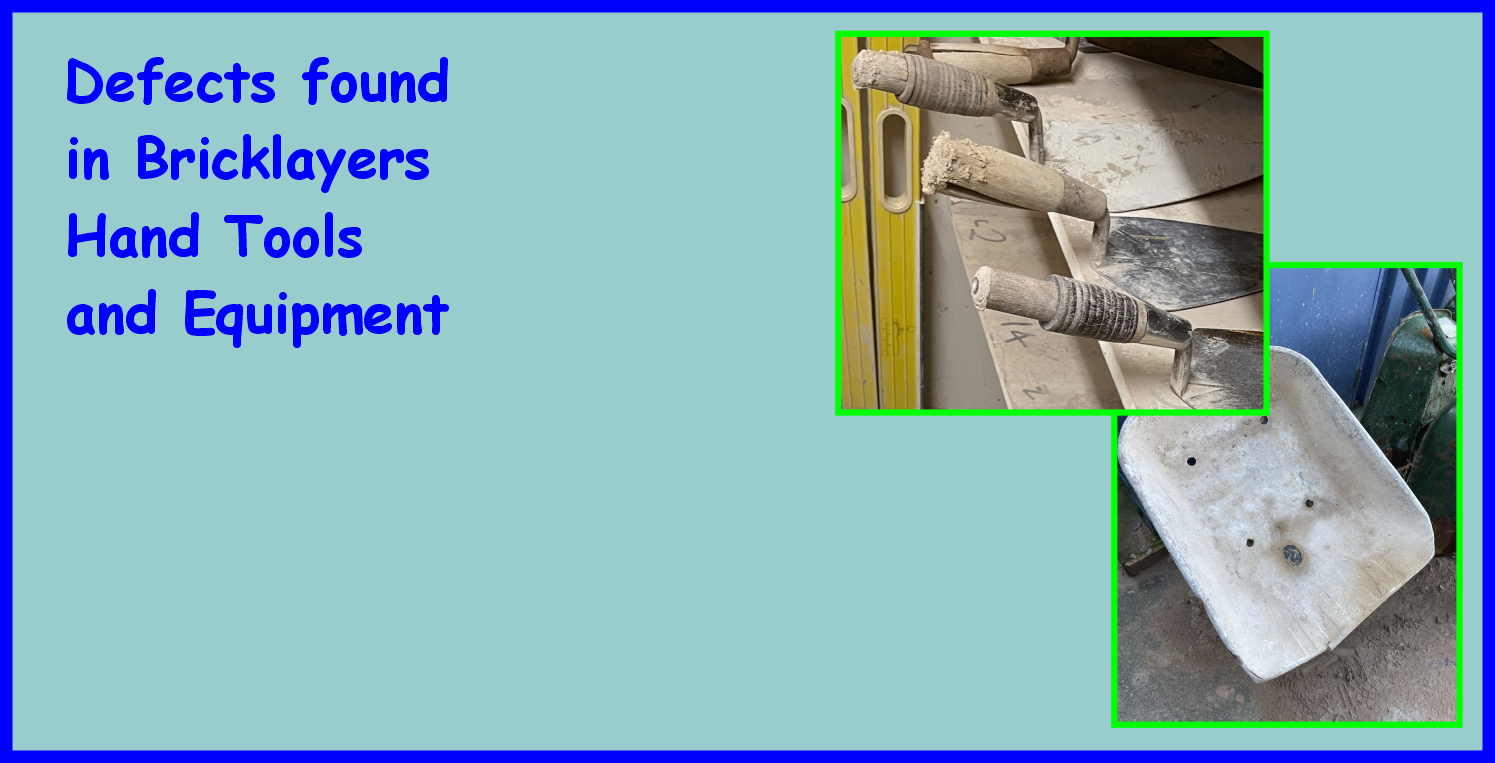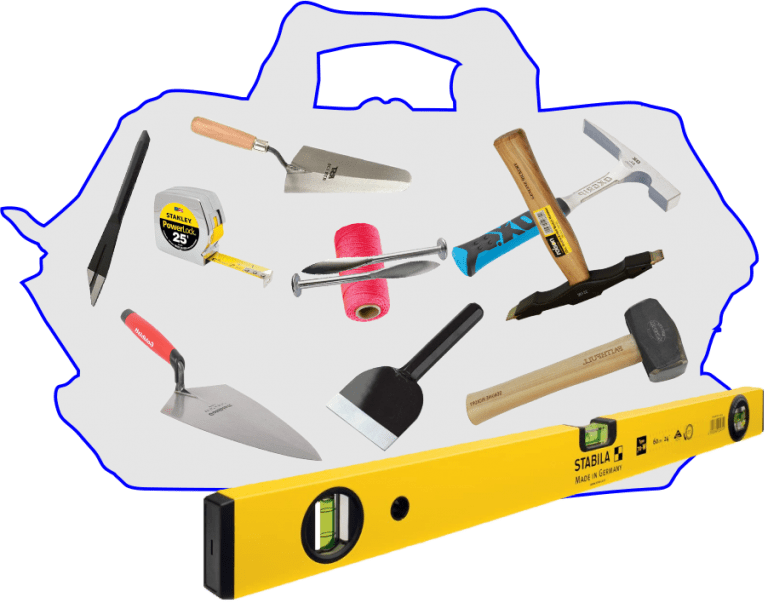
Bricklayers Tool Kit
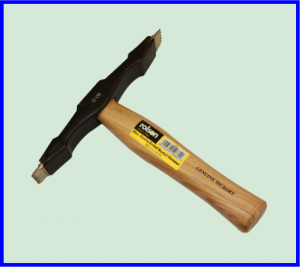
Scutch Hammer
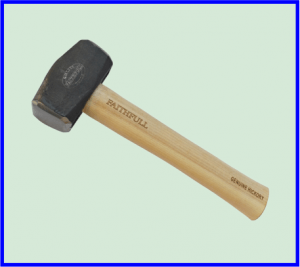
Lump Hammer

Bolster Chisel

Wear Goggles
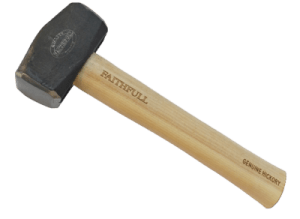
Lump Hammer
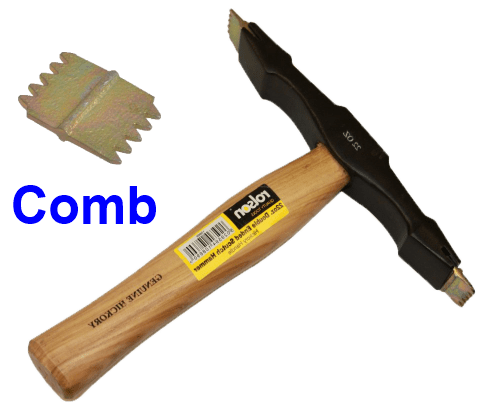
Scutch Hammer
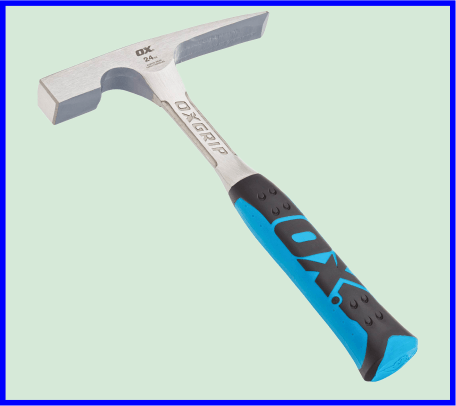
Brick Hammer

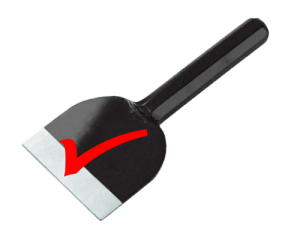
Bolster with Mushroom Head
Bolster Chisel
Wear Goggles

Protective Footwear
Hand Protection
Protective Footwear
High Visibility

Brick Trowel
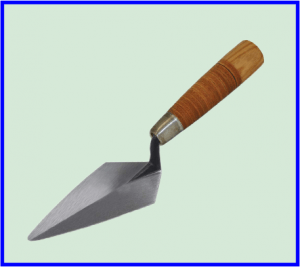
Pointing Trowel
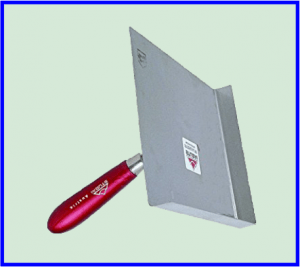
Pointing Hawk
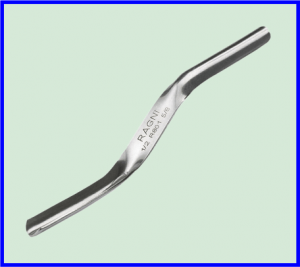
Jointing Tools
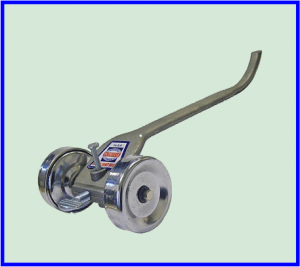
Brick Chariot
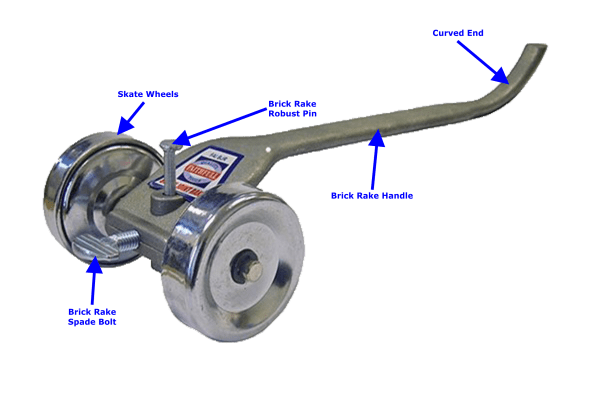
Components of a Brick Chariot
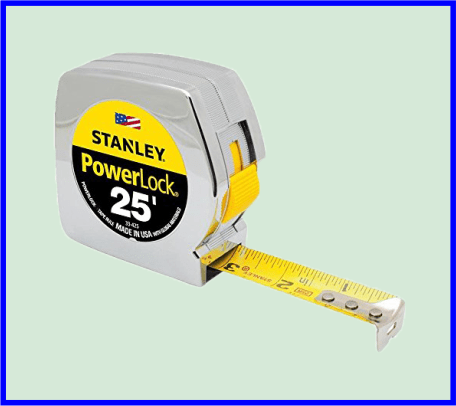
Tape Measure
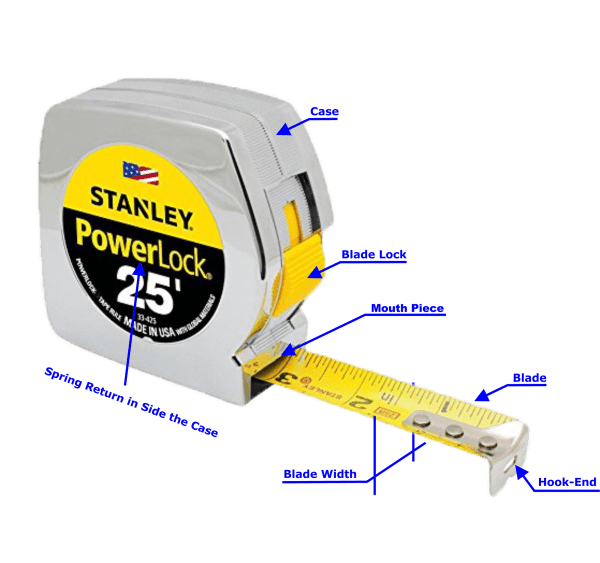
Components of a Tape Measure
Brick Tape Measure
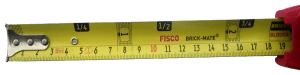
Brick Tape Measure Blade
Closed Steel Tape Measure
Open Steel Tape Measure
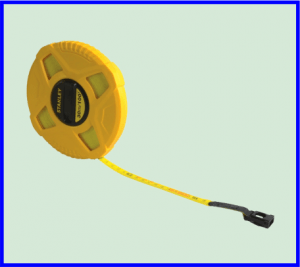
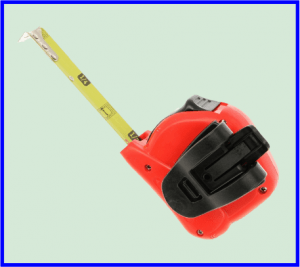
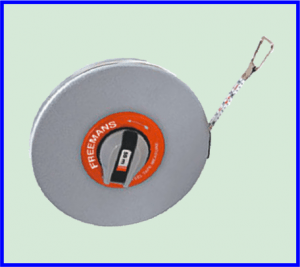
Closed Case Fibre Tape Measure
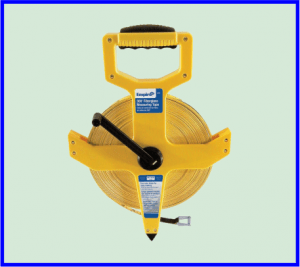
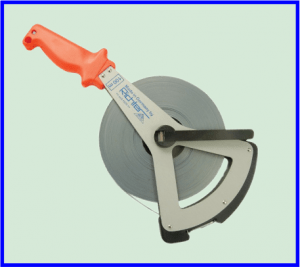
Open Reel Fiberglass Tape Measure

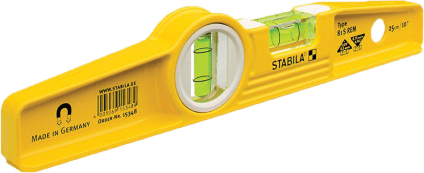
Spirit Level
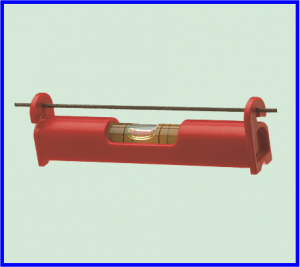
Line Level
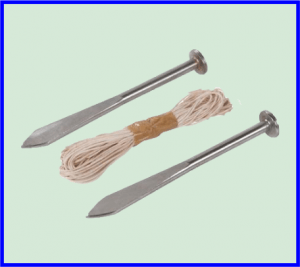
Line and Pins
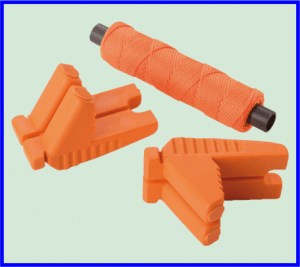
Corner Blocks and Line